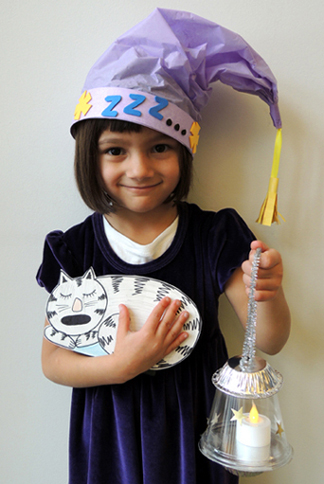
 Get ready for bed with a cozy nightcap and flickering lantern. You might, however, want to bring some earplugs…someone out there is snoring to beat the band, and it’s going to take some searching to find out who (hint: think furry and very, very cute)!
We read Roar of a Snore, written by Marsha Diane Arnold, and illustrated by Pierre Pratt (Dial Books, 2006). It’s night, and the household slumbers peacefully. Except Jack. He’s wide awake, being treated to a roof-lifting, floor-rumbling, full-on ROAR of a snore. Who is disturbing the peace? Jack systematically awakens the residents of the house, who join the investigation. Eventually, the entire family find themselves in the barn’s hay loft, where the culprit is revealed. Who knew a tiny little kitten could make so much noise?
You’ll need:
- 1 strip of poster board (approximately 1.75″ x 22″)
- 1 sheet of tissue paper (mine was 20.5″ x 30″)
- A selection of self-adhesive foam shapes
- 1 rectangle of yellow construction paper(approximately 2.75″ x 8″)
- 1 piece of ribbon (approximately 4.75″ long)
- A selection of color masking tape
- 1 9oz plastic cocktail glass
- 1 square of circle of white poster board or mirror board (mine was 4″ x 4″)
- 2 mini tin foil pie plates (mine were 2.75″ in diameter)
- 1 sparkle stem (or regular pipe cleaner)
- 1 LED votive
- A selection of foil star stickers (optional)
- 1 snoring kitten (more on this below)
- Stapler, scissors, and tape for construction
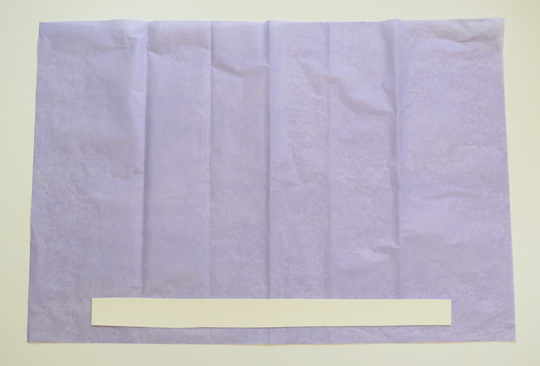
We’ll begin with the nightcap! Lay a sheet of tissue paper (in landscape orientation) on a table. Place a 1.75″ x 22″ strip of poster board at the bottom of the tissue paper.
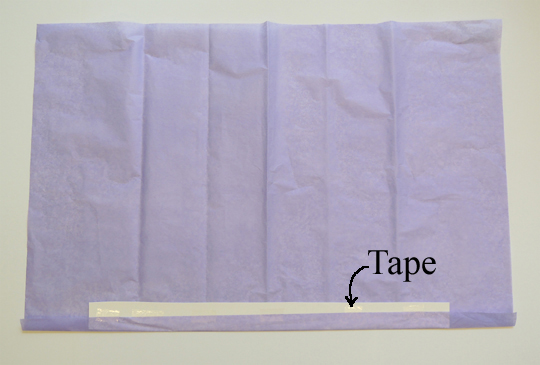
 Fold the bottom edge of the tissue paper halfway up the poster board strip. Secure in place with multiple pieces of tape.
 Now roll the poster board strip upward, once. This is the “hatband” for your nightcap.
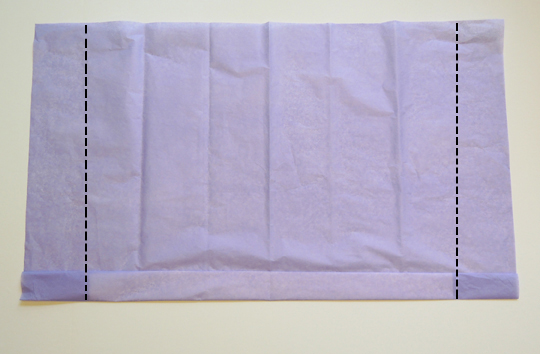
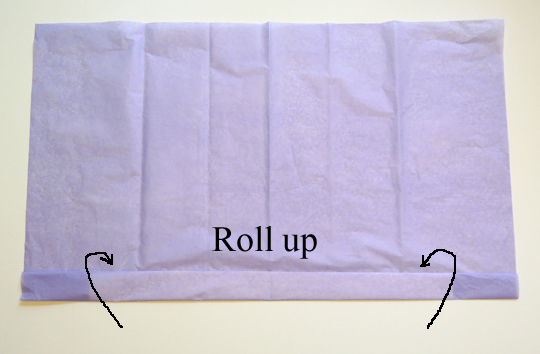 Trim the excess panels of tissue paper off. The excess panels are the sections that are not attached to the hatband (the cuts are demonstrated below with dotted lines).
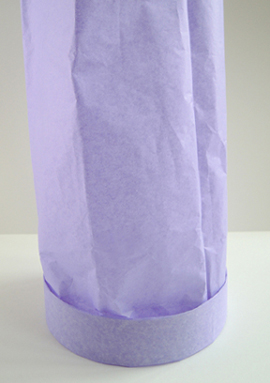
 Circle the hatband around your head, and secure the ends together with staples.
 Decide how tall you’d like your nightcap to be, then bunch the tissue paper together at the top. Secure with color masking tape (I used purple tape). Regular tape works as well!
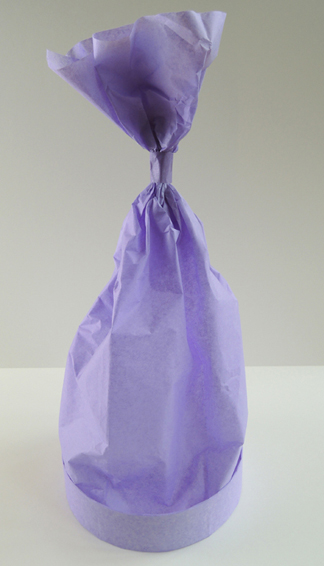 Trim the excess tissue paper off the top of the hat.
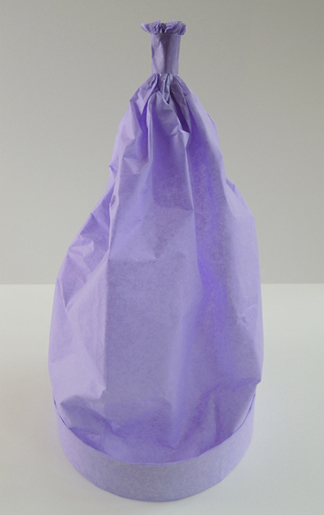 Set the hat aside for just a moment…it’s time for the tassel! Fringe a 2.75″ x 8″ rectangle of yellow construction paper, then tape a 4.75″ piece of ribbon to one end. Roll the paper around the ribbon, and secure the paper roll with tape. Tape the tassel to the top of the hat (I used purple masking tape once again – regular works too). The final step is to decorate the hatband with self-adhesive foam shapes!
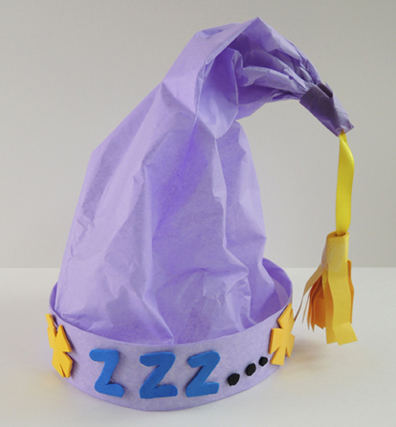 The hat is done, now for the lantern! My lantern consists of a plastic cup, 2 mini tin foil pie pans, a circle of mirror board, a sparkle stem, and an LED votive. However, if you don’t have these supplies (or if you’d like to construct a simpler lantern) I recommend this super easy one. Otherwise, read on…
Begin by tracing the mouth of a 9oz plastic cocktail cup onto a square of poster board (or silver mirror board). Tape the circle to the top of a mini pie pan. This forms the base of your lantern.
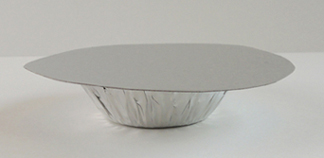 To make the lantern’s handle, punch both ends of a sparkle stem through a second mini pie pan. Twist the loose ends together. Tape the pie pan handle to the bottom of the plastic cup like so:
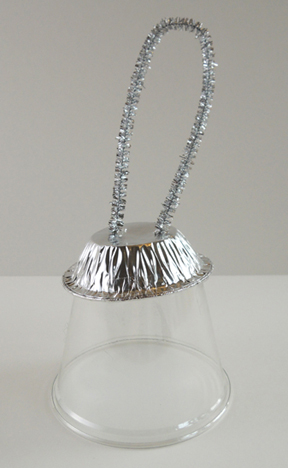 Place an LED votive in the center of the lantern’s base, then put the plastic cup handle on top of the base. Since you want to be able to open the lantern to get to the LED votive, use tape to create a “hinge” on one side of the cup, and masking tape to make a “latch” on the other side (you can see my latch below, in purple). Finish by adding some (optional) foil star stickers to the plastic cup.
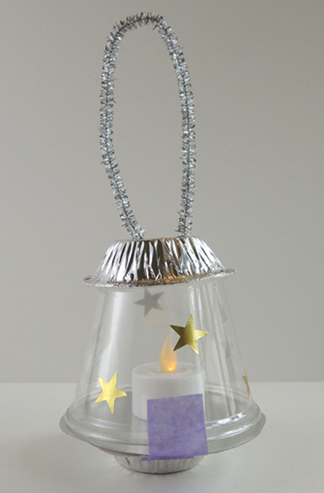 When your nightcap and lantern are finished, it’s time to play the “Find the Snore” game, starring THIS fantastic snoring kitten!
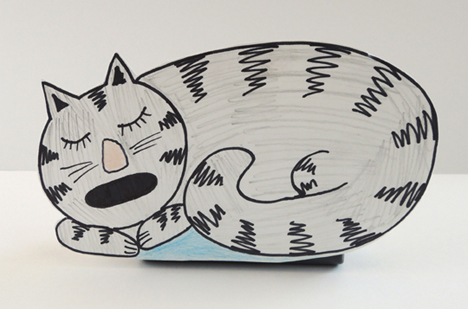 I drew the kitten on a small poster board facade, then taped it to a hand-held tape recorder. I bought it back in 2003 when I needed something inexpensive to record and transcribe my dissertation interviews. A quick Google search led me to a snoring sound track, which I recorded right out of my computer’s desktop speakers.
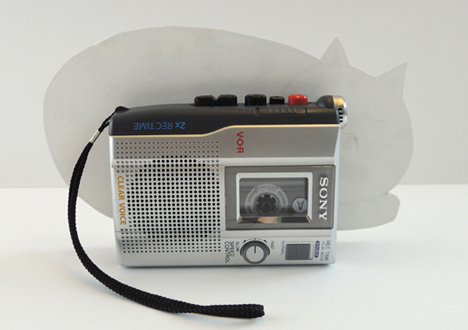 When it came time to play “Find the Snore,” we darkened the gallery, and asked the kids to cover their eyes while I hid the kitten and pressed “play” on the recorder. Wearing their nightcaps and carrying their lanterns, the kids had to follow the snore to find the kitten!
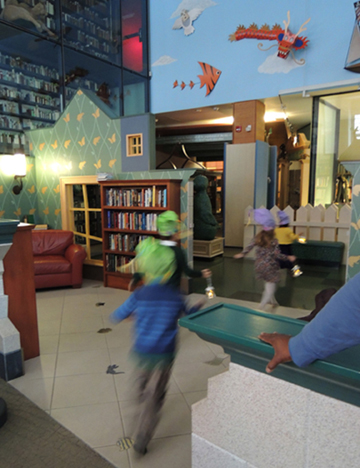 The first few times, I kept the kitten fairly low to the ground, or just above eye level.
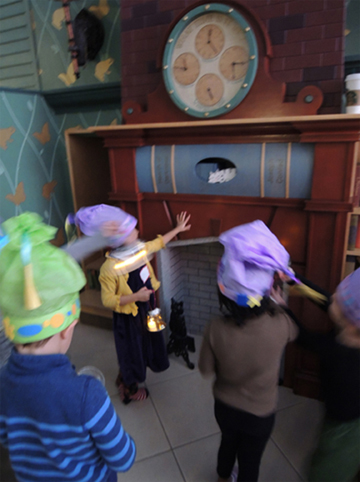
But the final time, I stuck it waaaay up high, and watched them dash around for quite a while. They heard it, but couldn’t find it! Eventually, however, they spotted the kitten, snoring away overhead.
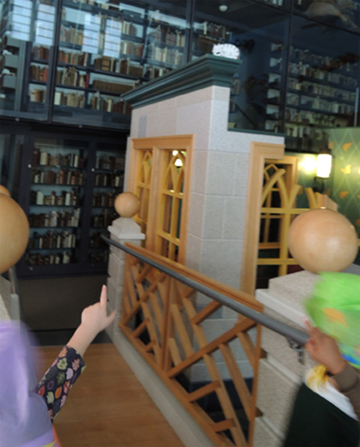
If you don’t have a tape recorder, a smartphone would work too. Or get a staff member to brush up on his/her comic snoring and hide (bonus points if he/she wears cat ears).

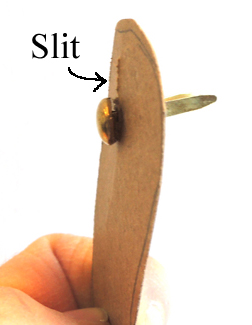
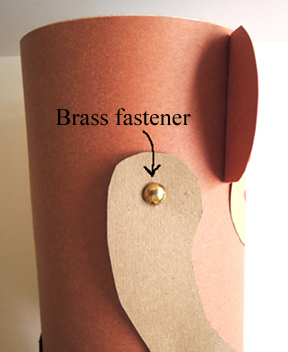 Reach inside the container to unfold the prongs, then replace the oatmeal container lid.