A Piranesi-Inspired Picnic

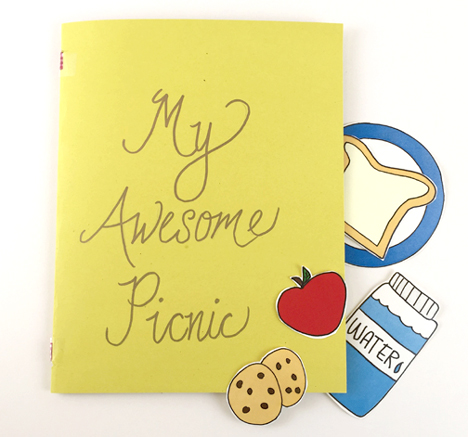
No need for a basket, this little picnic folds right up into a book! Unfurl your picnic blanket, pull your food from the built-in pockets, and you have yourself a feast with friends!
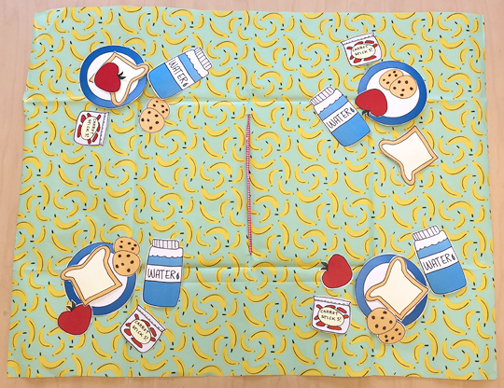
The inspiration for this project comes from a rather unusual source – a Princeton University Library Special Collections exhibit entitled “Piranesi on the Page.” It details the work of Giovanni Battista Piranesi, the foremost printmaker in 18th-century Europe. Originally seeking to be an architect, Piranesi eventually turned to printmaking and experimented with the architecture of books, innovating on the concept of what a book can be.

An example of this is Ichographia, Campo Marzio dell’antica Roma, created in Rome in 1762. Below you can see a huge map of the Campo Marzio, the ancient district of Rome used as a military training ground.
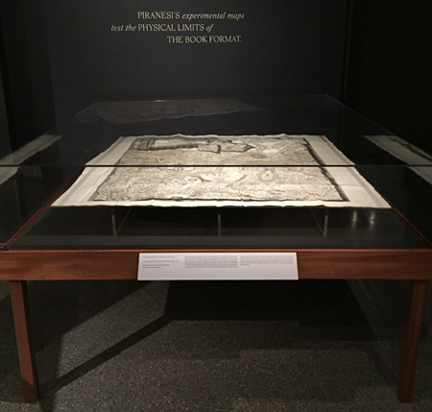
But what you can’t see at first glance is that this map is also part of a book! The photo was difficult to capture what we me crouching, the low lighting, and a highly reflective case, but hopefully you can see the open book below and how the map extends from it!
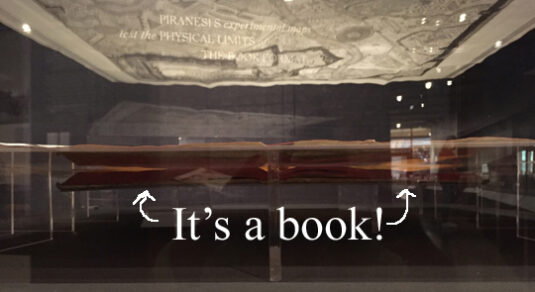
Amazing, right? It got me thinking of a huge page unfolding from a book…maps…the great outdoors…picnics…picnic blankets…aha! Today, we bring you…the picnic book!

You’ll need:

  • 1 sheet of posterboard
  • Wrapping paper
  • 1 craft tie or pipe cleaner
  • A set of picnic set templates, printed on 8.5″ x 11″ cardstock
  • Scissors and tape for construction
  • Markers for decorating

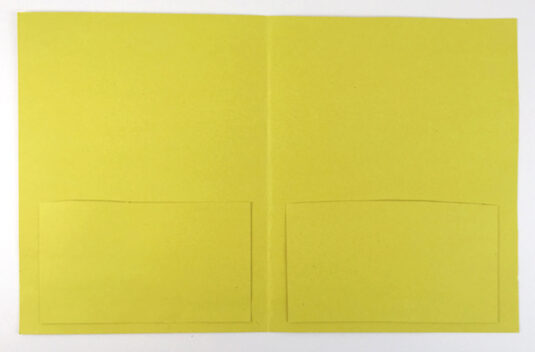
First, prepare the cover of your book. Fold an 11″ x 36″ piece of posterboard in half to create a cover, then tape or glue two, 4.5″ x 7.5″ pockets to the inside.
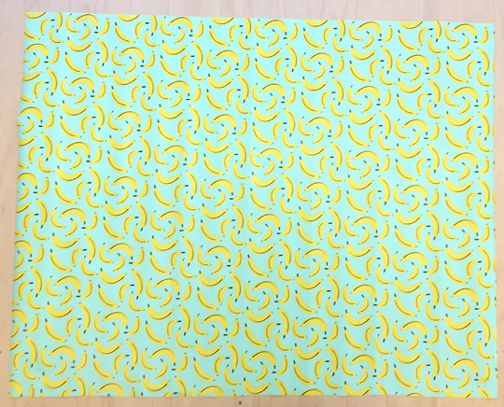
Now for the picnic blanket page! Begin with a 25″ x 31.5″ piece of wrapping paper, laid out flat, design side up…
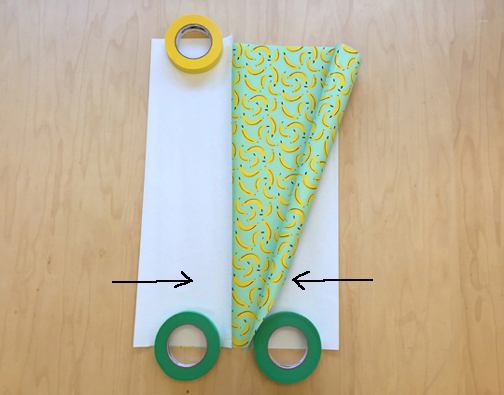
Fold the right and left sides of the wrapping paper inwards, meeting in the center (apologies for the masking tape rolls…the wrapping paper wouldn’t stay flat for the photo!).
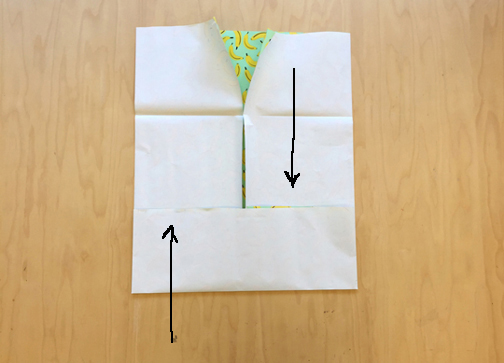
Next fold the top and bottom upwards and downwards, meeting in the center.
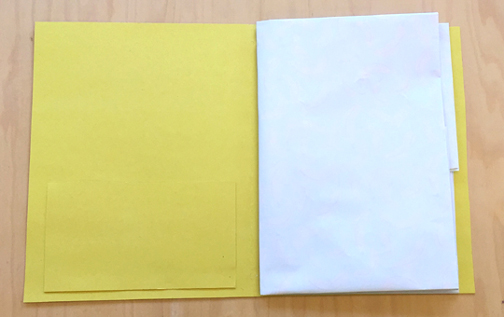
Finally, fold the wrapping paper in half, to the right, so it fits inside the book’s cover like a page…
To attach the page to the book cover, use scissors to cut 2 small slits, each about 1″ from the top and bottom of the cover. Make sure to cut through both the cover and the pages!
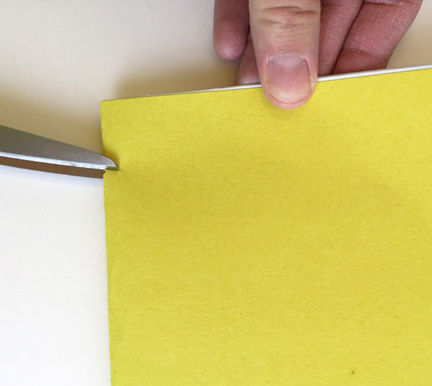
Now unfold the picnic page, located the slits, and thread the ends of a craft tie or pipe cleaner through both.
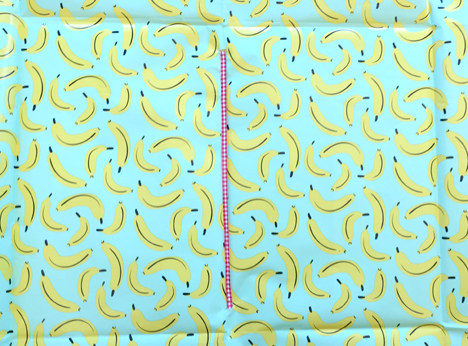
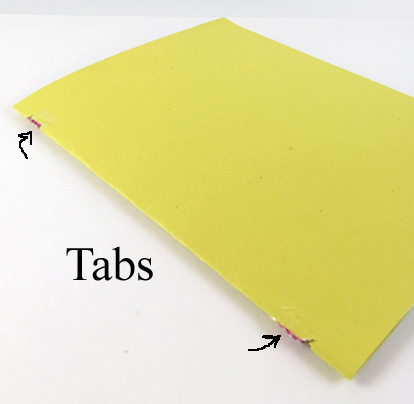
Refold the picnic page, close the cover, and locate the two ends of the craft tie. Tab them sharply to the spine of the book cover, and reinforce the connection with tape.
Print as many picnic place settings as you would like from the template, then color and cut them out. Slide them into the pockets of your book.
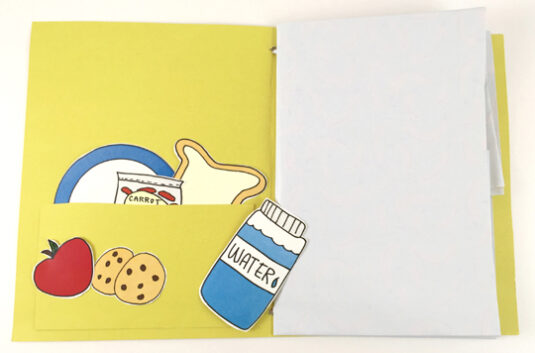
Add a title to the front of your book, tuck it under you arm, and head out for a picnic with your favorite friends or stuffed animals!

If you’re feeling extra creative and Piranesi-inspired, instead of having a picnic blanket with a wrapping paper design, flip it over to the blank side and draw a map leading to your favorite picnic spot or literary landscape!

Ever-Ready

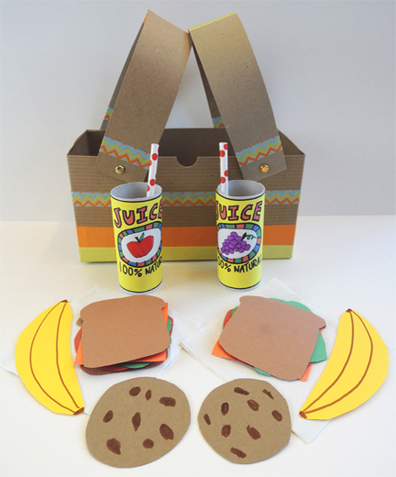
ever readyFrom sandwiches to personal flotation devices, we’re prepared for whatever picnicking perils come our way. We made a delicious paper picnic lunch for two, and then tested our emergency preparedness with a problem-solving card game. Bust out the marshmallows and the umbrella. Nothing’s going to get in the way of THIS picnic!

We read Ready for Anything! by Keiko Kasza (G.P. Putnam’s Sons, 2009). Duck wants to go on a picnic, but Racoon is feeling a bit paranoid. What if they get attacked by killer bees? Or fall in a river? What if a terrible storm blows in, they take shelter in a cave, and find a dragon inside?!? Duck counters his friend’s dire predictions with happier ones. What if it’s butterflies instead of bees? What if the river is cool and refreshing? What if they roast marshmallows with the dragon in the cave? Finally, Raccoon agrees to go, but he fortifies himself with all sorts of emergency equipment. At the picnic site, Duck realizes that he forgot the picnic basket. Uh on! A true emergency! Luckily, Raccoon is ready for anything. He’s brought a delicious back-up lunch.

You’ll need:

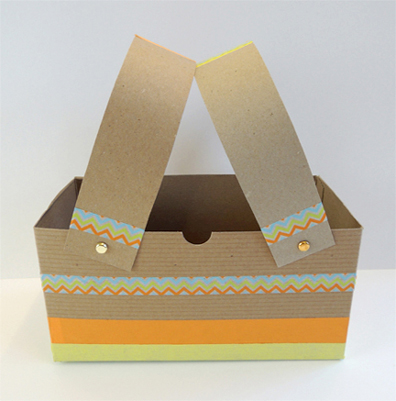
picnic basket with lunchFirst, the picnic lunch! If your box has a lid, cut the lid and tabs off (if you’re using a tissue box, just cut the entire top off). Decorate the box with patterned tape and color masking tape (or just markers).

To create movable picnic basket handles, punch 2 matching sets of holes in both sides of the box. Next, punch a hole at both ends of your tagboard strips. Curve the strips over the box, line the holes up, and use brass fasteners to attach the handles.

finished picnic basketIf you don’t want moveable handles, simply staple a tagboard strip to the center of the box.

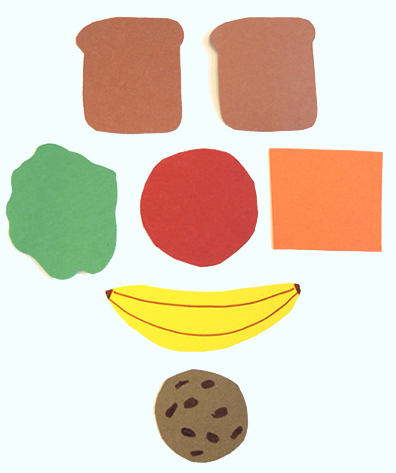
Now for the food! Use construction paper to make two sets of the following picnic items: 2 slices of bread, 1 piece of lettuce, 1 tomato slice, 1 piece of cheese, 1 banana, and 1 cookie circle. Use markers to decorate the banana and cookie. Here’s what our pieces looked like (carefully arranged in what I’ve dubbed the “happy picnic food face”).

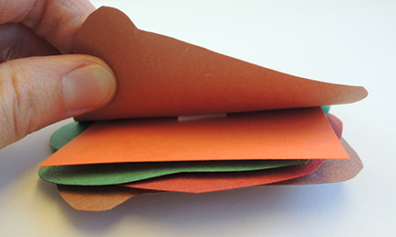
happy picnic food faceYou can simply glue the layers of the sandwich together. Or, if you want to add a bit of bulk to it, use little squares of double-sided foam mounting tape between the fillings. Here’s a shot of a square of tape connecting the bread and cheese:

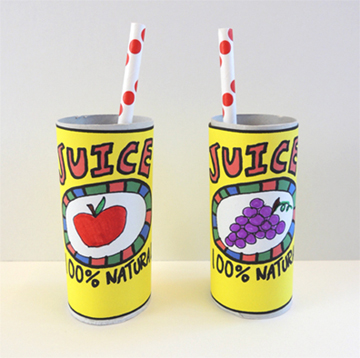
taped sandwichTo make beverages, color the juice label template, then wrap each label around a toilet paper tube. Cut a drinking straw in half, and tape each piece inside a tube.

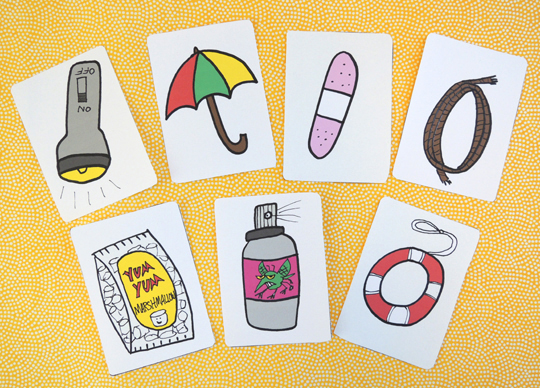
juice bottlesTuck your lunch in the basket (and don’t forget the napkins!). Your final step is to color the picnic emergency equipment cards from the template. You’ll notice there’s a blank card on the template. That’s just in case you’d like to add another piece of equipment. Like a big bar of chocolate. I’ve definitely had chocolate emergencies.

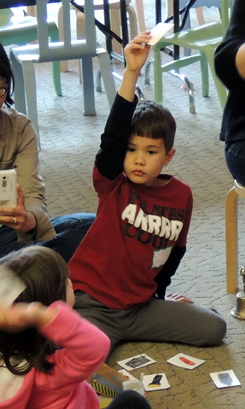
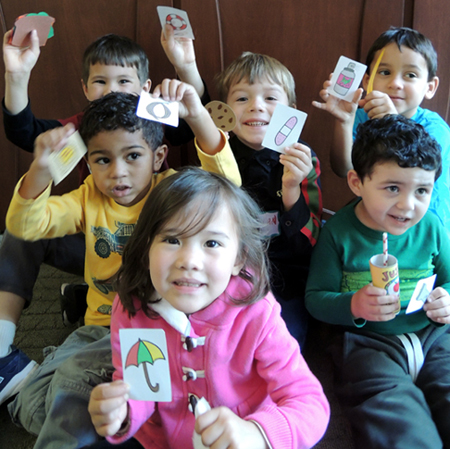
emergency equipment cardsAfter giving the kids a few minutes to play with their new picnic sets (and there was quite a lot of picnicking going on) I asked them to gather in the story time area. Then, loudly and with lots of drama, I read each scenario from the picnic emergency scenario sheet. The kids had to listen carefully and select the equipment card they thought would solve the problem best.

gameI kept the scenarios very simple, but feel free to create more complicated ones. Or write some that require a double card solution!