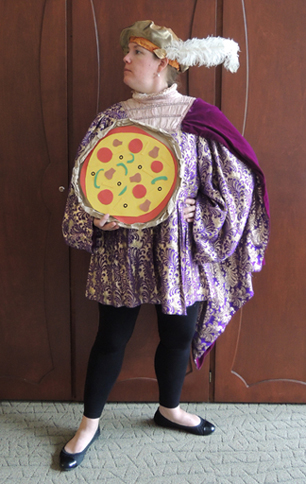
 No, it’s not the name of my new romance novel. It’s this…Flying Wish Paper by Hux Creative! Write a wish on the special paper, ignite it, and watch your wish float away, granted. Does this kit actually work? Or will the fickle realities of wish-granting manifest themselves? Our brave yet tempestuous heroine, Katie, tempted cruel fate and tested the kit in her dining room. Take it away Katie!
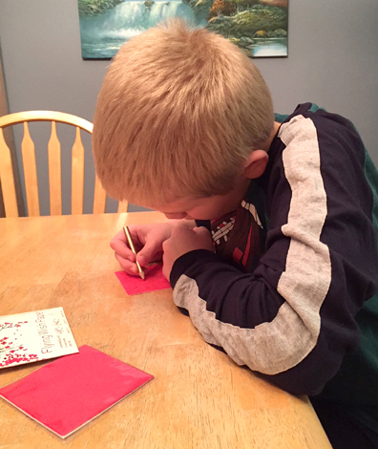
I have to admit, I was skeptical. When I read the instructions for the Flying Wish Paper and it specifically says “best used as an indoor product,” I wasn’t sure how it was going to work and not burn my house down. Armed with my kitchen fire extinguisher, I pulled my son away from his homework to be the official tester, and we got started making wishes.
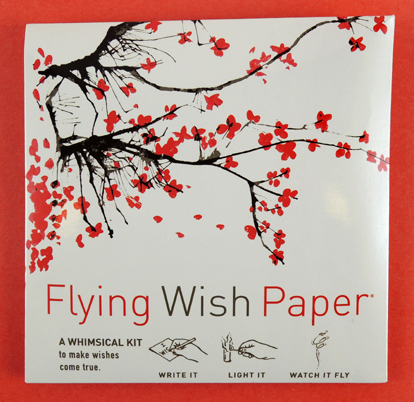
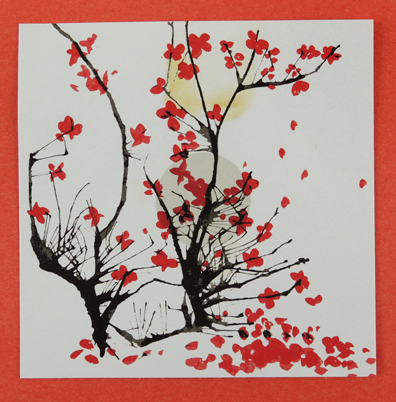
 The kit contains 15 sheets of Flying Wish Paper, 5 paper platforms for your wishes, a special mini pencil, and a set of instructions. It retails for $12 at our local Paper Source. The first part of the kit is easy enough. You think of a special wish and write it on the Flying Wish Paper, which closely resembles tissue paper. If you choose, you can slide the Wish Platform (more on that shortly) under your Wish Paper to help you write more easily. Our Wish Platform had a gorgeous picture of blossoming cherry trees on it, but there are many other images in different kits to choose from.
 Once you have written your wish, crumble the Wish Paper into a ball about the size of a marble. Next, carefully unwrap and smooth out the paper so it is flat, albeit crinkled from being smashed into a ball.
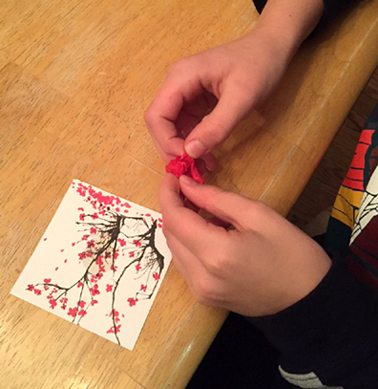 Once the paper is flat, roll it into a tube using the darkened circle on the Wish Platform as a guide. The tube needs to be open enough to allow the Wish Paper to easily burn, just like a chimney. Stand your Wish Paper upright on the Wish Platform and you are ready to send it to the heavens!
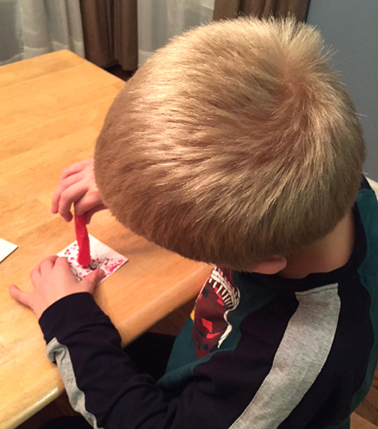 This is when I became a little nervous. I was going to light paper on fire inside of my home. Rather, I was going to let my son (who was thrilled to have full parental permission to strike a match indoors) LIGHT PAPER ON FIRE INSIDE OUR HOUSE! It took a few tries to stand the Wish Paper on the Wish Platform without it toppling over, which also made me nervous.
My son very carefully lit a match and touched it to the Wish Paper, which instantly started to burn. When it was nearly done burning, the Wish Paper suddenly lifted off the Wish Platform and flew up to the ceiling, still slightly smoldering. Just before it hit the ceiling, the flame extinguished and the ashy Wish Paper floated slowly down into my son’s waiting hands. It actually worked! Color me surprised!
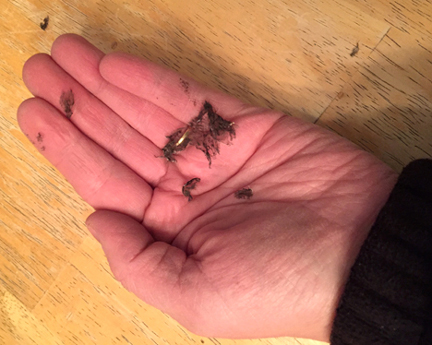
But wish-granting has its ugly realities. One of the problems we instantly encountered was the charred remains of the Wish Paper, which caused quite a mess of black ash over our hands and dining room table. Our mess was easily cleaned up with some damp paper towels and by washing our hands, but if you aren’t careful, the ashes could get everywhere and leave a dirty black trail behind.
 I was also fearful the burning Wish Paper would fall over, (or off!) the Wish Platform. Well, it did fall over during one of our tests. It left a small burn mark on the Wish Platform, but thankfully nothing else happened.
 Flying Wish Paper is a fun activity that my son and I thoroughly enjoyed doing together. There are numerous fire concerns and it is definitely something parents can’t let their children do on their own, but I highly recommend it. It’s a whimsical and thoughtful activity for kids to really think about what their deepest wishes may be. It would be awesome for magic spells at a Harry Potter program too (and so would this)! Just keep paper towels handy to clean up the ash.
As far as my wish coming true, only time will tell. All I have to say is my Mega Millions ticket is purchased, and I’m ready for the next lottery drawing.
 It’s sky-high adventure at a our steampunk story time! These amazing airships with matching goggles are a cinch, thanks to our ready-made templates and a few sparkly extras!
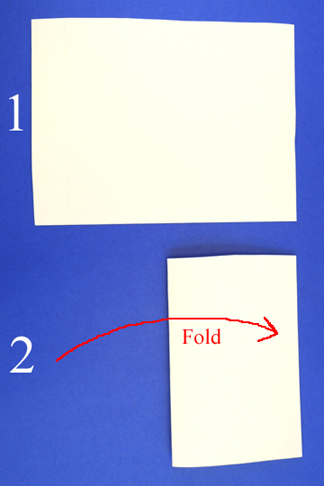 Starting from the folded end, make four, 4.25″ long cuts. Each cut should end about an inch from the end of the paper. These will form the “struts” of your airship’s framework.
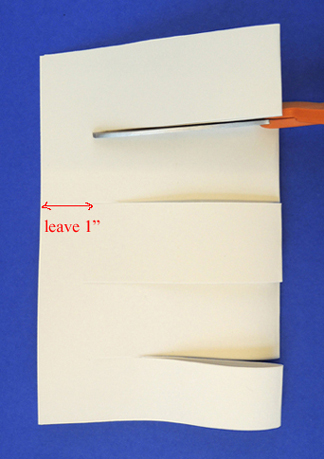 Unfold the poster board and flip it over. Currently, your struts have 1 central crease. You’re going to need to add 2 more creases on each strut (one on either side of the central crease). The new creases should be about 2.5″ away from the central crease.
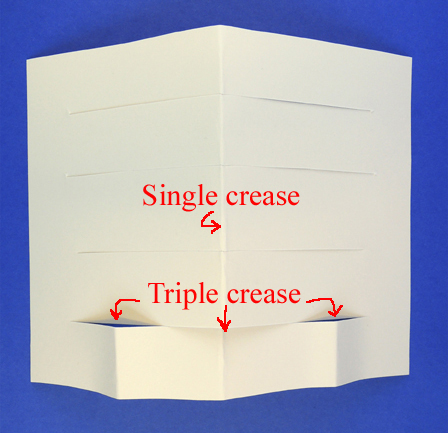 Crease all the struts, then circle the poster board and staple both ends. Your airship framework should now look like this:
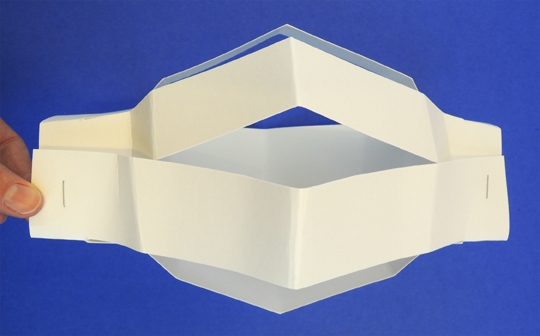 Punch four holes in one of the struts. This is where your airship’s basket will attach later.
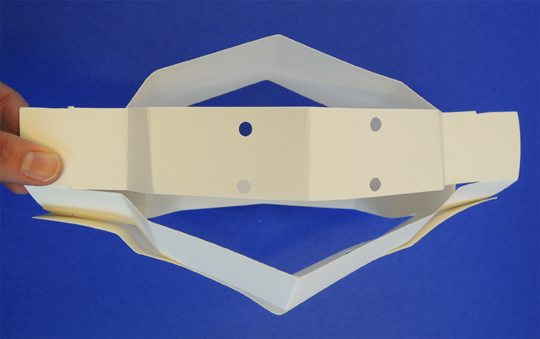 Now for the balloon! Open, then crumble, a paper bag. The more wrinkly the bag, the better it looks! Keeping the bag crumpled, slip it between the struts. Gently fluff the bag to fill out the framework.
 I have to say, that’s got to be the weirdest blog photo yet. And that’s saying a lot. Come to think of it, doesn’t it look a bit like a steampunk asthma inhaler?
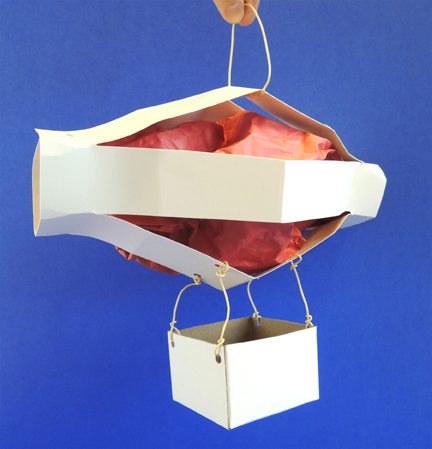 You’ll notice that the airship in the above photo has a hanging loop at the top. That’s a 9″ piece of twisteez wire circled around the top strut. Secure the loop to the underside of the strut with tape.
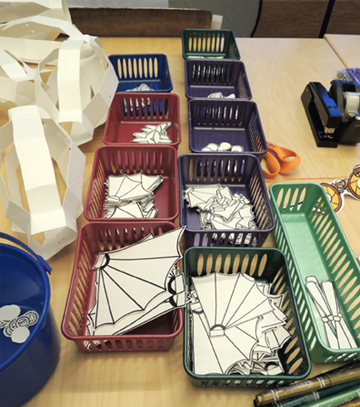 If you’re using a bucket, it helps to stick a little picture of the item on the front, for kids who are too short to lean over and peer inside.
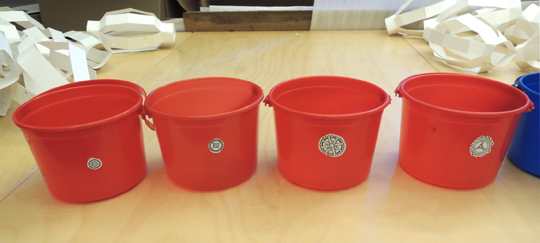 These buckets are great for organizing art supplies. I found them in the bulk candy section of Party City when I was researching red buckets for
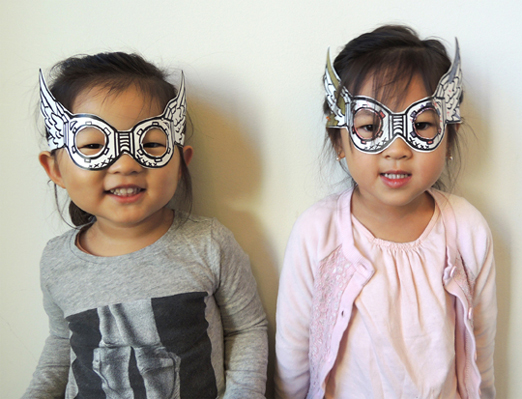
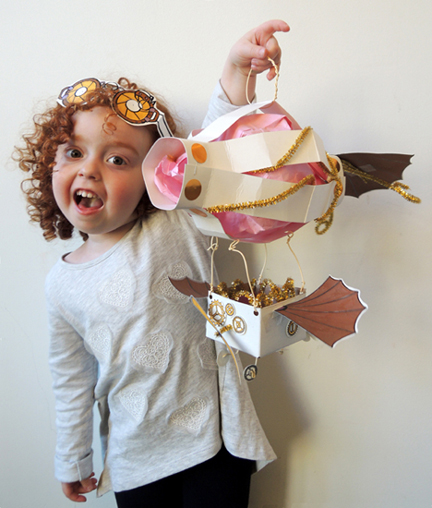
 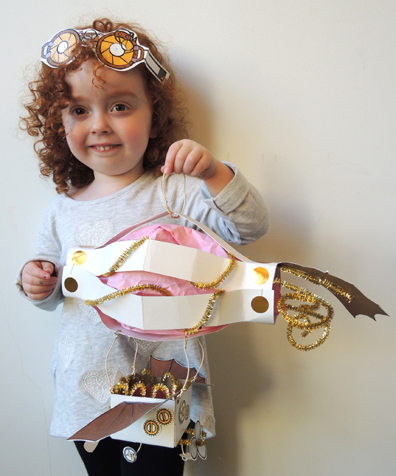 To make goggles, simply color a pair from the template, punch holes on the ends, and knot a 17″ piece of twisteez wire through both holes. Adjust for size, and perch the goggles on top of your head like a headband. Some kids, however, cut holes in their goggle’s eye pieces, which were incredibly adorable. Look at this duo!