Gather, all you ninjas in training, for the ultimate obstacle course. Challenge your balance, hiding, and throwing skills to earn a noble blade of aluminum foil!
We read Ninja Camp, written by Sue Fliess, and illustrated by Jen Taylor (Hachette Books, 2019). A team of young ninjas gather at Ninja Camp to train and defend the Shadow Blade from a rival camp. A total story time win…this fun rhyming book packs plenty of action and adventure!
You’ll need:
- 1 black t-shirt
- 4 paper towel tubes
- 1 piece of ribbon (ours was 13″ long)
- Aluminum foil
- A selection of color masking tape
- A ninja obstacle course (more on this below!)
- Scissors and tape for construction
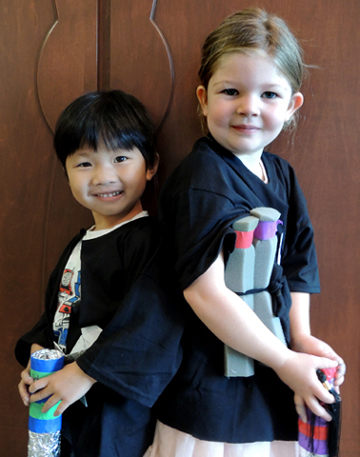
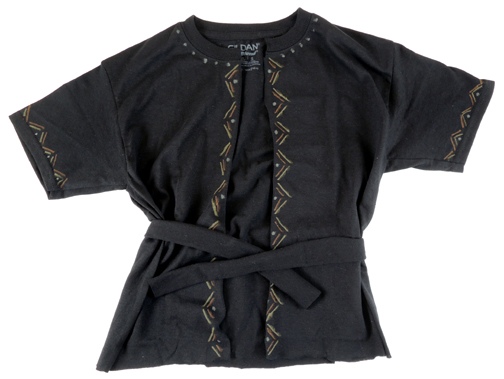
Our story time project consisted of a ninja jacket, nunchucks, throwing star, and a sword. To make the jacket, cut a slit up the front of a black t-shirt (we used a kid’s size L). Then, cut a 2.5″ strip off the bottom of the shirt to create a belt. We offered metallic markers to add some designs to the jacket as well.
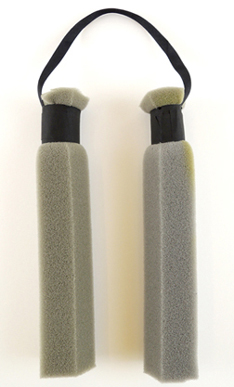
 Our nunchucks are surplus foam book spine protectors recycled from Princeton University’s Department of Special Collections! But you can also use paper towel tubes. Connect the tubes with a 13″ piece of ribbon secured with color masking tape.
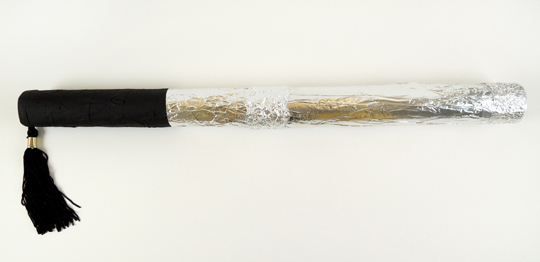
 The throwing stars are of the classic origami variety (instructions here). The sword is 2 paper towel tubes connected with masking tape, then covered with tin foil. The hilt is masking tape as well. But the REAL stroke of genius? We added a tassel to the sword hilt, compliments of the Office of Student Affairs at Princeton University. Our tassels were surplussed from commencement, but you can also purchase them rather inexpensively on Amazon.
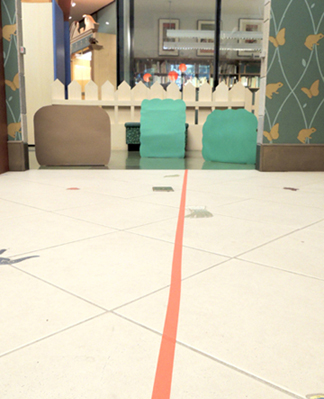
 Once our ninja kids were ready, we gathered at the start of the obstacle course. First, ninjas walked the red masking tape tightrope to build balance skills:
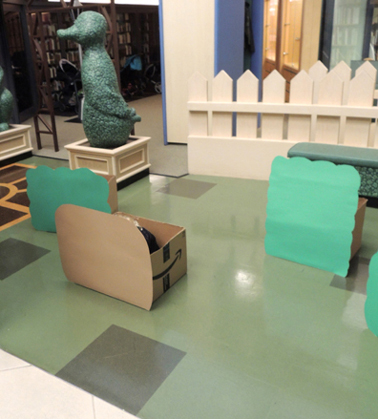
 Next, they entered the forest to demonstrate their hiding abilities. Can you spot the ninja in this photo?
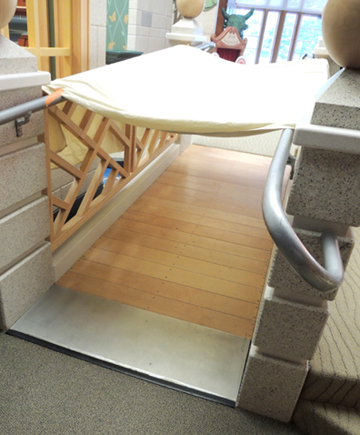
 Then the ninja stealthily moved along a dark corridor and crawled through a tunnel…
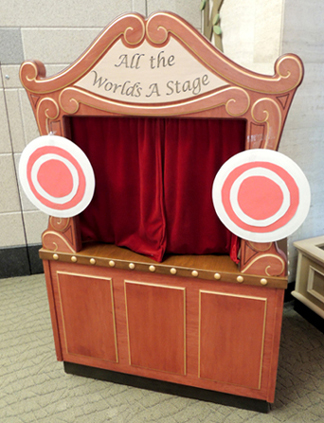
 Finally emerging at our throwing star range, where they took aim at targets:
 When the obstacle course was complete, the ninja headed over to the Shadow Blade stone, where they drew their swords under the proud eye of Sensei Katie!
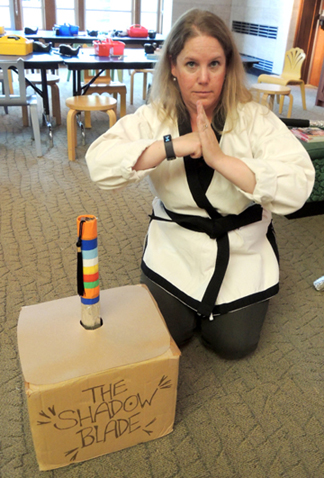 Fun fact: Katie has a black belt in Tae Kwon Do.
Note to self: Don’t mess with Katie.
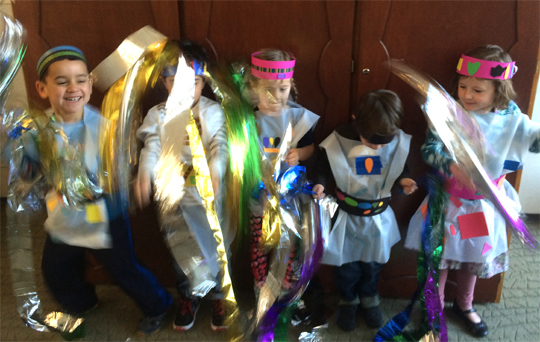
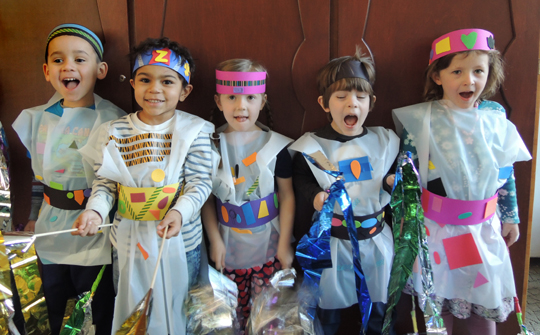 They say ninjas should be silent, composed, and invisible…we are not those ninjas. Make a truly eye-catching headband, belt and tunic. And forgo the nunchucks in favor of some fantastic dancing ribbons!
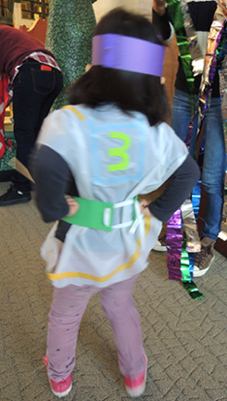 To make the tunic, cut a slit in the center of a big rectangle of plastic table cloth (I definitely don’t recommend going any bigger than a 39.5″ x 47″ rectangle). Stick your head through the slit and let the tablecloth drape like a poncho. Next, tie the poster board belt around your waist. Instant tunic! Trim the bottom and shoulders of the tunic as needed, then decorate it with patterned tape and self-adhesive foam shapes.
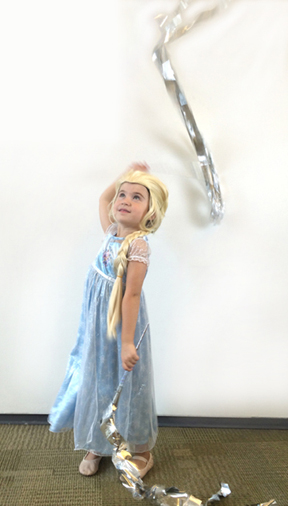
 Without a doubt, this is a high-energy-get-your-wiggles-out-lots-of-fun story time project. So make sure you have plenty of space. For there will be bouncing, kicking, twirling and leaping!