 Ready, and…action! This fantastic camera shoots in 3 different screen modes, so you can exercise your complete creative freedom and film a breakthrough masterpiece. Add a fabulous movie poster, a plot synopsis, and you’re totally Oscar bound!
We read Young Charlotte, Filmmaker by Frank Viva (Harry N. Abrams, 2015). Charlotte carries her camera everywhere she goes, preferring her black and white world to the world of color. One day, her parents take her to the Museum of Modern Art and Charlotte meets Scarlet, who works in the film department. They bond over their mutual love of film. Inspired, Charlotte shows Scarlet her latest creation and Scarlet insists that it be shown at a museum screening. The big day arrives and Charlotte, sitting in the theater, is worried what the audience will think. Her film ends and there is total, awful silence. Then…applause! They loved it!
You’ll need:
- A small box (mine was 4″ x 4″ x 4″ – a small tissue box works too)
- Black paper
- A strip of black poster board (approximately 1.75″ x 8.5″)
- A selection of color masking tape
- 4 foam beads
- 1 round container to act as a camera lens (more on this later!)
- 1 toilet paper tube
- 1 bendy drinking straw
- 1 screen slides template, printed on 8.5″ x 11″ card stock
- 3 rectangles of tagboard or black poster board (approximately 2.5″ x 3″)
- Hole punch
- 1 box cutter
- 3 small rectangles of different color cellophane (approximately 1.75″ x 2″)
- 1 movie poster template, printed on 8.5″ x 11″ white card stock
- Scissors and tape for construction
- Markers for decorating
- Hot glue
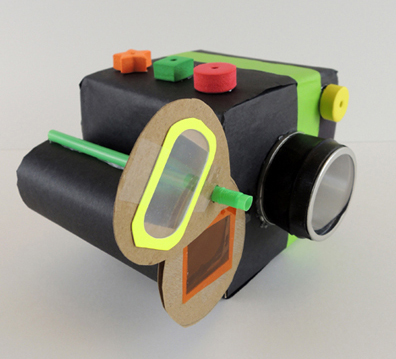
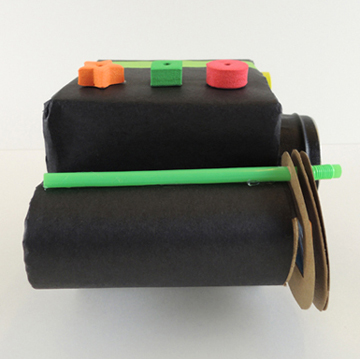
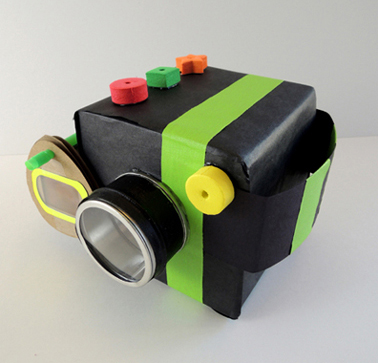 First, wrap a small box with black paper. Tab both ends of a strip of black poster board, then attach the tabs to the box with hot glue (or tape). Use color masking tape to add some snazzy accents to the camera. Hot glue 3 foam beads to the top of the camera (these are your “operating” buttons) and 1 to the front (this is your “light”). For the lens, I found these fantastic 2″ mini containers with clear lids at Oriental Trading Company:
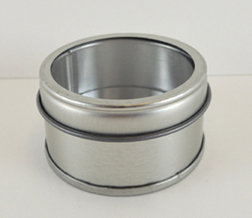 We hot glued a circle of silver mirror board to the bottom of the container to make it extra reflective. Then we popped the lid back on and wrapped the perimeter of the container with black masking tape. We attached it to front of the camera with hot glue. The containers cost $8.50 a dozen, which can get a little pricey. A cheaper option? A shortened toilet paper tube.
The other side of the camera has the viewfinder and the screen slides. The viewfinder is a toilet paper tube wrapped with black paper and hot glued to the side of the box. The screen slides slides cover one end of the viewfinder. Each slide has a different color cellophane taped to it. Simply rotate the slides up and down to adjust the color you’re seeing through the camera’s viewfinder.
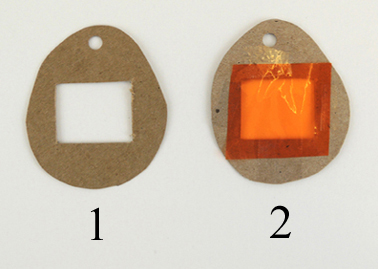
 To make the screen slides, cut 3 screen slides from the template. You can either use them directly from the template, or trace them onto something sturdier, like tagboard or poster board (we used tagboard). Punch a hole in the top of the slide, then use a box cutter to cut away the rectangular window in the center. Tape a small piece of cellophane over the window (we offered choices of orange, red, purple, blue or green).
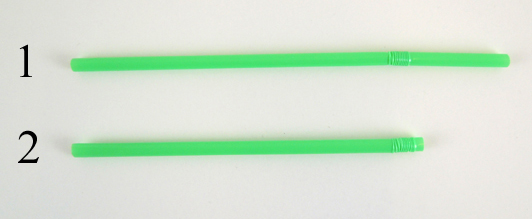
 Next, cut the top section off a bendy drinking straw (i.e. the section right above the ribbed segment). Make sure to leave the ribbed segment untouched.
 Thread the 3 screen slides onto the opposite end of the straw, sliding them down towards the ribbed segment. Don’t slide thread them over the ribbed segment. The ribbed segment is what keeps the slides from falling off the straw later. You want this to remains as rigid and un-squished as possible.
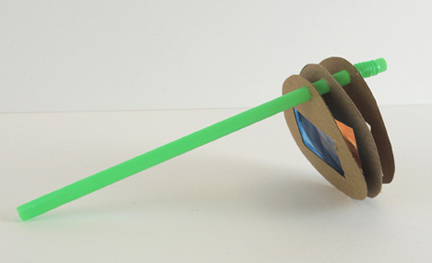 Place the straw on top of the toilet paper tube viewfinder and adjust the screen slides. The slides shouldn’t be packed together – they need plenty of room to rotate upwards and downwards. Once you’re satisfied with your spacing, cut the straw down and hot glue it to the viewfinder. Note! The straw should be slightly shorter than the viewfinder. Excited kids are going to be putting their eye right up to the viewfinder, and you don’t want them getting poked in the eye with a straw.
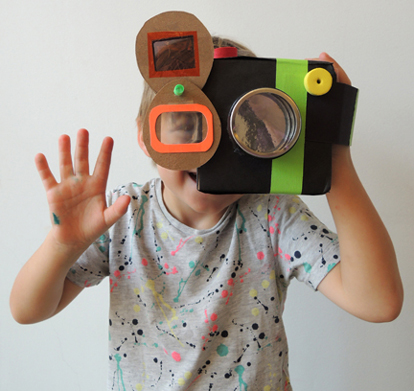
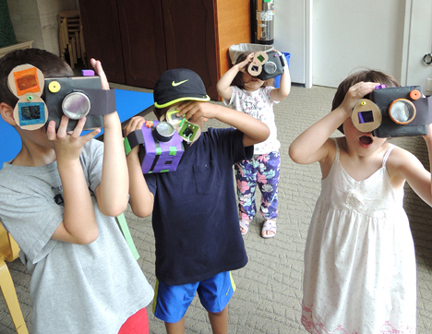
 The camera is done! Slide your hand through the strap, select a screen slide, place your eye against the viewfinder, and start filming! Here’s the view of the different screen slides through the viewfinder:
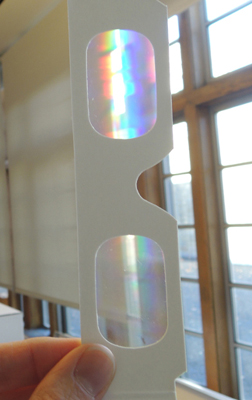
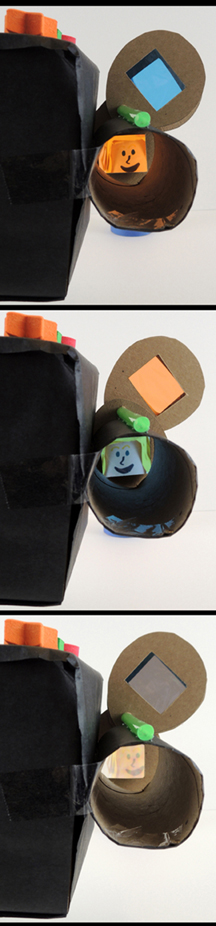 That last screen slide might look like clear cellophane…but it’s not! It’s a plastic lens from a pair of prism glasses. You can get these paper glasses from Educational Innovations (a pack of 10 costs $9). When you look through them, they diffract light into its spectral components. In other words, you see lovely rainbows everywhere.
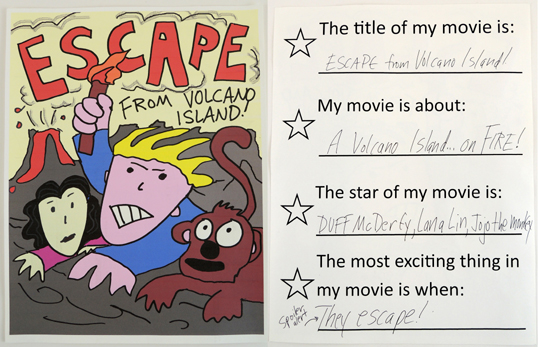
 In addition to making a camera, we also made movie posters with plot synopsis on the black. Print the movie poster template on white card stock. Draw your poster on the front, and write your synopsis on the back. Here’s my poster:
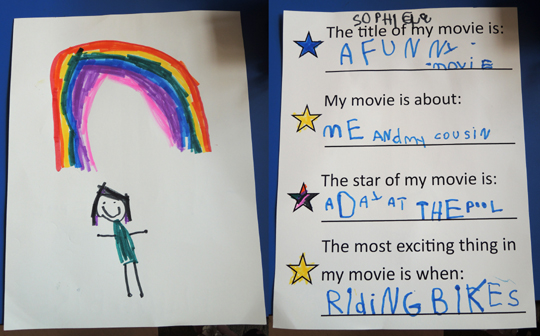
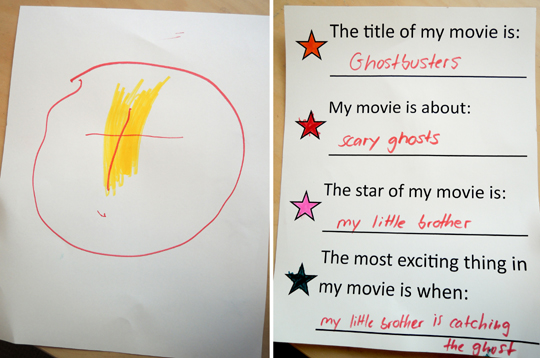
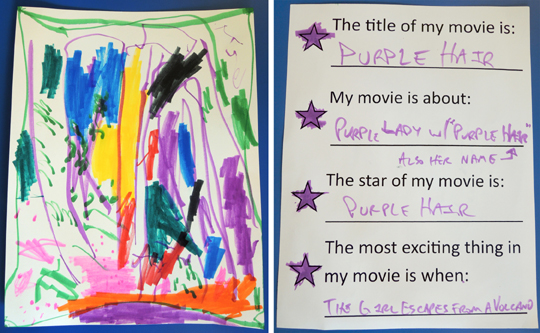
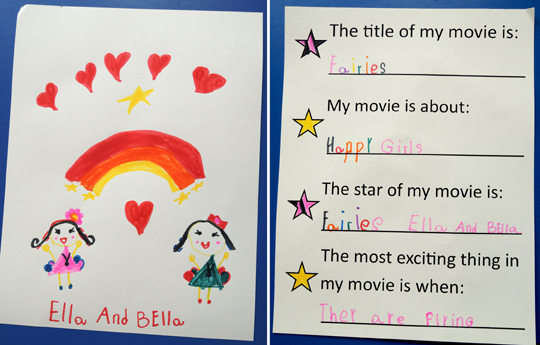
 And here are a few kid posters I managed to snap…
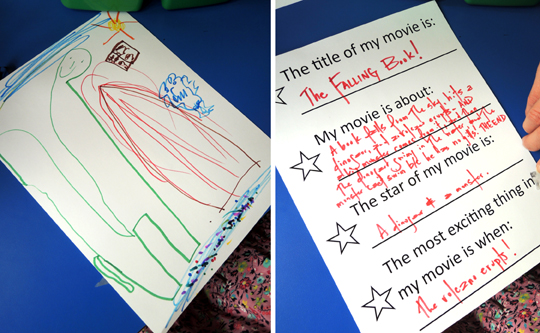 Just in case you can’t read that last poster, the movie is plot is “A book falls from the sky, hits a dinosaur, and a volcano erupts AND a sky monster comes from it, and the dinosaur swims in the water and the monster can’t swim because he has no gills. THE END.”
So, how did this project go over? Oh wow. Oh wowie wow wow. They LOVED it. The gallery was filled with kids filming everything. Siblings, parents, puppet shows, inanimate objects. I had a little band of paparazzi following me around as well.
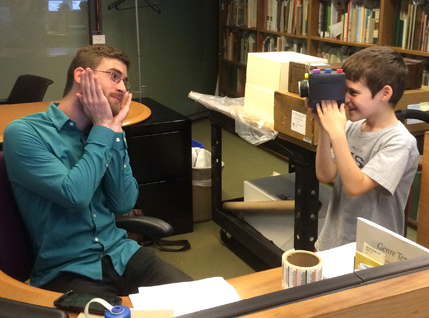
 One filmmaker marched into our offices and captured Ian’s best angles. You’re a shoe-in for an Academy Award for Best Supporting Actor, Ian!