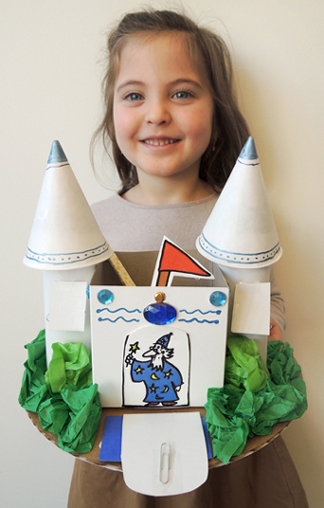
Use your magic wand to reveal the secrets of this enchanted castle – raise the drawbridge, hoist the flag, open windows, discover buried treasure, and more! All it takes is a magnet and a few well-placed paper clips!
We read I Wished for a Unicorn, written by Robert Heidbreder, and illustrated by Kady MacDonald Denton (Kids Can Press, 2000). A little girl wishes for a unicorn, and wow… one appears! Granted, it looks and acts suspiciously like her pet dog, but that doesn’t stop the two from having amazing adventures in a magic woods and enchanted castle.
You’ll need:
- 1 corrugated cardboard base (we used a 10″ diameter cake circle)
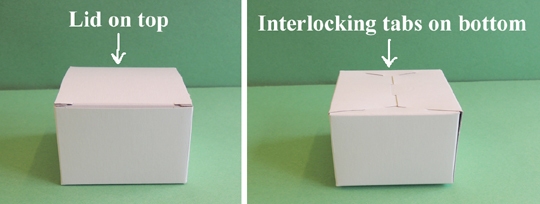
- 1 small box (ours was 4″ x 4″ x 4″ – a small tissue box works too)
- 2 paper towel tubes
- 2 paper cone water cups
- Construction paper
- 1 magnet castle template, printed on 8.5″ x 11″ white card stock
- 1 brass fastener
- 1 pair of unused, intact chopsticks
- 1 button magnet
- 6-7 small paper clips
- Scissors, tape, and glue for construction
- Markers for decorating
- Hole punch
- Hot glue
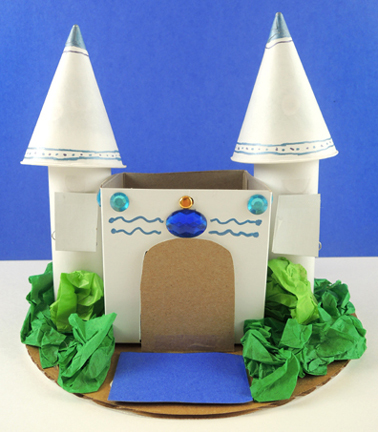
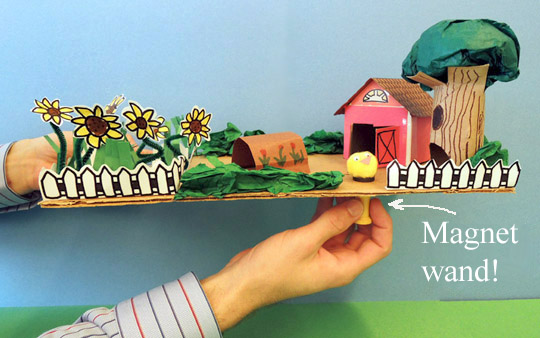
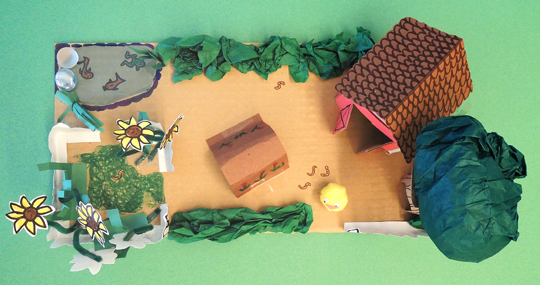
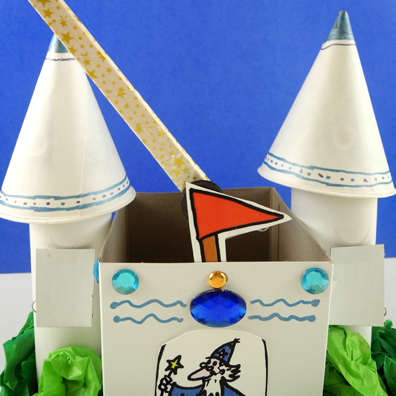
As far as construction, this castle is very basic. We used a 4″ x 4″ x 4″ craft box with the lid cut off, and hot glued it to a corrugated cardboard base. Add 2 shortened paper towel tube towers, 2 cone drinking cup roofs, and some (optional) green tissue paper shrubs . The drawbridge is a hinged piece of cardboard (we used the scrap from our box lid). The moat is construction paper. Wrap the castle with construction paper if you like, then decorate with metallic markers and perhaps a jewel or two. You’re done!
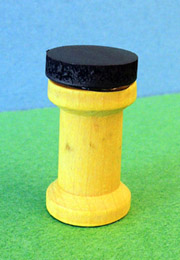
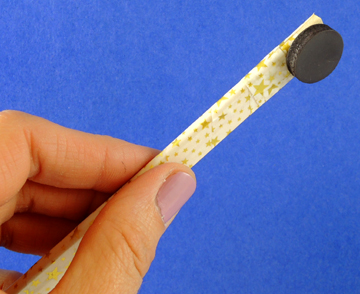
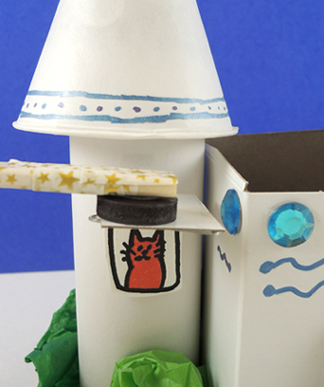
Infusing your castle with magical powers is also easy, thanks to this “magic wand.” It’s a pair of intact chopsticks decorated with markers or patterned tape. Hot glue a button magnet to the wider end:
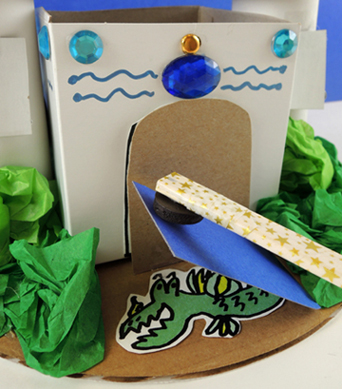
 Next, tape paperclips to various castle elements. Here’s what we did, using our castle template. The drawbridge lowers to reveal a wizard:
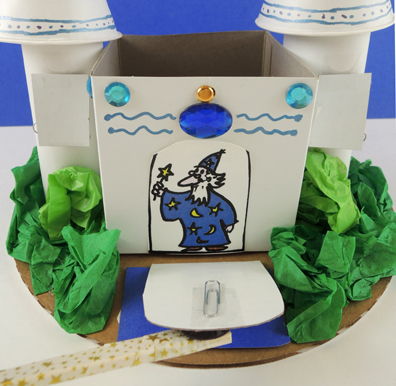 The moat rises to reveal a water dragon:
 The castle towers each have a window that hinges upward to reveal something inside. Below you see a cat…the other window has a friendly flower in a pot:
 Above the drawbridge, you can also raise a flag! Use a hole punch to create a hole in the pole of the template flag, and in the wall of the castle. Thread a brass tack through the holes, tape a paperclip to the back of the flag, and fly it high!
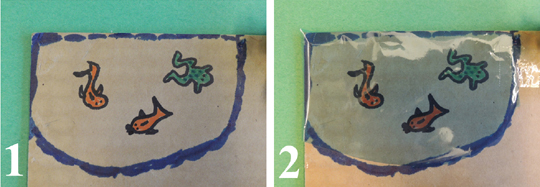
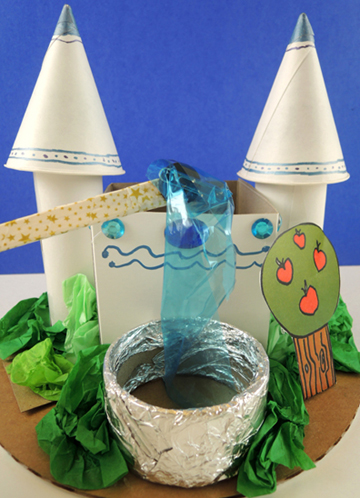
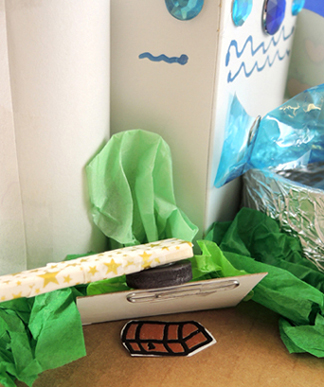
 Around the back of the castle is an (optional) fountain. We wrapped a packing tape core with tin foil, then taped a 3″ x 6.5″ rectangle of blue cellophane inside. Use a paper clip and the wand to make the fountain water rise!
 In the garden next to the fountain was a buried treasure trap door:
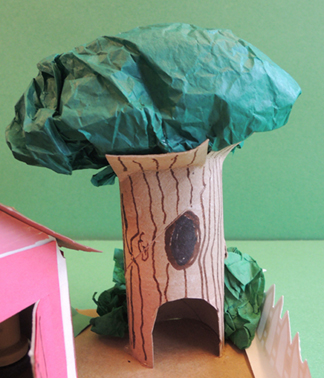
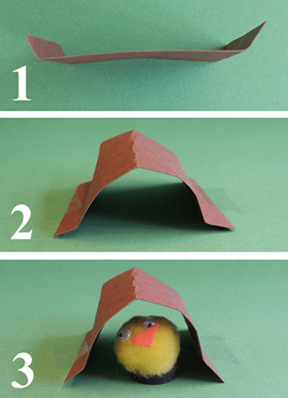
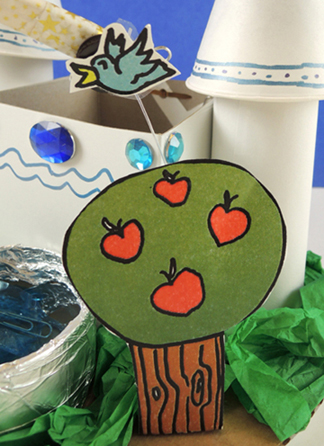
 And on the other side of the fountain is an apple tree with flying bird. We tethered the bird to the tree with clear elastic beading cord, but any string will do:
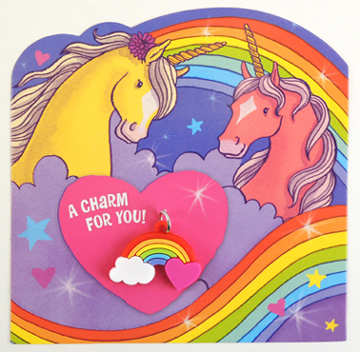
 At this point, you might be wondering…where is the UNICORN? The book is all about an adventure with a unicorn! Well fear not. We scored these awesome unicorn Valentines by Peaceable Kingdom (a set of 28 cards cost $13-15). Each card comes with a little rainbow charm:
 When kids were finished with their castles, DR. MAGICAL PURPLE UNICORN bestowed cards and rainbow charms!
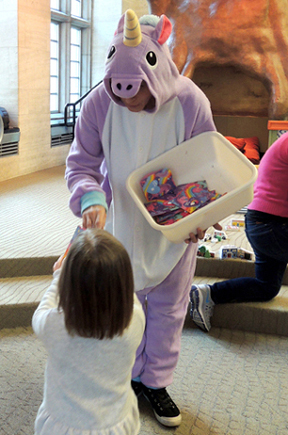 And yes, that unicorn onesie does feel just as comfortable as it looks.
 Twirl, leap, coast and spin! The skating rink is open and you’re invited to strut your stuff, courtesy of a magnet attached to the bottom of a toilet paper tube skater. If things start to get a little chilly, glide through our cozy hot chocolate shack for a fill up!
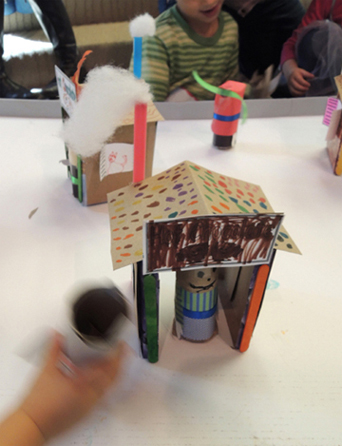 We read Little Red Gliding Hood, written by Tara Lazar, and illustrated by Troy Cummings (Random House, 2015). Little Red is a great skater, but her ice skates have definitely seen better days. When a skating competition is announced, along with a prize of brand new skates, Little Red is thrilled. Unfortunately, it’s a pairs skating competition, and she has no partner. Unfortunately, while searching for a partner, she encounters the Big Bad Wolf! After a face-paced and spirited chase across the ice, he finally catches her. But he’s not going to eat her…he just wanted to tell her that her laces were untied! Turns out the not-so-bad Wolf needs new skates too, and he’s a great skater to boot. The day of the competition, Little Red and the Wolf enter the completion. They put on such a great performance, the judges give them a perfect 10 and the grand prize!
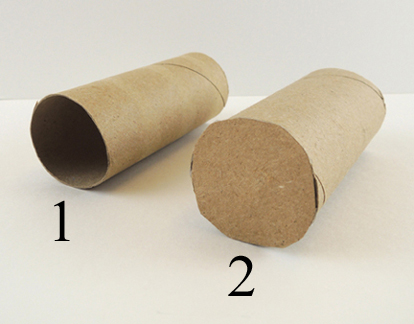 Next, use construction paper and markers to turn your tubes into a pair of ice skaters. In keeping with the book, one of our skaters was Little Red, and the other was the Big Bad Wolf. Katie put this adorable duo together, and added a bit of red ribbon for Red’s hood and the Wolf’s sash.
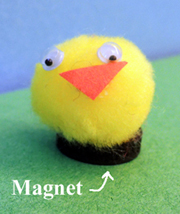
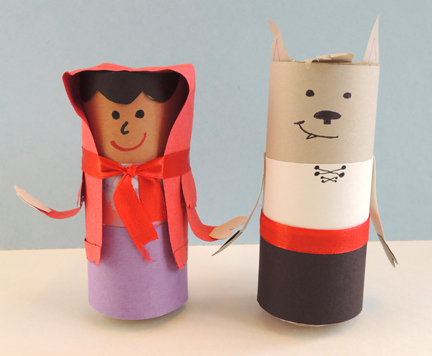 Hot glue a button magnet to the bottom of each tube.The bigger the magnet, the better the results on the rink! Our magnets were 0.75″ in diameter. We tried smaller ones, but they just couldn’t keep the connection.
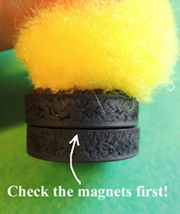
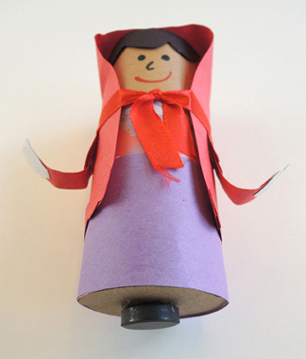 Next, hot glue button magnets to the bottoms of 2 corks (but test to make sure the skater magnets and the wand magnets attract before hot gluing them to the corks). We used champagne corks because they have a bulge at the bottom that was easier for little kids to grip. But wine corks work too.
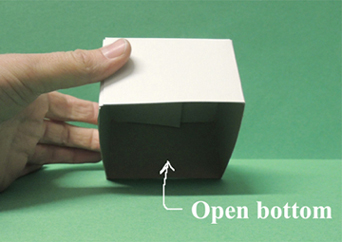
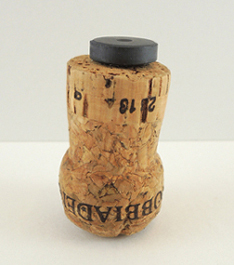 Now for the hot chocolate shack! Cut the bottom and 2 sides off a small tissue box. Your shack should have no floor, and the doorways should be tall enough for your skaters to glide through easily.
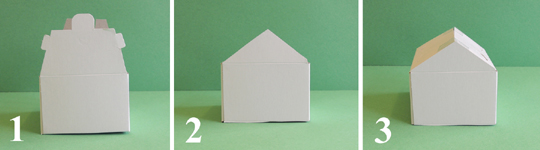
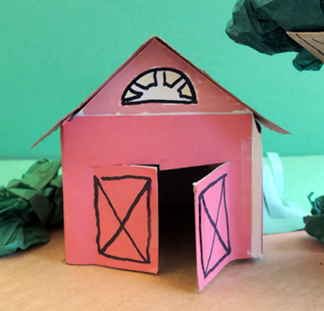
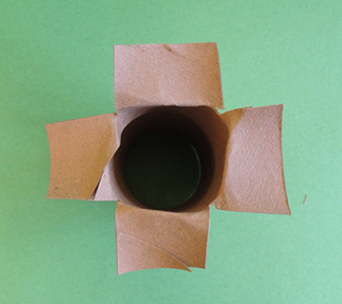
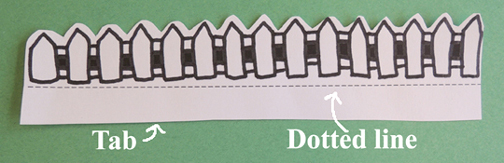
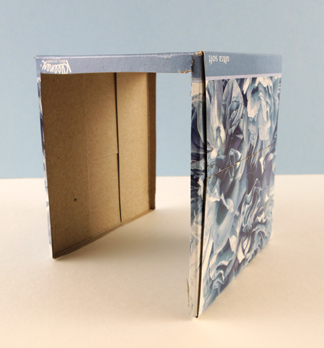 We used tagboard for the sides of the shack and the roof, but construction paper works too. Cut and color the sign and 2 windows from the shack template and attach them to the shack. We reinforced the sides of the box by gluing craft sticks on above and below the windows and on both sides of the doorways. The final touch – a chimney- is totally optional. Cut a
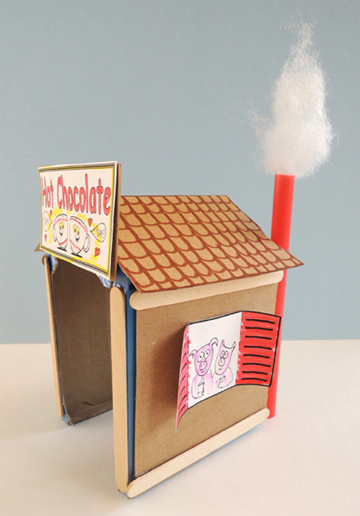
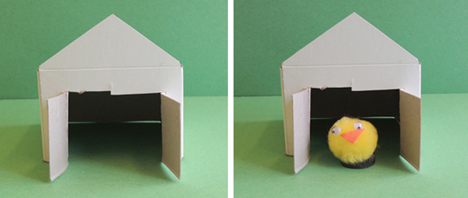
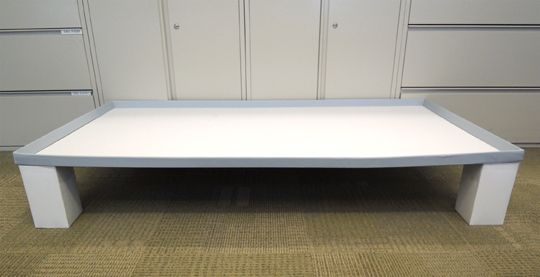 Place your skater on the top of the box, then place your magnet wand underneath the box. The magnets will connect through the cardboard, and you can start skating!
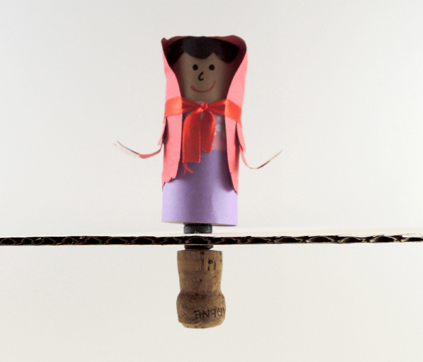 Plunk your hot chocolate shack down, crank up the Tchaikovsky, and skate!