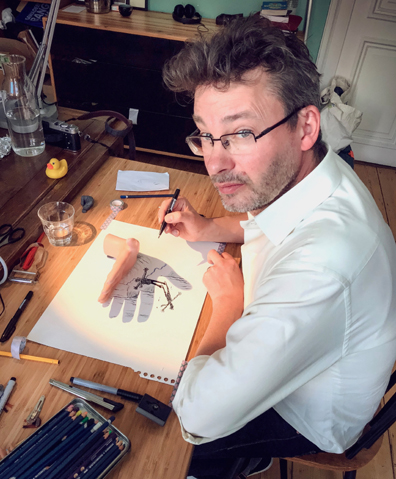
 It began with a spontaneous teacup doodle, and has steadily grown into printed postcards, calendars, two excellent books (Shadowology and Shadow World), and a dedicated Instagram following! Today, we’re delighted to chat with Belgian artist Vincent Bal, who has an extraordinarily playful and unique eye for life, light, objects, and shadows.

When did your relationship with shadows first begin?
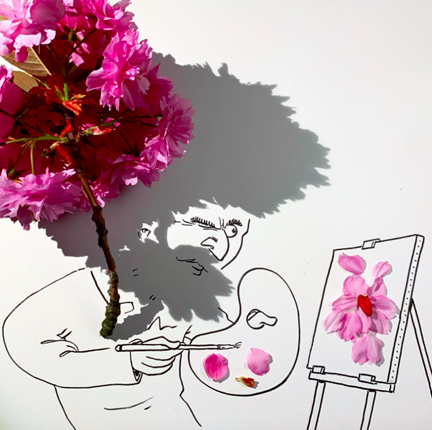
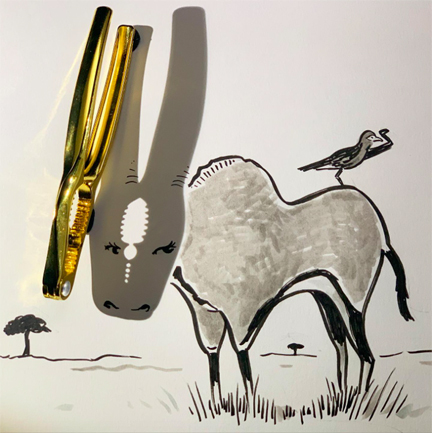
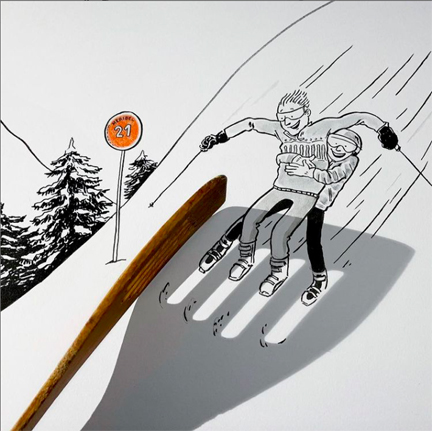
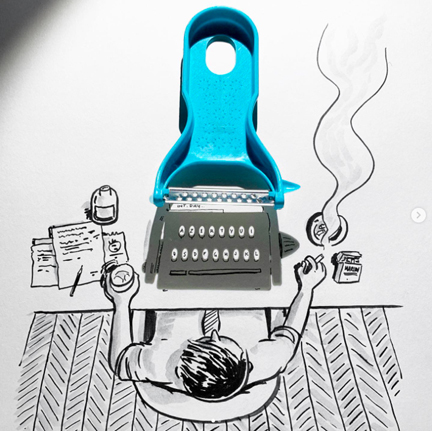
It started by accident in the spring of 2016. I was working at my desk and noticed how the shadow of a teacup looked quite like an elephant. So, I completed the image by drawing some legs and ayes and took a picture. When I shared it on social media, people reacted very enthusiastic.I thought it was funny too, so I decided to try and make 100 of these ‘shadow doodles’, I have not stopped since.
How have your interactions with light, shadow and objects changed over the past five years?
In the beginning I was happy with every image I could extract from the shadows. I was constantly looking through the drawers in the house to find new objects to work with. At this point I think I have exhausted the supplies in my own house. I must have tried everything. Also, I set the bar higher. I don’t want to repeat myself, so sometimes it takes me longer to come up with something new.
Also, I have developed little videos a bit more. It can be satisfying to see the image created before your eyes and it is fun to add an extra layer with sound effects and music.
Is there an unusual story or connection behind one particular drawing?
They are all special to me. But I remember the first time I discovered I could use the shadow as a setting for a scene. So not really use the outer shape of the shadow, but rather the nuances in the grey inside. I was sitting on a terrace of a house we rented in Italy. Every morning around seven the sun would shine on that specific place and give beautiful long shadows.
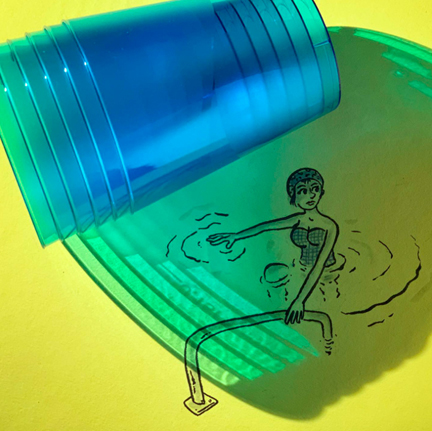
So I went there and starting experimenting with some of the glasses from the cupboard of the rental house. And suddenly I saw a beach. I just added two small silhouettes and some seagulls, and it came to life. The image was called ‘Love On Shadow Beach’. That was a wonderful discovery, and I have made a few beach scenes since then.
Many of your illustrations use natural light. But others appear to use artificial light as well. Do you also have a set of particular lamps and lights you use…similar to a painter using different types of brushes?
The Sun is definitely the best light source, she gives wonderfully crisp shadows. So in the first months I always drew with sunlight. But that has a few disadvantages as well. The sun moves, and so you must draw quick, because the shadows really change in the course of one minute. That way I could never do drawings that were a bit more elaborate.
And I live in Belgium, we don’t have a lot of sunshine here. I should have invented some way to draw with rain!
So I started working with lights, and it was quite a search to come up with the perfect light source. It had to be a very small source, so the shadows are sharp. The bigger the light source, the less focused the shadows are.
In the beginning I used a clear light bulb, but they get very hot, and I once almost burnt some cushions that way. Now I have a little LED light standing on a flexible arm and that works well. But whenever the sun shines into my office, I feel the urge to see what I can do with that light.
Is there one object you have that you can’t quite capture the shadow/concept of yet?
Maybe in the future I would like to make something bigger, but the logistics scare me a little.There is practically no planning in my work now. I discover and create at the same time, and with bigger objects and shadows that might be more difficult, but who knows?
Images courtesy of Vincent Bal

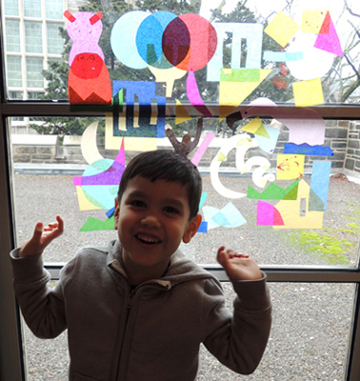
 It’s a simple project, but oh-so-beautiful! Design your own aurora borealis in Arctic skies, then light it up for a creative and colorful glow box!
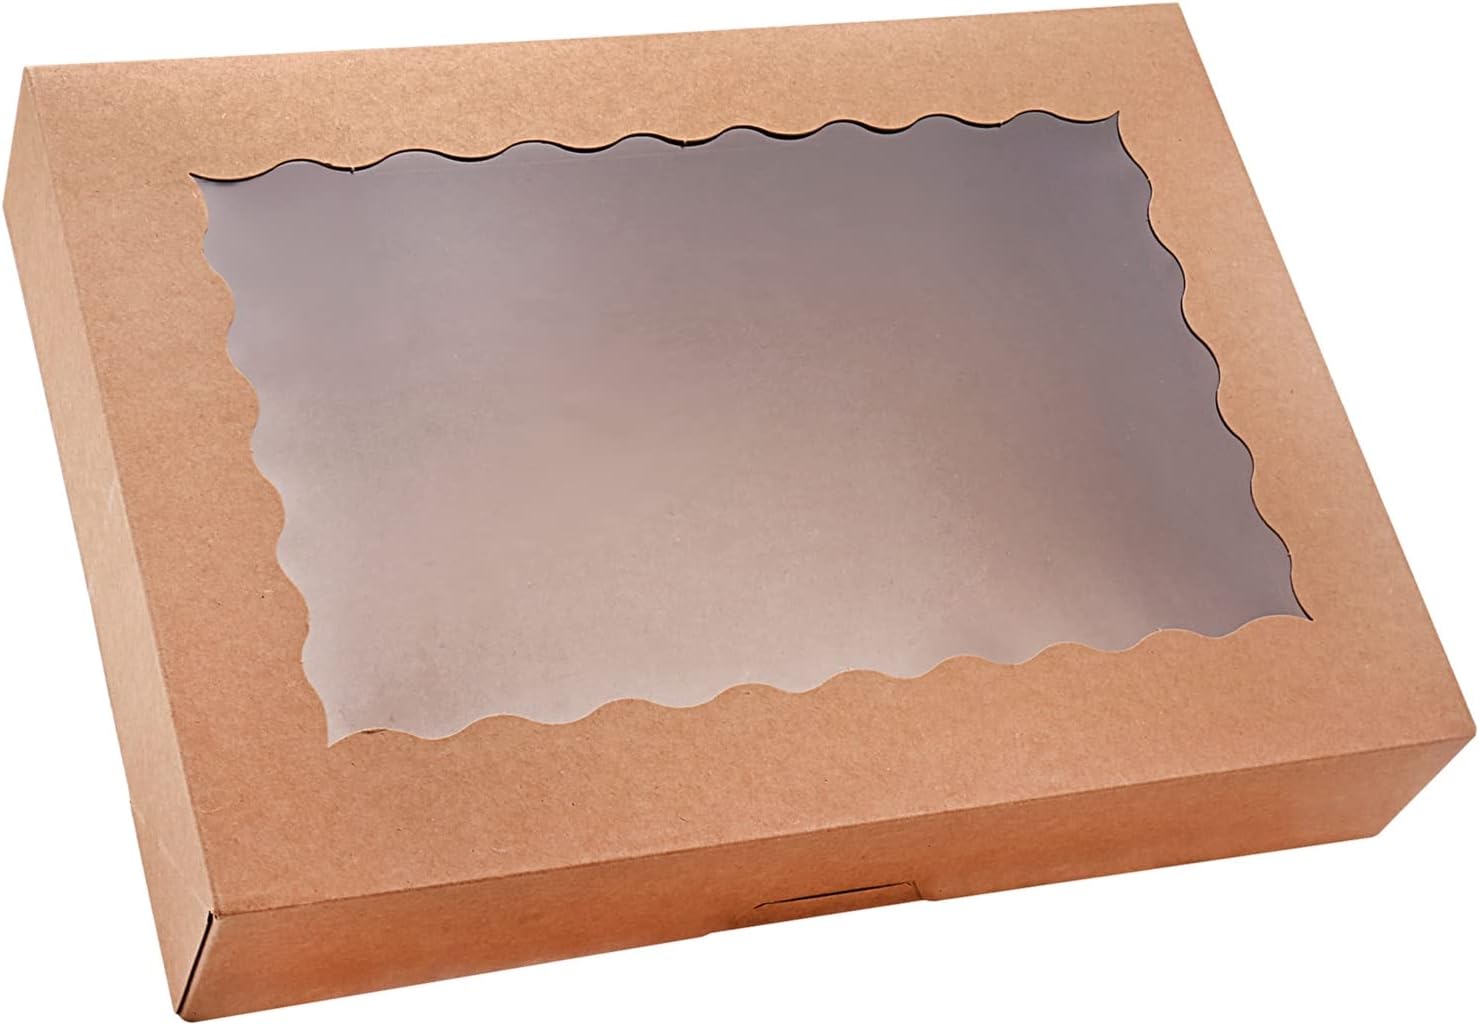 Now for the aurora borealis! Open the box and glue tissue paper snippets on the interior side of the window. We found glue sticks to be the best way to adhere things, because you can clearly see the glue going on and it dries clear! When the sky is finished, tape a string of LED mini lights to the back of the box like so:
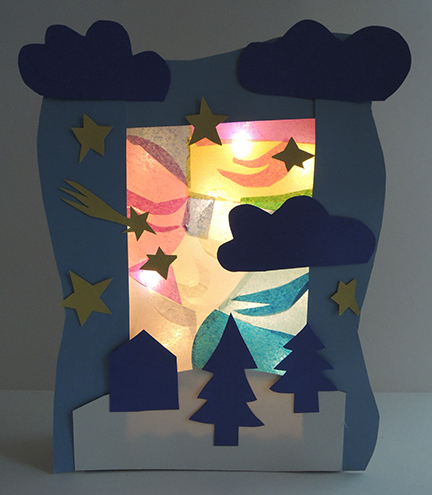
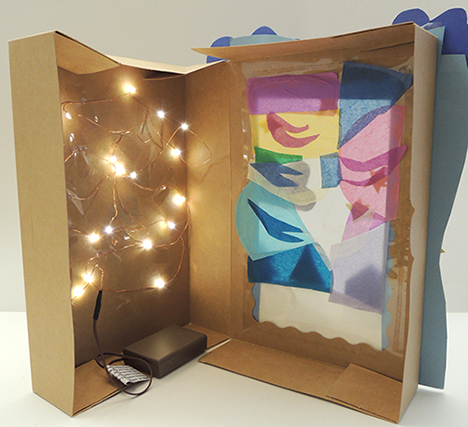 Close the box and use poster board to create a landscape on the front of the box. We used cool Arctic colors: light blue, dark blue, yellow and white. The boxes turned out great…especially this one with a FLYING UNICORN!!!
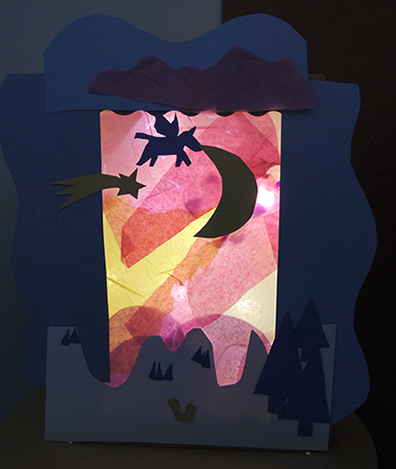
 We also recommend markers, just in case kids wanted to add details, or draw expressions on their animals…
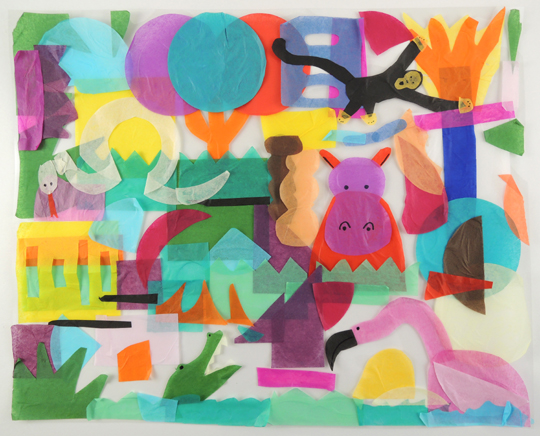
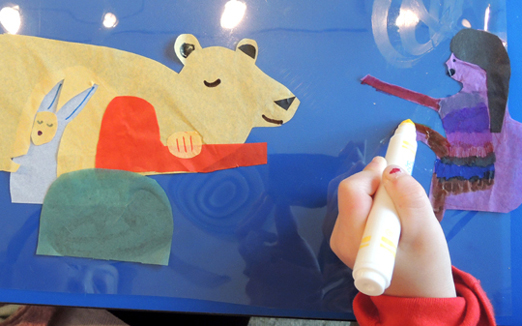 When your creation is complete, tape it to a window or door and admire the shapes and colors. It’s especially cool when the colors overlap!