 Theoretically speaking, what WOULD happen if a llama created a black hole with his overzealous cake consumption? Would the world survive?
We read Llama Destroys the World, written by Jonathan Stutzman, and illustrated by Heather Fox (Henry Holt and Company, 2019). On Monday, Llama stuffs himself on cake, setting up a chain reaction that creates a black hole (cake consumption > dancing pants don’t fit > pants rip > cosmic vibration > black hole). And hilariously, Llama does destroy the world. However! Everything comes out the other side of the black hole totally fine! The world is restored…and then Llama sees PIE…
This book. THIS BOOK! So funny, so unexpected. It absolutely had everyone in stitches and it was a joyous read aloud. From the illustrations of the pop-eyed llama, to his exclamations of “I am Llama!” this book is a classic.
You’ll need:
- Small box
- 6 toilet paper tubes
- Brown and white construction paper
- Scissors and tape for construction
- Markers for decorating
- Hot glue
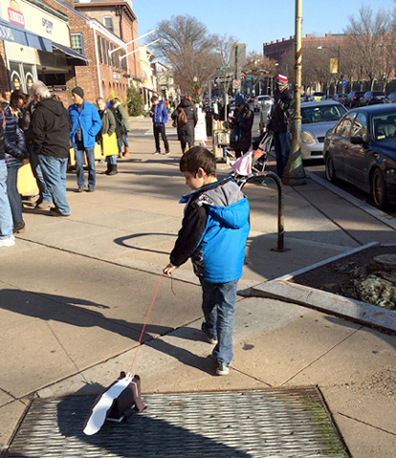
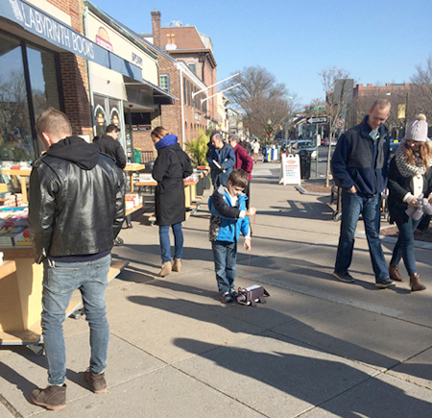
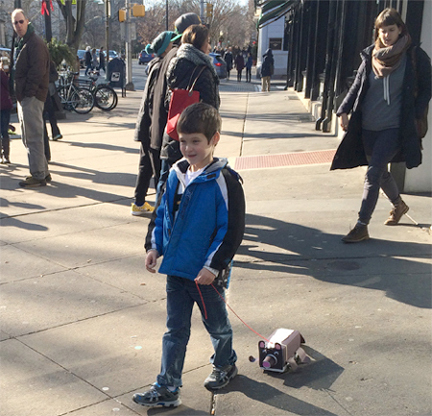
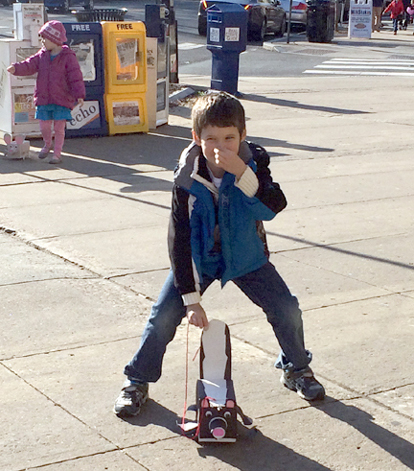
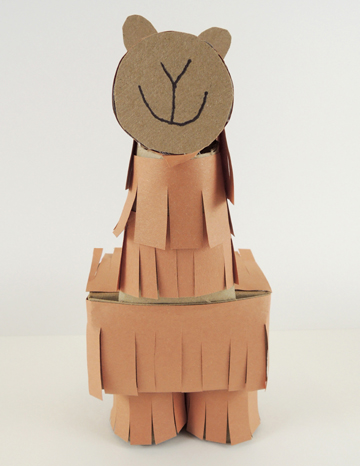
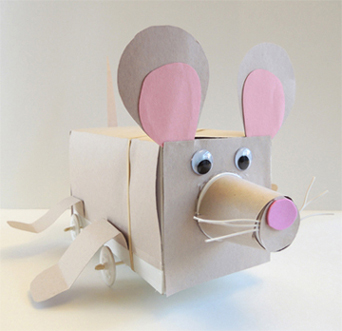
So, here is our llama project, decked out in awesome groovy polka-dot dance pants!
 First, wrap 4 toilet paper tubes with constructions paper…2 with brown paper fringes, 2 with plain white. Next, cut the bottom off a small box (like a square tissue box). Then set the box on top of the legs (we hot glued the legs in place, too). The rest of the box gets decorated with brown construction paper fringes and white construction paper “pants.”
And don’t forget to decorate those pants with markers!
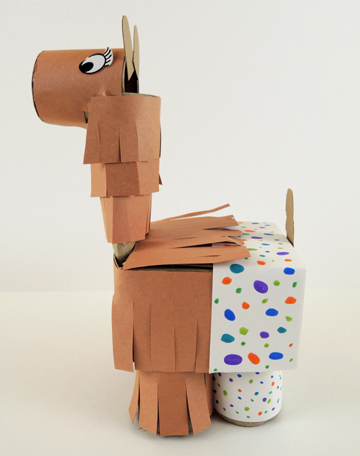
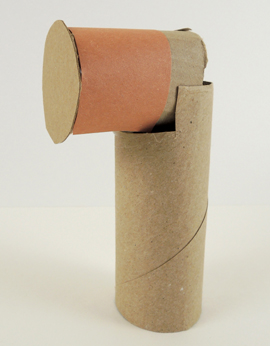
The llama’s neck and head are toilet paper tubes. As you can see in the below photo, we hot glued a 2.25″ snippet of toilet paper tube onto a full-sized toilet paper tube that was notched at the top. We added a small circle of cardboard to finish off the muzzle, and wrapped it with a bit of brown construction paper.
 Now wrap the neck with brown construction paper fringes, pinch the bottom of the neck, and slide it into the front of the box (if you’re using a tissue box, you’ll need to cut a slit in the box). Use spare cardboard to make llama ears and a tail, add some eyes, and you’re done!
 We decided to take the project one step further by introducing a black hole activity (and yup, crafting a black hole was a first in my long history of story times!). First, we had kids make pies and cakes using a paper cup, tin foil, and a paper baking cup.
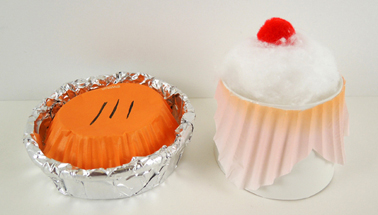 The pie tin is the top of the paper cup (i.e. the open mouth part of the cup) wrapped in tin foil. The pie is the bottom of a paper baking cup.
The cake is the bottom of the same paper cup with the fluted sides of the paper baking cup taped to it. Cotton ball whipped cream and a mini pom-pom cherry optional!
Once kids made a pie and cake, they proceeded to the “black hole” to play a little comparison game. The black hole was a vinyl kiddie pool ring we draped with black sheets and illuminated with green glow sticks.
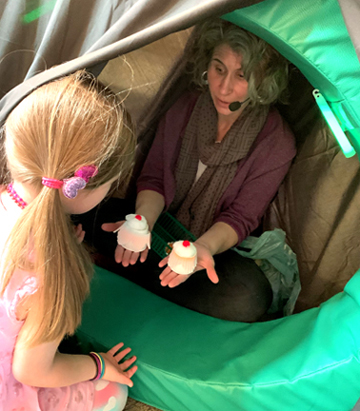 I sat inside, and kids had to enter the black hole, look at the 2 cakes and 2 pies “floating” inside it, and select the one they had created!
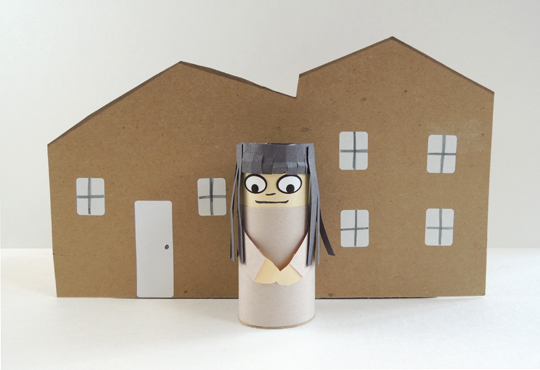
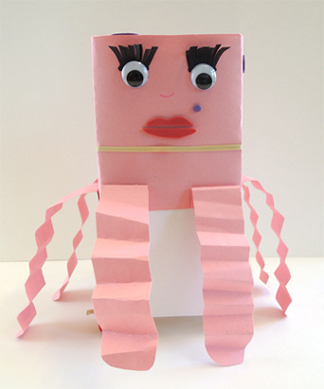
 We read Meet The Dullards, written by Sara Pennypacker and illustrated by Daniel Salmieri (HarperCollins, 2015). The Dullard kids (Blanda, Borely, and Little Dud) are causing trouble. For starters, they’re – gasp – reading circus books instead of staring at blank pieces of paper! And last week, their parents caught them trying to play outside! Things are getting so chaotic, the Dullards decide to move to a less exciting neighborhood. But while Mr. and Mrs. Dullard are (literally) watching the paint dry on their news walls, the kids sneak outside to play circus. This is just too much! The Dullards move back to their old neighborhood. As Mr. and Mrs. Dullard fall asleep, they feel assured that their lives are finally back to being perfectly boring. The kids, however, have other plans. They’ve joined the circus.
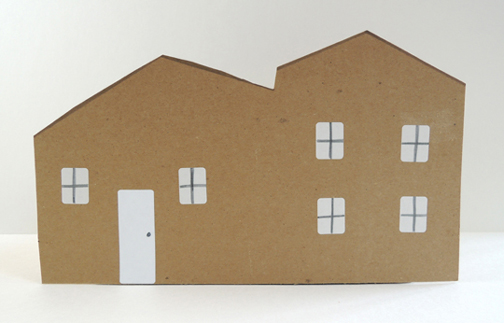 Next, we made a dull toilet paper tube person. Here, I used the book’s illustrations as a guide. Grey clothes, black hair, etc. I only offered one kind of eye sticker too! We don’t want any overstimulating variations on eyes now, do we?
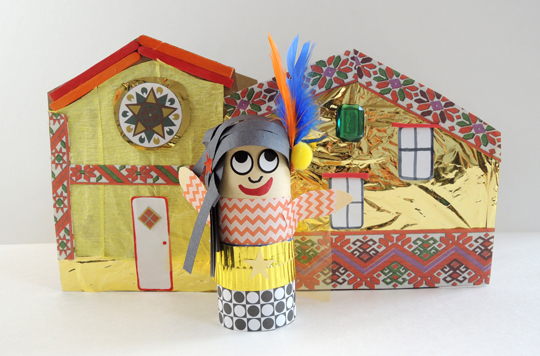
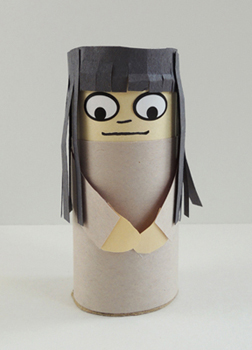 Your dull house and person are finished. Set them aside. Pick up the second house facade…and go CRAZY! We brought out the
  Our decorating supplies included
 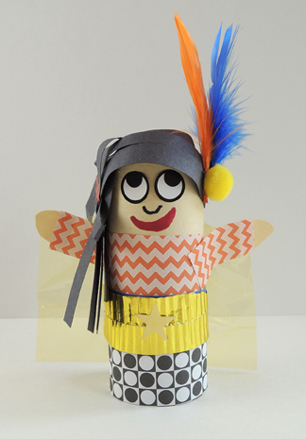 When the exciting house facades are finished, hot glue them to one side of a large tissue box. Hot glue the dull facade to the other side of the box. Twirl the box around to view the dull and exciting sides. And speaking of exciting sides, check out these masterpieces…

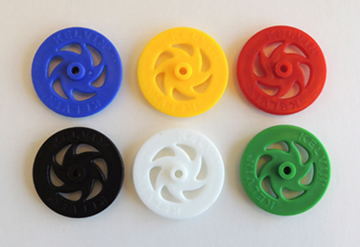 Thread the wheels on pieces of bamboo skewer, and then thread the skewers through drinking straws taped to the bottom of the box like so:
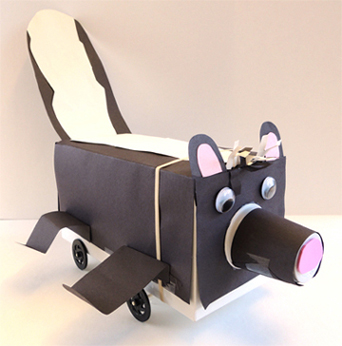
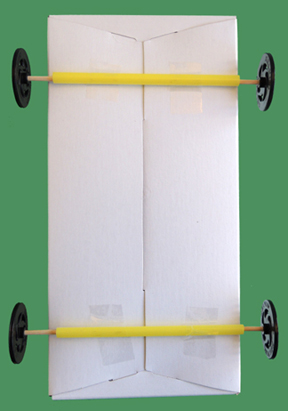 You could also use wooden spools instead of plastic wheels. Or, if you’re planning to stay indoors, skip the wheels and just drag the box on the floor (like the dog from