Manage That Mane

manage that maneIs your mane getting a little wild and unruly? It might be time to tame those locks with a firm hand and LOTS of hair bows!

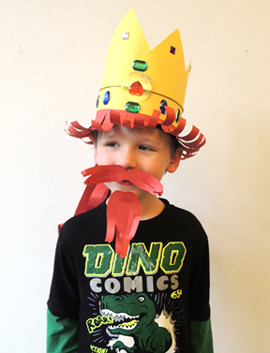
We read Little Red and the Very Hungry Lion by Alex Smith (Scholastic Press, 2015). Little Red is going to be eaten by a lion. At least that’s what the lion THINKS is going to happen! But Little Red has other ideas and this sassy and resourceful girl gives him quite a schooling. A delightful play on Little Red Riding Hood, this book was a super fun read-aloud…especially the last page!

In the book, the lion gets an amazing, but ultimately unwanted, makeover. It’s hilarious and we wanted to capture that in our story time project. So we designed an oatmeal container lion with a fabulous mane for cutting and styling!

You’ll need:

  • 1 large oatmeal container
  • Brown, yellow, and white construction paper
  • A circle of corrugated cardboard
  • 1 mane styling template, printed on 8.5″ x 11″ white card stock
  • Scissors, tape, and glue for construction
  • Markers for decorating
  • Hot glue

lion a little smaller
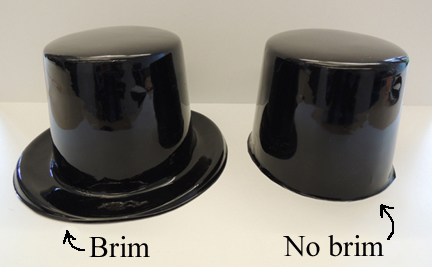
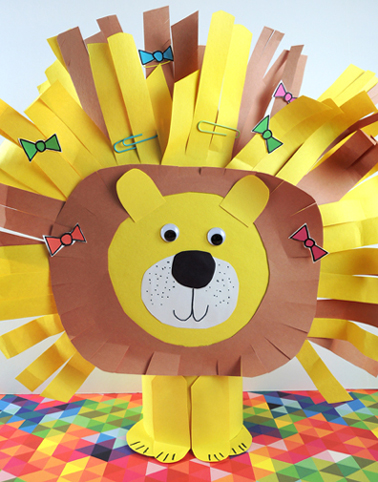
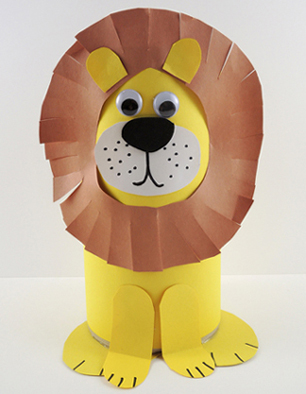
The lion is an oatmeal container decorated with construction paper and (optional) wiggle eyes. The original instructions can be found in our Lion-Hearted Hero post. However! You’ll need to do one significant modification to the lion’s face…a cardboard circle foundation to hold all those mane extensions:

lion comparison
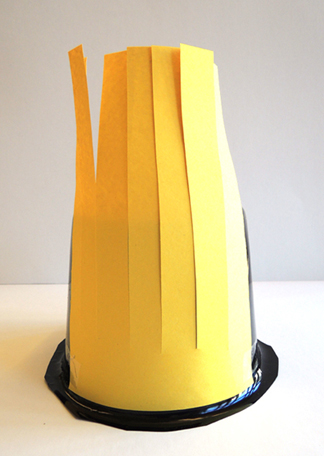
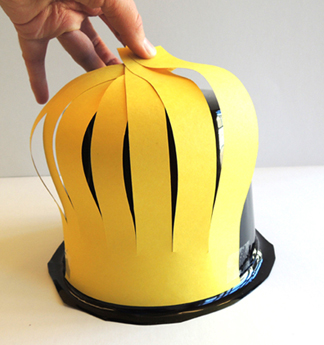
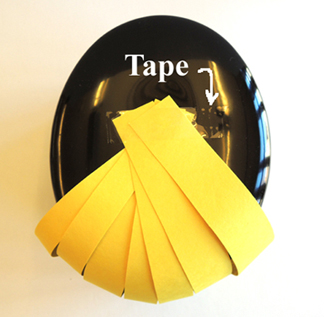
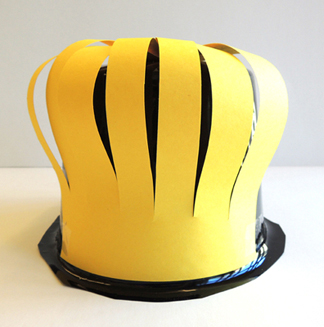
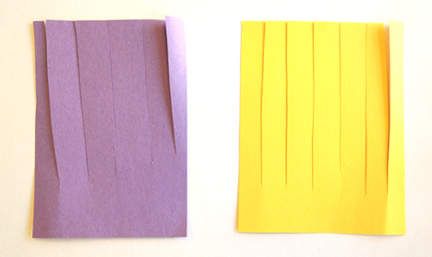
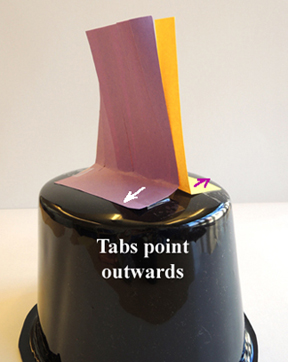
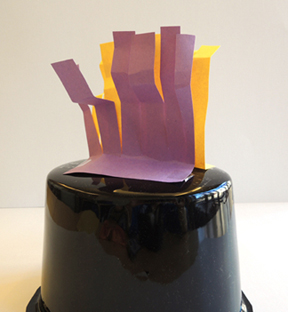
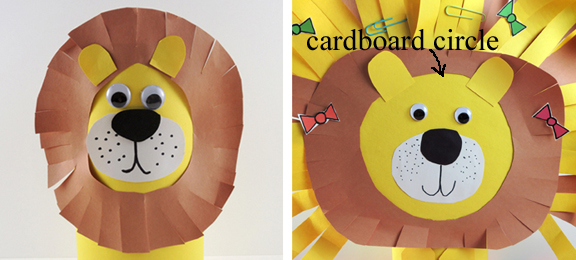
Glue a circle of yellow construction paper to a 7.5″ diameter corrugated cardboard circle (we used a cake circle). Attach the brown mane circle, and add the lion’s eyes, ears, nose, and muzzle. Next, tape a bunch of yellow and brown construction paper fringes to the back of the cardboard circle. Finish by hot gluing the entire thing to the oatmeal container body. We recommend reinforcing that connection with tape as well.

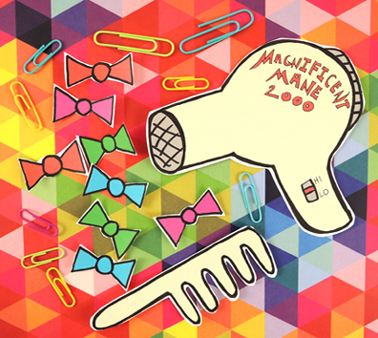
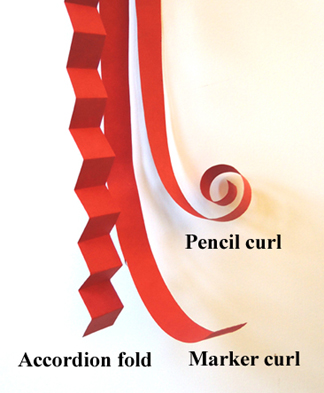
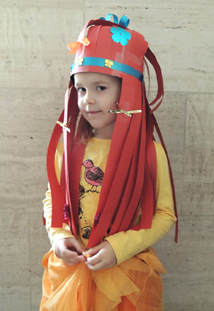
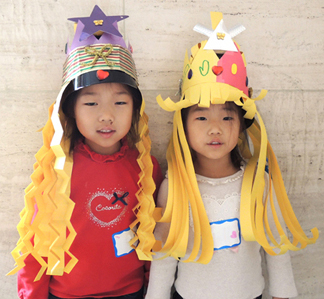
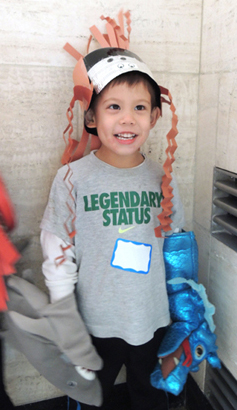
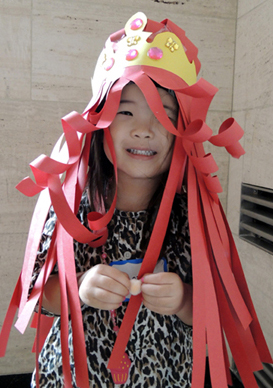
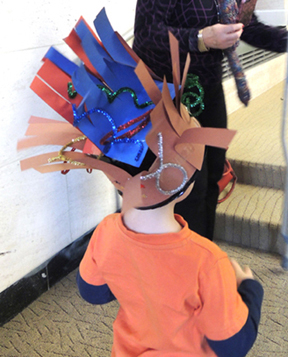
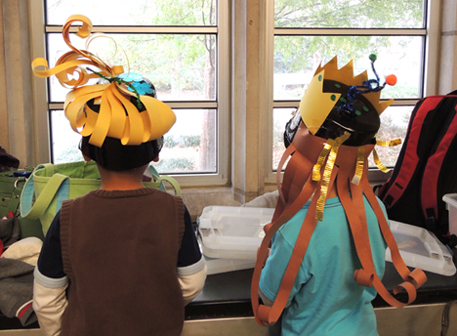
Color and cut the hair bows, comb, and blow dryer from the template, then stand your lion in front of a mirror and start cutting and styling! We also offered paper clip barrettes and extra mane fringes to take home for future haircuts.

mane styling set

Good Hair Day

wig montageBecause if you don’t look good…we don’t look good.

We read The Hair Scare by Jeffrey Fisher (Bloomsbury Children’s Books, 2006). Radbert has a talent for cutting hair, and his styles are simply amazing. Soon, the king comes knocking, demanding the best haircut of all time. Radbert delivers, but it is NOT to the king’s liking. He royally decrees that there will be no more haircuts, triggering a slew of shaggy dos, unkempt tresses, and general hair sadness. The king once again seeks out Radbert. Once again he asks for a haircut. But when the haircut is revealed and the moment of truth arrives, the haircut takes matters into its own hands!

You’ll need:

  • 1 plastic top hat (I bought mine from Oriental Trading Company).
  • A selection of 12″ x 18″ construction paper
  • A selection of 9″ x 12″ construction paper
  • A selection of craft ties
  • A selection of sparkle stems
  • A selection of foil star stickers (optional)
  • A selection of ribbon
  • Markers and unsharpened pencils for curling.
  • Scissors and tape for construction

We prepped the 12″ x 18″ construction paper in advance by fringing it lengthwise to create long locks. We used “natural” hair colors: black, brown, red and yellow. For more daring dos, I stocked up on smaller sheets of construction paper in multiple colors.

In addition to the construction paper, I offered craft ties, sparkle stems, ribbons, and star stickers to add flair. The craft ties worked especially well as barrettes and headbands. I also brought out the Bling Bin for extra touches.

To make your hair more wig-like, I would recommend cutting the brim off your plastic hat. This does, however, make it more wobbly. If the wobble is going to be a problem, leave the brim on (or wait until the very end to cut it off).

hat brimsBefore we got started the project, I gave the kids four quick “style” tutorials. Namely, the hair poof, the mohawk, the crimp & curl, and the crown.

1) THE HAIR POOF

Fringe a length of construction paper, and tape it to the front of the hat.

hair poof 1Bunch the ends together at the top…

hair poof 2Then tape it on the top of the hat.

hair poof 3Your hair poof is complete!

finished hair poof2) THE MOHAWK

Fringe two pieces of construction paper (I used contrasting colors to make it easier to see in the example).

mohawk step 1Tab the bottom of each fringe, then tape the tab to the top of the hat. The tab of both fringes should be pointing outward, causing the fringes to lean in and support each other.

mohawk step 2Finish by crimping the hair!

mohawk finished3) THE CRIMP & CURL

To add body and texture, employ the crimp & curl! Basically, this involves folding or curling the fringe strands. An accordion fold (i.e. folding the paper back and forth in squares) produces a nice crimp. Curls are produced by wrapping the fringe around a marker or pencil. Markers create long curls, pencils create tight curls.

crimp & curl4) THE CROWN

Since there was a king in the book, I offered a construction paper crown option with large gemstones available through the magic of hot glue. Attach optional mustaches, beards, and goatees to face with foam mounting tape.

model 4After the tutorials concluded, the kids took off running…or styling really. Check out some of these amazing dos!

The sleek “Band with Bows”

hairstyle 1The “Side Spider Surprise”

hairstyle 2The “Absolutely Adorable Duo”

hairstyle 3The “Crimped and Casual” (very popular with shark and dragon wranglers this year).

hairstyle 4The “Little Mermaid”

hairstyle 5The “Stacked Sparkler”

hairstyle 6The “Straight Up Sassy”

hairstyle 9The “Gravity-Defying Ponytail” and “King Gleaming Locks”

hairstyle 8The “Rapunzel Updo”

hairstyle 7