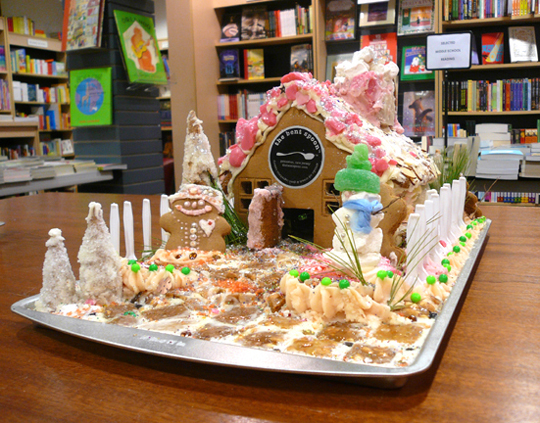
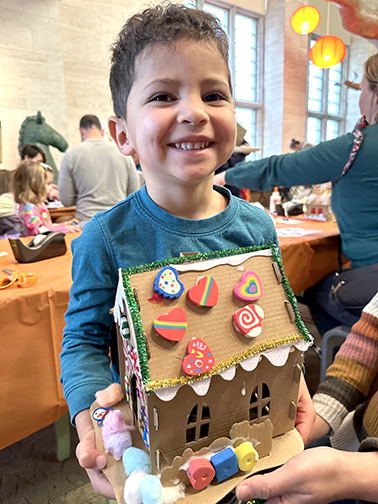
 Recently, we coordinated a very special program celebrating the opening of our new exhibit, “Once Upon New Times: Reimagining Children’s Classics.” The exhibit brings fresh takes to old tales in Cotsen’s special collections, and we decided to bring the story of Hansel and Gretel to life with “Gingerbread Architecture,” a creative construction extravaganza!
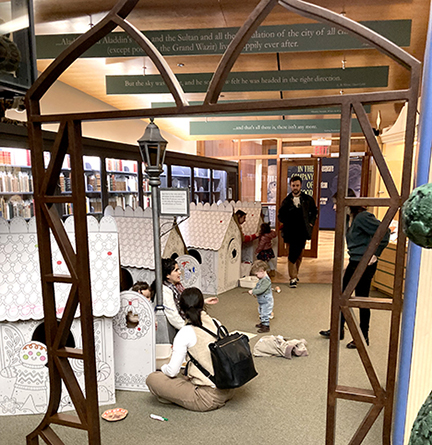
At community family events, we try to offer activities for all ages, so for the youngest set we had a gingerbread neighborhood (the cardboard houses are from Target, you can find them in the art section this holiday season):
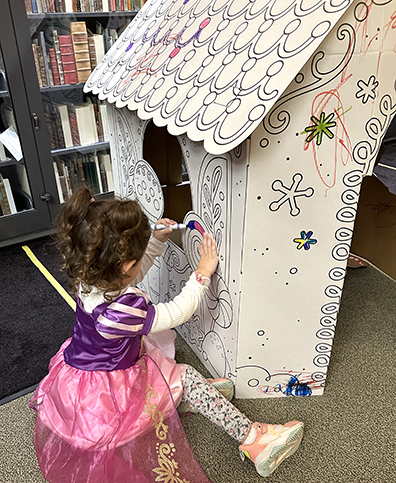
 All four houses included plenty of markers for decorating, a task many artists took very seriously, spending at least an hour concentrating mightily…
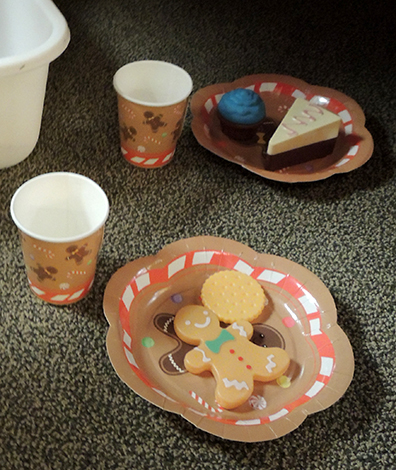
 Inside the houses were cute paper gingerbread plates and cups (set of 24 pieces for $15 on Amazon), as well as a couple plastic cookie sets (65 piece set $15 on Amazon):
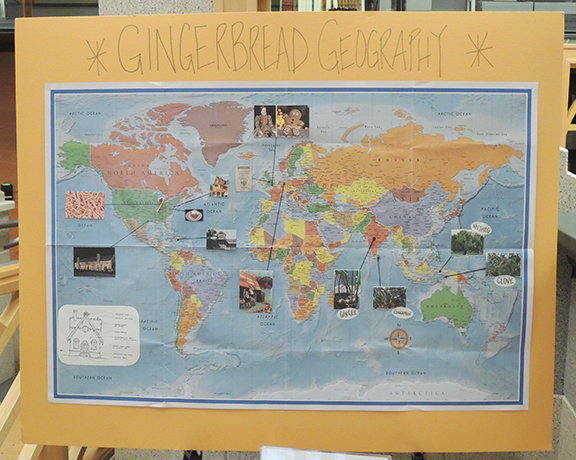
 Elsewhere in the gallery was a mini exhibit on “Gingerbread Geography.” We pinpointed different locations on a world map that highlighted the origin of various ingredients, some fun facts (example: Shakespeare mentioned gingerbread in Love’s Labour’s Lost!), and a take-home copy of Mary Ball Washington’s 1784 recipe – yes, the President’s mom was a gingerbread enthusiast!
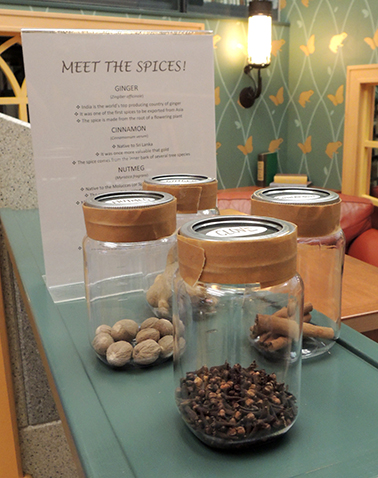
Nearby the map was a “Meet the Spices!” station where kids could see actual ginger root, nutmeg, cloves, and cinnamon sticks.
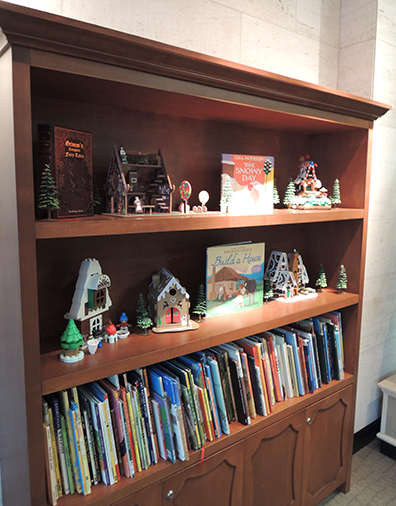
Our final display was a gallery of various gingerbread kits – from DUPLO to paper punch outs. The goal was to inspire the builders with different variations of houses.
Finally…the main event! Decorating! Out of respect to visitors with food allergies (and future dental bills) our houses were made exclusively with art supplies. We purchased several varieties of gingerbread houses for different age ranges. Here are the more sophisticated templates, which we acquired from Amazon (32 houses for $95 on Amazon. which came to about $3 a house) :
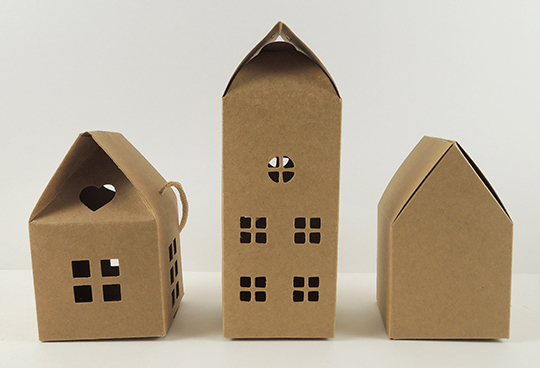
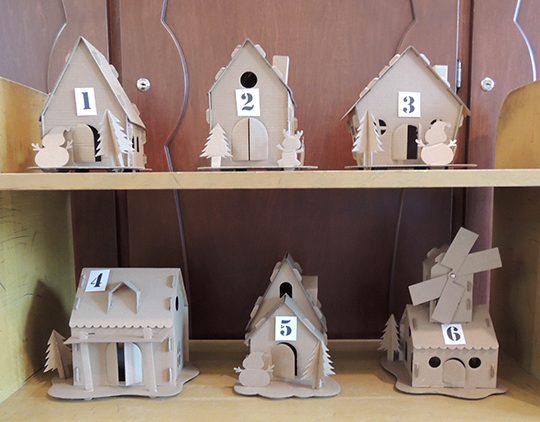 Since the sets arrived with a tiny photo label and no instructions, we built one of each to display. Kids picked the one they wanted, and we handed them the set to build from scratch! For those who wanted a more basic build, we offered three options, also purchased from Amazon (left house was 15 for $12; middle house was 50 for $12; right house was 50 for $25):
 Once the house was assembled, families headed to our craft section to load up on decorations! We offered white self-adhesive foam sheets, tons of candy stickers, mini pom-poms, cotton balls in various colors, heart erasers, sparkle stems, striped straws, plastic peppermints, ric rac ribbon, foam beads, and mini plastic candy canes.
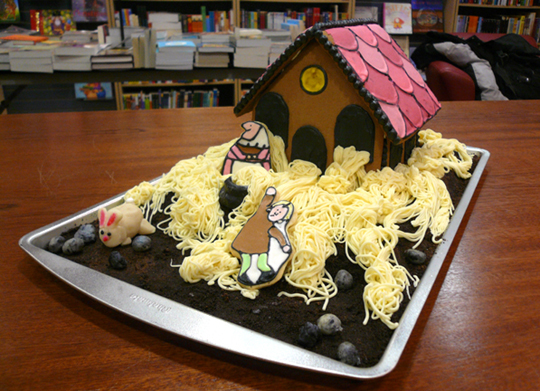
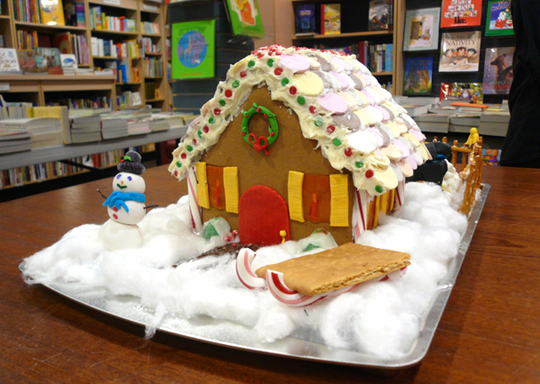
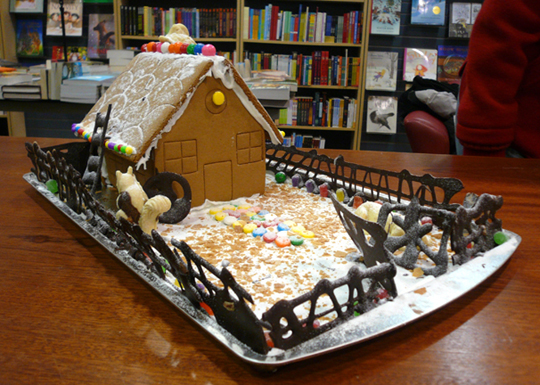
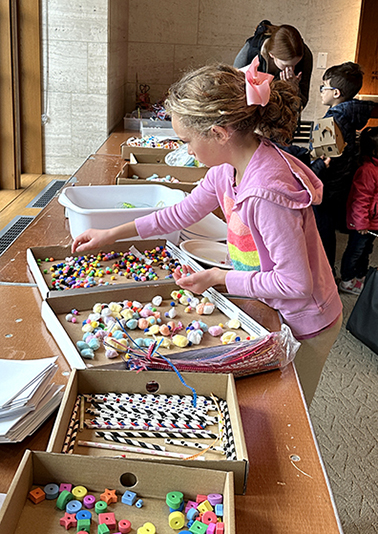 The workshop area was stocked with scissors, markers, tape, and glue, but we also had a hot glue station running for trickier pieces. The results were full of variety and creativity, as you can see from the gallery below!
As always, Katie and I wore something to identify us as staff on the event floor. This time, it was these awesome “Gingerbread Running Team: You Can’t Catch Me” t-shirts.
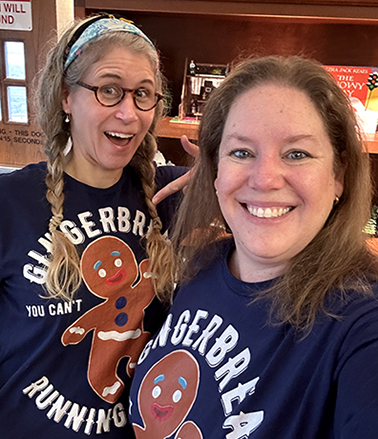 What’s really cool is that the shirts are a literary nod to “The Gingerbread Man,” which was originally printed as “The Gin-Ger-Bread Boy” in St. Nicholas Magazine in 1875. And yes, we did have a copy in our special collections, so here’s the original printing!
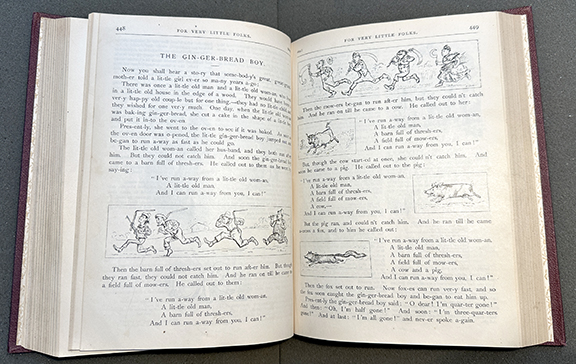
St. Nicholas : an illustrated magazine for young folks. Conducted by Mary Mapes Dodge. Volume II Nov 1874-Nov 1875 (New York : Scribner & Co.). Cotsen Children’s Library, Department of Special Collections, Princeton University Library
This was a big event so we’d like to extend our extreme gratitude to Princeton University students Anna, Cathleen and Shruti for volunteering their time for the build! Thank you!

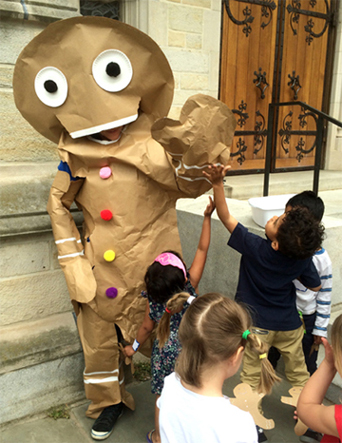
 Yes, that’s me. Dressed as a giant gingerbread cookie, on the run from some extremely determined children. We made adorable (and non-edible) gingerbread houses with a surprise inside. Pull the peppermint loop on the roof, and up pops a gingerbread person! However, in order to get one of those little gingerbread persons, you have to catch the BIG one first (scroll to the bottom of the post for the video)!
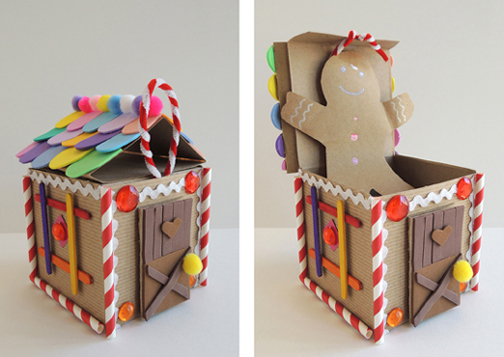 We read The Gingerbread Baby by Jan Brett (G.P. Putnam’s Sons, 1999). On a cold, snowy day, Matti and his mother decide to make gingerbread. The cookbook instructs them to bake the cookie for eight minutes without peeking, but Matti can’t resist. He opens the oven and out leaps a feisty Gingerbread Baby, who promptly bolts out the door. A merry chase ensues involving Matti’s parents, the cat, the dog, the goats, two girls, a pig, a fox, a milk & cheese man, and assorted villagers. But clever Matti has his own plan. He builds an enticing gingerbread house, leaves it in the woods, and the Gingerbread Baby dashes inside. Home sweet home!
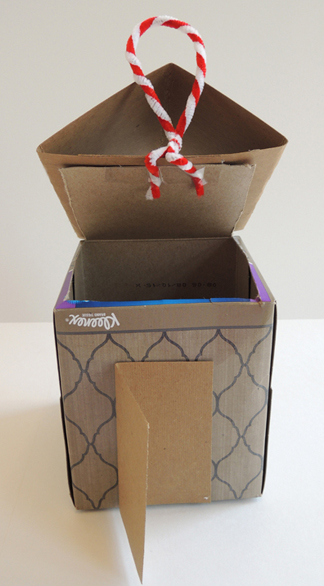
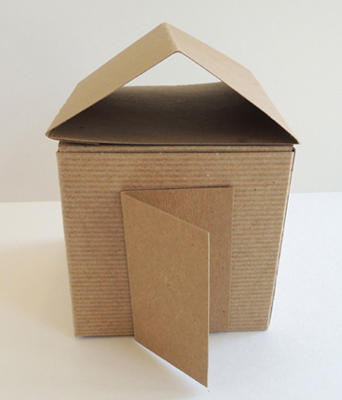 Twist a red and a white pipe cleaner together. Circle the pipe cleaners into a loop, and twist them together tightly at the bottom. Tape the peppermint loop to the lid of your box, bending any excess pipe cleaner underneath the lid.
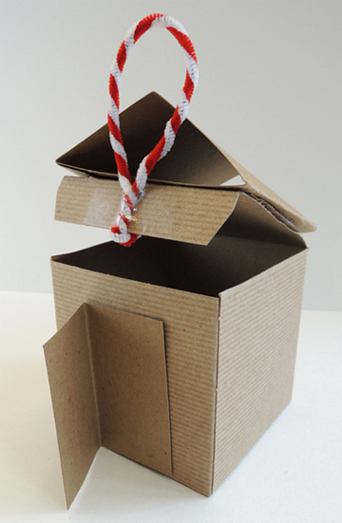 If you don’t have a box like mine, no problem! Just use a small tissue box. Flip the tissue box over (so the bottom is facing up) and use a box cutter to cut a square lid. Then follow the same steps for the roof, door, and peppermint loop. Here’s what a tissue box version of the house looks like:
 When the basic house is done, all you have to do is decorate! We offered
 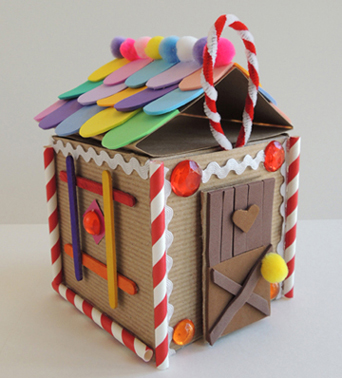 Markers can also be used, especially if you want to draw a gingerbread person peeking out of the front door! We found that metallic markers worked best on the brown tagboard.
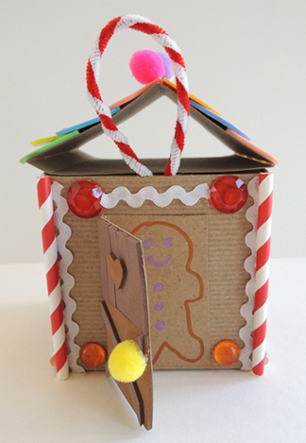 Finally, the gingerbread person that pops up when you tug the peppermint loop! Marissa and I prepped the gingerbread people in advance (we cut them out of brown packing paper and colored them with metallic markers). My only tip is to make sure the cookie fits neatly inside your house. In our early attempts, the cookie’s arms were too long. They jutted out past the roof, which, when closed, looked rather torturous for the cookie.
 Attach your gingerbread person to the underside of the lid with tape. Done!
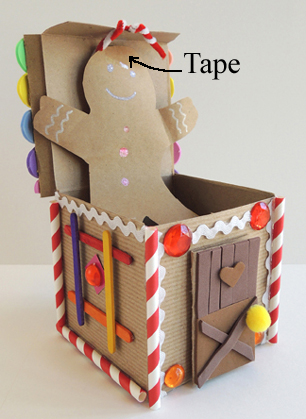 You could stop there and be finished with the project. But we decided to take it one step further. In order to get that little gingerbread cookie, you had to catch the BIG one first!
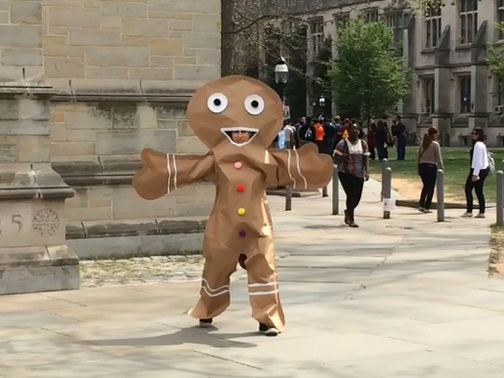 I used brown packing paper to create this stupendous costume (the thicker the paper, the better). The paper roll wasn’t wide enough to cover my full arm span, so we taped 2 long pieces of the paper together, reinforcing the seam with extra-wide masking tape. I didn’t photograph the step with the big taped pieces of paper, but here is a shot of a tape seam on one of the finished costume pieces:
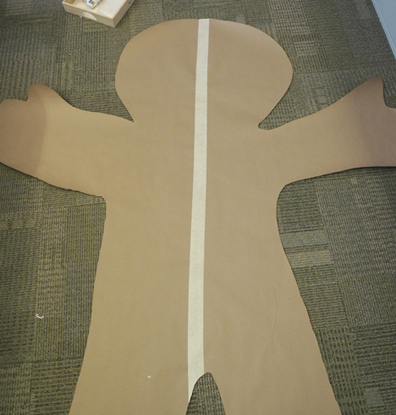 Since you want the masking tape seams on the inside of the costume, flip one of the taped pieces of paper over. The taped seams should now face each other. Then lay down on the paper and have someone trace your body in the shape of a cookie. A couple things to keep in mind while doing this:
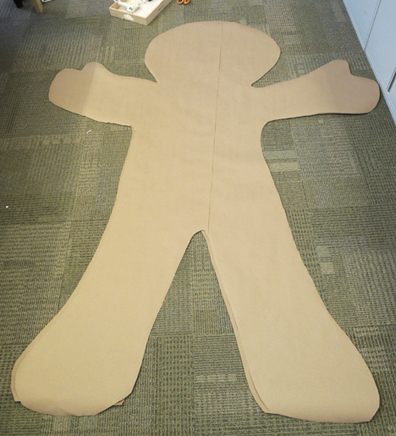 To “stitch” the pieces together, we made a double seam of hot glue and staples. The hot glue goes first, and should be about 1″ from the edge of the paper. Really goop it on! The staple seam should be about 0.5″ from the edge of the paper. Each staple should be no more than 0.75″ apart.
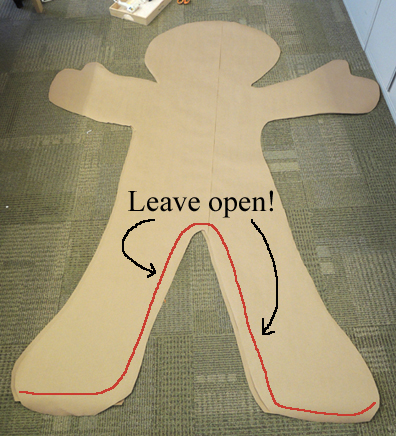 Once the seams are done, have the person who will be wearing the costume slide it over his/her head. You will definitely need help with this step! Marissa stood on a stool and gently lowered the costume while I shimmied my arms into place. Then we marked where my mouth was and trimmed the excess paper from around my feet.
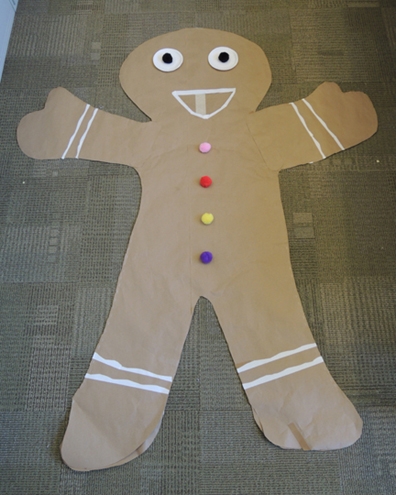 They’re hard to see in the above photo, but there are additional paper patches hot glued along the cookie’s armpits. When I tried the costume on the first time, the armpits ripped right away, so we added the patches to reinforce those areas.
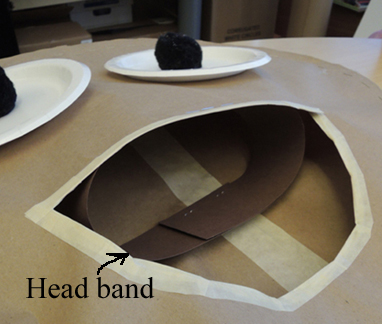 When it was time for the cookie chase, Marissa and I ducked out of the library with the costume, a stapler, and the cookie prizes. We hid behind a building, and, using some stairs to get some height, Marissa slid the costume over my head. Then she used the stapler to quickly close the seams along the insides of my legs.