 Make three cheerful flower pots, then share one with a friend! Not only was this a fun creative activity, it was a lovely lesson on the joy of giving and receiving. Not into flowers? No problem. We also offered a strawberry plant and a cactus!
We read Lola Plants a Garden, written by Anna McQuinn, and illustrated by Rosalind Beardshaw (Charlesbridge, 2014). Lola loves garden poems, especially Mary, Mary, Quite Contrary. So Lola and her Mommy read books about gardens, buy seeds, and plant them. Even though it’s a bit of a wait for the first green shoots to appear, the flowers eventually grow and bloom in the warm sun. Lola invites her friends over to enjoy her garden and try some crunchy peas and plump strawberries Mommy grew. For Lola, one of the best things about growing a garden is sharing it with others.
You’ll need:
- 3 paper cups (plastic works too – we offered both!)
- A selection of patterned tape
- 1 garden template, printed on 8.5″ x 11″ white card stock
- Green pipe cleaners & sparkle stems
- Green craft ties
- Green construction paper
- Green masking tape
- A selection of crepe paper streamers
- A selection of tissue paper
- 1 toilet paper tube (if you’re making a cactus)
- 1 gift label template, printed on 8.5″ x 11″ white card stock
- 1 wooden coffee stirrer
- 1 corrugated cardboard base (approximately 4.5″ x 14″)
- 1 plastic lizard (optional)
- Scissors, tape, and glue for construction
- Markers for decorating
- Hot glue
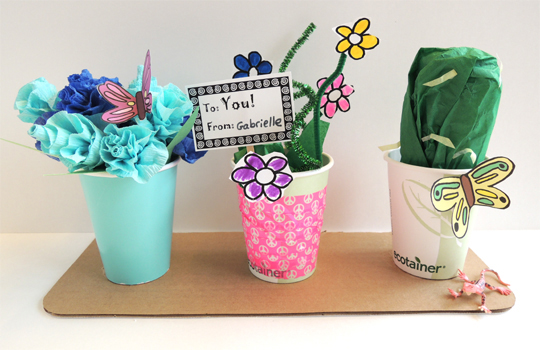
Here’s what a finished project looks like: 3 flower pots (one of which was given to you by someone else), 2 butterflies, and 1 plastic lizard, all hot glued to a corrugated cardboard base.
 Before you start the project, it’s important to remind the kids that one of their flower pots will be given away as a gift. For some kids, it’s not easy to give away something they just made! But with plenty of warning, they can get used to the idea while they are working on the project. That said, I made the gift-giving portion of the program completely optional (and one kid did decide to keep all three of her pots).
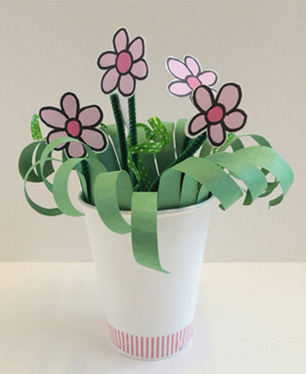
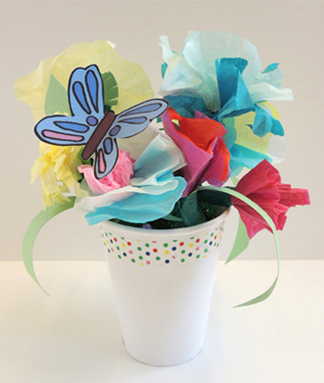
On to the project! We offered a selection of paper or plastic cups as “flower pots” (this is a great time to dig around in the cabinets of ye olde staff lounge). Select 3 cups and decorate them with patterned tape (and/or markers). Color and cut the desired flora from the garden template, attach them to pipe cleaners (and/or sparkle stems), and tape the stems inside the cup.
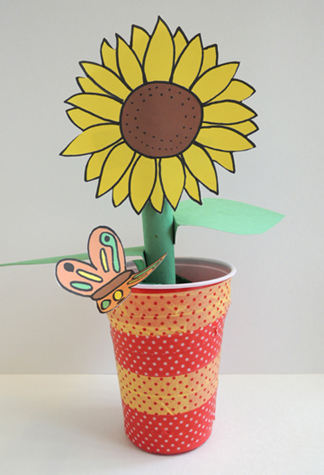
 To make a sunflower, use a large (18oz) plastic cup. They’re about 5″ tall – anything shorter is going to tip over. Roll a 4.5″ x 9″ piece of green construction paper into a tube. This is your sunflower’s “stalk.” Tape the stalk to the back of the sunflower head, then hot glue the stalk inside the cup. Tuck some green tissue paper around the stalk and tape some big green leaves to it.
 And speaking of leaves, we prepped a variety of leaves, shoots, and vines for kids to use, as well as green pipe cleaner, sparkle stem, and craft tie pieces.
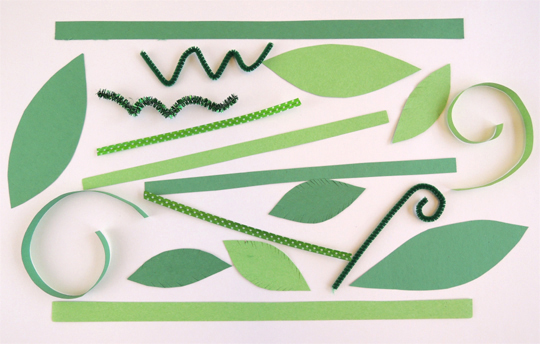 We also provided crepe paper streamers and tissue paper for artists who wanted to craft flowers from scratch:
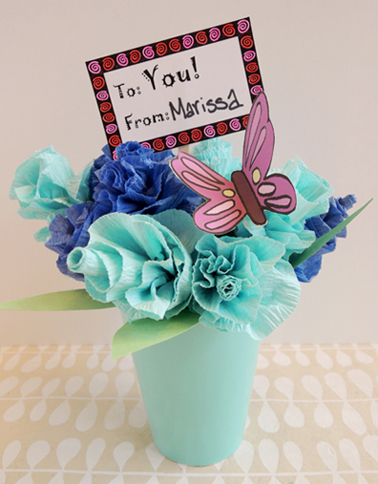
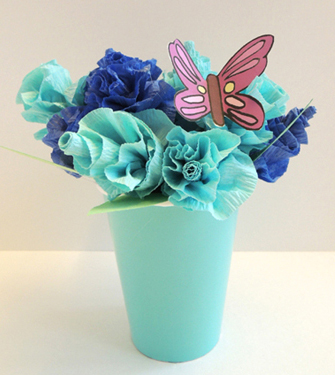
 To make the lovely blue flowers in the photo below, pinch one end of a 40″ – 42″ crepe paper streamer together, then wrap the “pinch point” repeatedly with the rest of the streamer. When you’re done, secure the pinch point with green masking tape, and attach it to a green pipe cleaner. I take no credit for this flower pot – it’s all Marissa and her mad crepe paper skills!
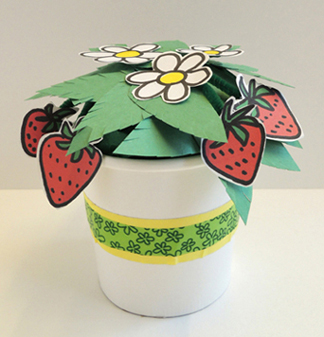
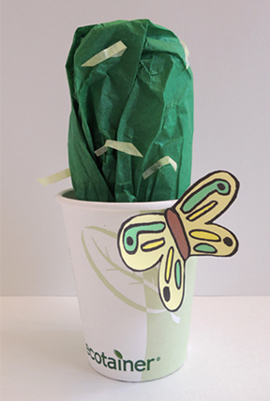
 To make a strawberry plant, start with a slightly wider paper cup (the one below is actually a hot soup container). Loosely ball some green tissue paper and push it into the cup. Tape the strawberries (from the garden template) to pipe cleaner pieces, then tape the pipe cleaners into the cup. Glue a spread of green leaves to the top of the tissue ball, and add white blooms on top.
 Moving along to an entirely different climate, Marissa came up with this awesome cactus. It’s a toilet paper tube covered in green tissue paper and dropped into a cup (depending on the height of your cup, you might need to bolster the cactus up a bit with more tissue paper). Use little dabs of glue to attach yellow tissue scrap “spines” to the cactus.
 You’ll notice that many of the above flower pots have butterflies on them. The butterflies are on the garden template. Color them in, fold the wings up gently alongside the body, and hot glue them to the pots (or directly onto the flowers).
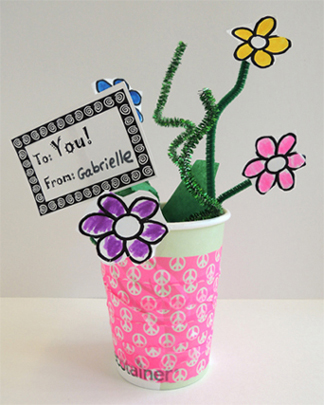
When all the flower pots were finished, I handed each kid a gift tag. The tags were colored, signed, attached to a wooden coffee stirrer, and tucked into the gift pots. Then the gift pots were gathered on a table. One by one, I called the kids forward and gave them a pot (make sure you have one extra pot in the pile so the last kid in line gets a choice). I got one too! Check out my beautiful gift from Gabrielle!
 When the gift-giving concluded, we hot glued the 3 pots to a corrugated cardboard base. I hot glued a little plastic lizard on there as well.
And there you have it. A little creativity and sharing on display!

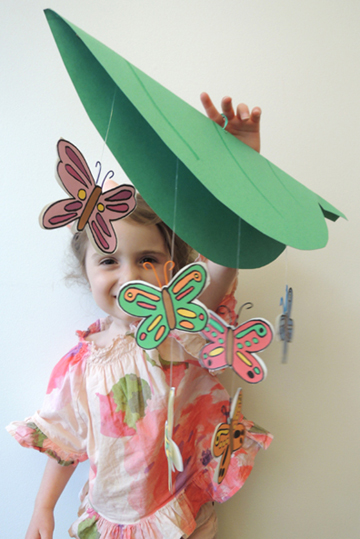 Just a quick, clever little flip…and your giant leaf reveals a gorgeous butterfly mobile!
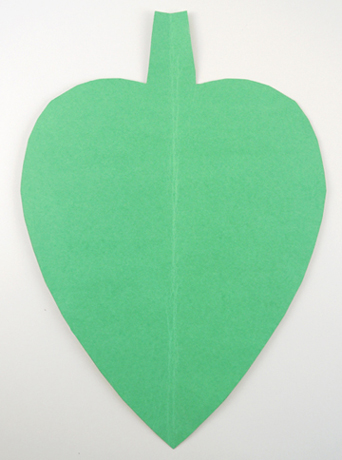 Next, knot 4 pieces of clear elastic beading cord around a wooden dowel. The strings need to be fairly long (15″ or so) to allow the butterflies to dangle well below the edges of the leaf. Once all the strings are attached, hot glue the dowel along the spine of the leaf.
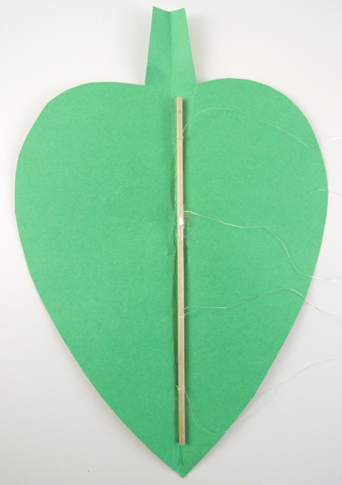 Now your leaf needs a finger loop. Fold the leaf in half, then use a box cutter to make a small hole in its middle. Thread an 8″ piece of twisteez wire or pipe cleaner through the slit, then circle the wire to make the loop (you can also use markers to draw veins on the outside of the leaf like we did!).
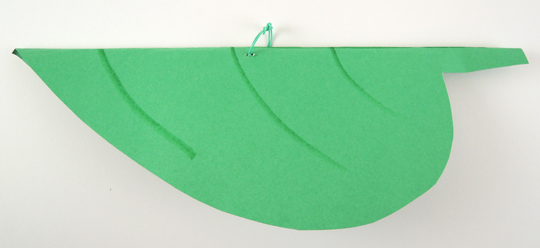 Now for the butterflies! Color and cut the butterflies from the template. The way I positioned the butterflies on the template allows you to fold them double sided. But you can also go single sided if you like! Arrange the butterflies on the elastic beading cord, then secure with tape.
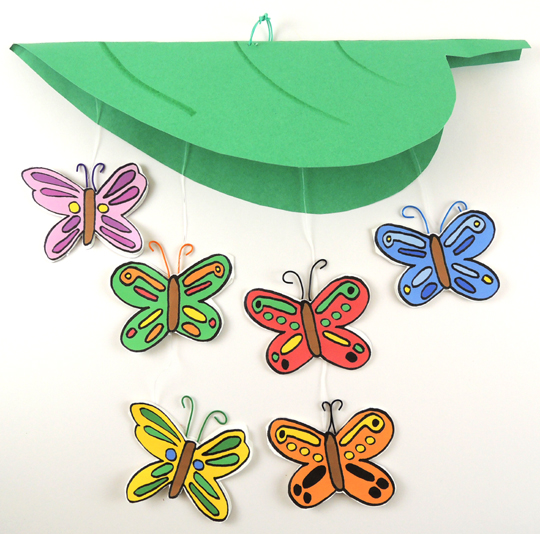 To operate the mobile, tuck the butterflies into the leaf. Slide your finger in the loop, and, keeping the butterflies tucked, hold the leaf upwards. Find the person you’d like to surprise, then quickly flip the leaf upside down, releasing the surprise butterflies!
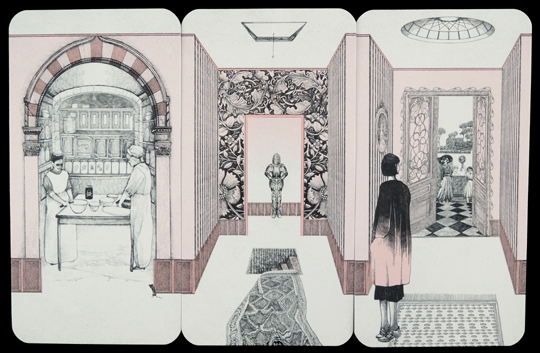 A mysterious phone call, a revealed trapdoor, a suspicious red envelope, a missing portrait. This is the world of “The Mystery Mansion,” a storytelling card game by Magical Myrioramas ($20).
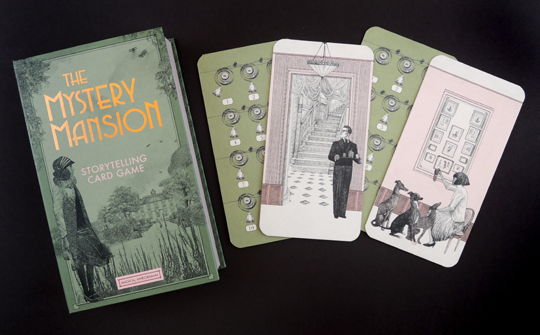 The set comes in a neat-o box that opens like a book, with the cards and 2 sets of instructions nestled inside. One set of instructions give short, enticing descriptions of the cards. Example: “He should be a loyal member of the household, but his face belies a bitter grudge…” The second set of instructions repeats the same card descriptions from the first set (which is rather redundant), but it also gives suggestions for various game play.
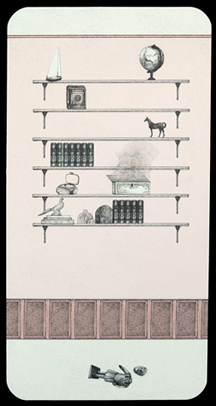 There is no suggested age range listed for this product, but my 7 and 9 year-olds played with it quite happily. The dominant color is light pink, but that didn’t seem to bother my son one bit. The theme IS murder, so it might not be an appropriate topic for all kids. But in my opinion, the imagery isn’t too terribly disturbing. Here, in fact, are the 3 most intense cards.
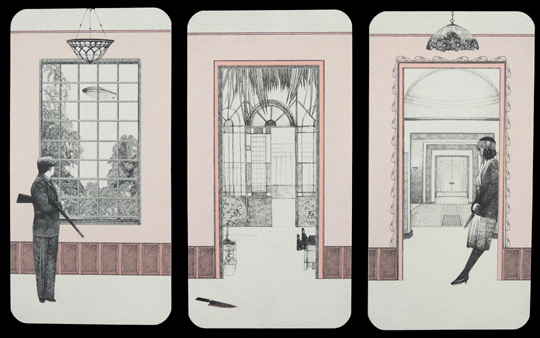 Magical Miroramas also has “The Hollow Woods,” which is very Brothers Grimm and graphically speaking, lot more sinister. They are also releasing “The Shadow World” this August, and that looks very cool – all sci-fi and steampunk!