We make (and get) ourselves into a lot of messes here at Pop Goes the Page, and today we are honoring all those…uh…valuable learning experiences by counting down Pop’s Top 10 fails, misfires, and whoopsies!
#1 GINORMOUS FORTUNE COOKIE
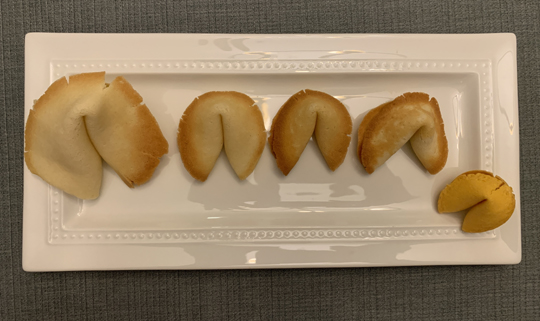 Our first fail comes from the kitchen of Katie, where a fortune cookie recipe test took a turn for the huge. Mis-measuring the batter resulted in a giant mega cookie that appears to be smirking at all the other cookies.
#2 UNFOCUSED LAPIN
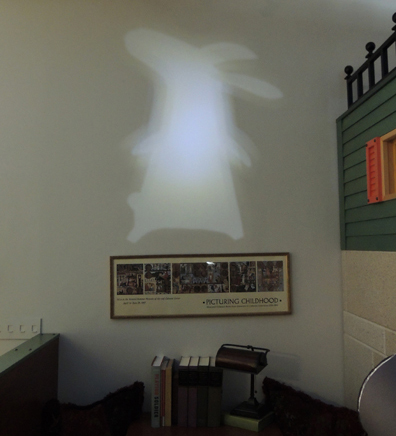 ALWAYS test your light source. Not all beams are created equal! As we quickly discovered when our oatmeal container projector resulted in an unfocused, blobby bunny.
#3 PANTS BEWARE
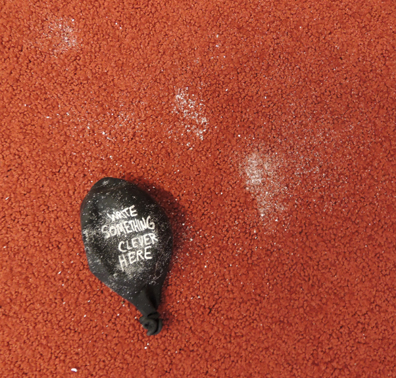 Learned this one the hard way – and so did our carpets and clothing. Erasable chalkboard ink enthusiastically liberates itself from deflated balloons. And it makes a mess. A permanent MESS. Oooooo such a mess.
#4 DASHING DOGS
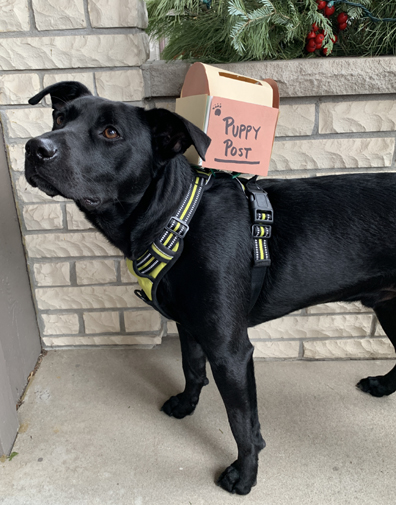 It took SIX tries to get Katie’s pup Finley to simply walk down the hallway with a mailbox strapped to his back. And the one time it worked? Watch the video closely, because a piece of mailbox literally breaks off in transit and drops to the floor! Argh!
#5 WATER WORKS
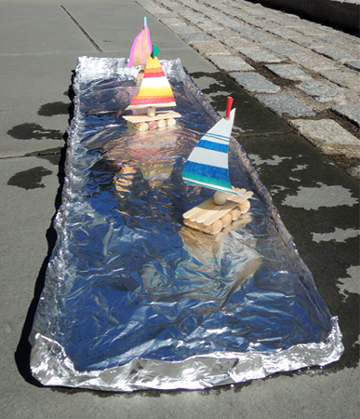 Our program at a local community pool was going swimmingly, until the entire waterway leaked like mad and beached all the boats. Yes, in hindsight we should have reinforced the seams of the tin foil with packing tape…but ah well!
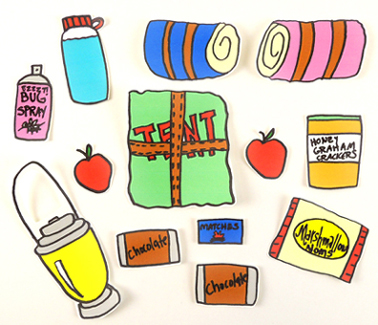
#6 TODDLER TORNADO
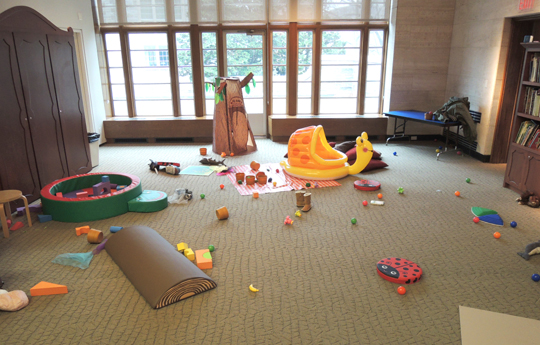 What started as a lovely bucolic picnic scene quickly devolved into chaos at a baby and toddler program. The hardest hit was a lovely contact paper river. We foolishly thought the adhesive would anchor it a little. But no. It lasted about 5 minutes before being twisted and crunched into a slouching shadow of its former self.
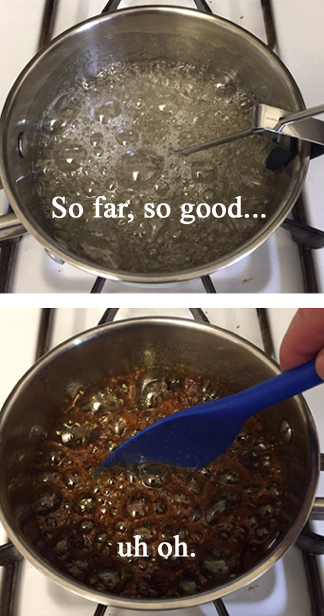
#7 THE FAMOUS FUDGE INCIDENT
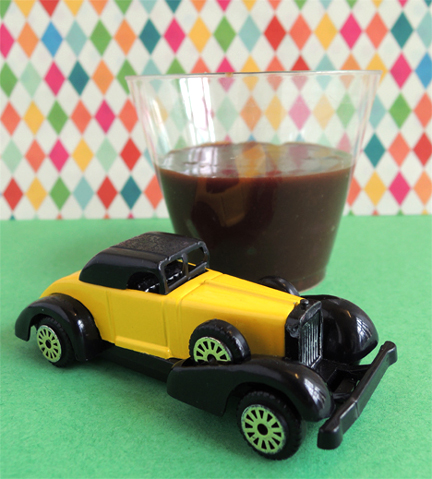 Yes. That is fudge in a CUP. One of Pop’s most classic fails, Katie learned how woefully temperamental fudge making can be. However! It should be noted that she made a triumphant comeback a few years later, with the assistance of Toni & Slade Morrison’s Peeny Butter Fudge recipe!
#8 CAUGHT PINK-HANDED
 Otherwise know as the day I turned my bathtub and hand pink. It was supposed to be a simple project, but the art materials juuuuuust weren’t cooperating. But in my defense, who knew cellophane could be so vengeful?
#9 WHEN CANDY GOES BAD

Another classic from the kitchen of Katie. Long story short, the Harry Potter acid drops recipe went horribly wrong and turned black. The second batch welded your teeth shut. I insisted on trying both batches, and, well, a picture speaks a thousand words.
#10 NOT TO BURST YOUR BALLOON…
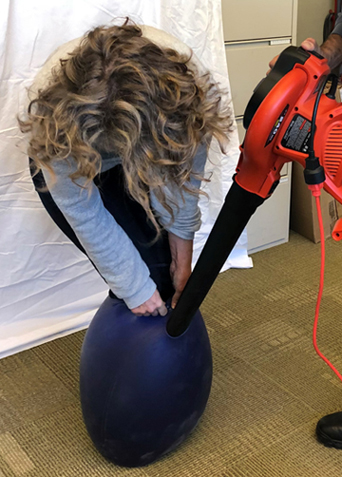 While doing research for a Willy Wonka escape room, I attempted to turn myself into a giant blueberry by shimmying into a 6ft latex balloon that would snap around my neck. The process also required the use of a leaf blower. How could this scenario possibly go wrong???
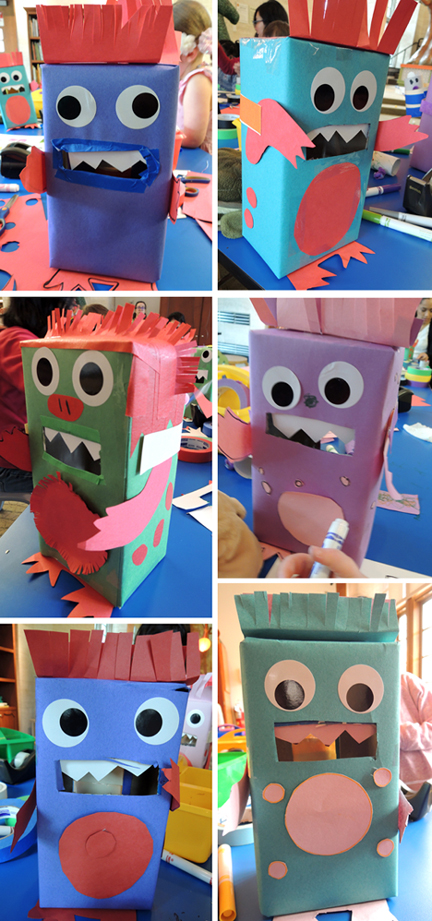
 Theoretically speaking, what WOULD happen if a llama created a black hole with his overzealous cake consumption? Would the world survive?
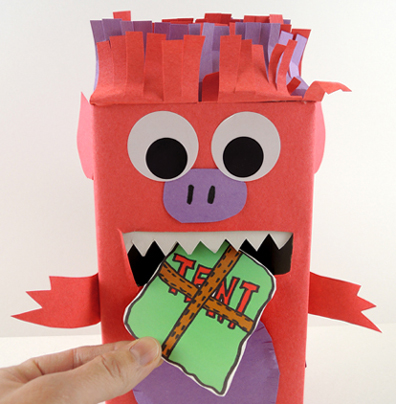
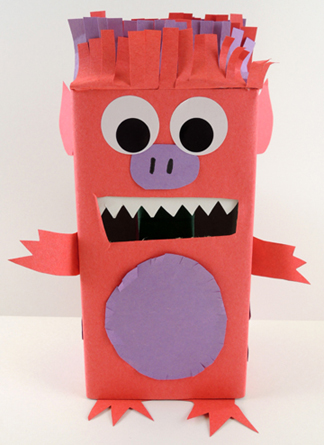
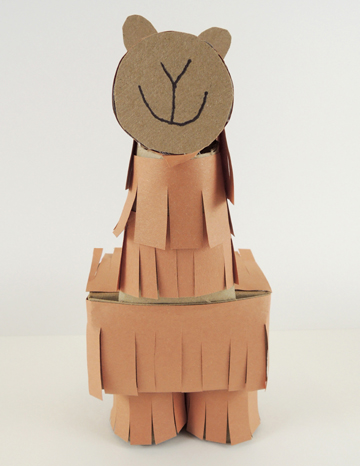
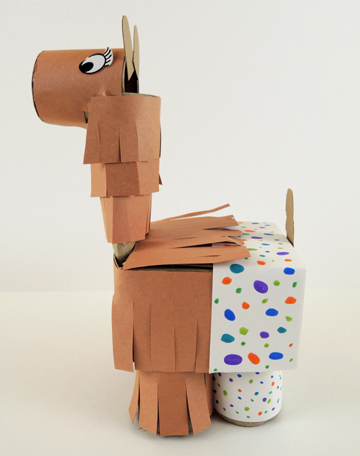 First, wrap 4 toilet paper tubes with constructions paper…2 with brown paper fringes, 2 with plain white. Next, cut the bottom off a small box (like a square tissue box). Then set the box on top of the legs (we hot glued the legs in place, too). The rest of the box gets decorated with brown construction paper fringes and white construction paper “pants.”
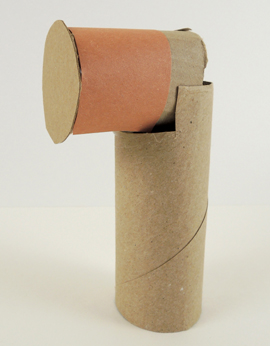 Now wrap the neck with brown construction paper fringes, pinch the bottom of the neck, and slide it into the front of the box (if you’re using a tissue box, you’ll need to cut a slit in the box). Use spare cardboard to make llama ears and a tail, add some eyes, and you’re done!
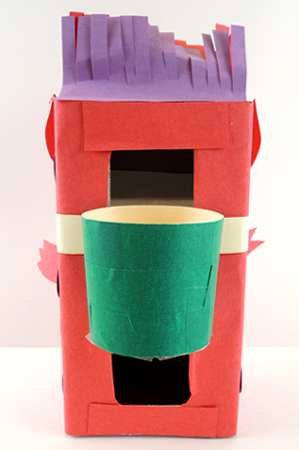
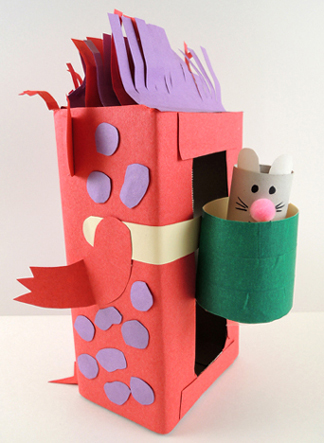
 We decided to take the project one step further by introducing a black hole activity (and yup, crafting a black hole was a first in my long history of story times!). First, we had kids make pies and cakes using a paper cup, tin foil, and a paper baking cup.
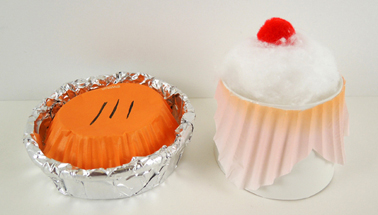 The pie tin is the top of the paper cup (i.e. the open mouth part of the cup) wrapped in tin foil. The pie is the bottom of a paper baking cup.
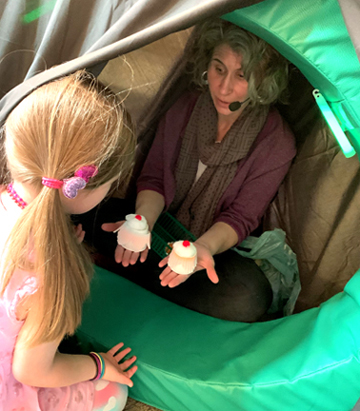 I sat inside, and kids had to enter the black hole, look at the 2 cakes and 2 pies “floating” inside it, and select the one they had created!