 Always searching for more escape room inspiration, Katie was delighted when her mom sent her a dandy little escape challenge that fit right in the palm of her hand. Though it was small, but packed a mighty punch! Take it away, Katie!
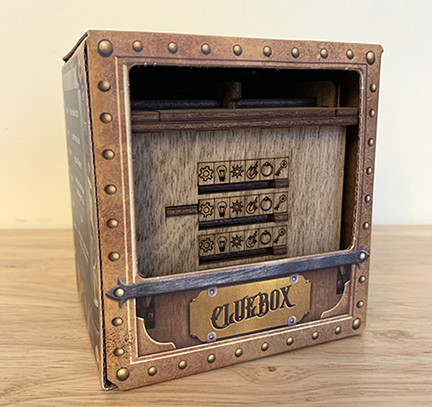
The Cluebox “Escape Room in a Box” is produced by iDventure Machine Factory and retails for around $40 on Amazon. There are three different Clueboxes available for purchase: Captain Nemo’s Nautilus, Davy Jones Locker and Schrödinger’s Cat. The suggested age range is 14+ and the estimated playtime is 60 minutes.
I tackled Schrödinger’s Cat. The wood puzzle box is packaged in a sturdy cardboard box that is covered with images with a funky steampunk motif, including a very cool cat. Inside the packaging is an informational note (in multiple languages) briefly describing the quantum mechanics experiments conducted by Erwin Schrödinger in the 1930s. You are tasked with figuring out how to rescue his cat from inside the wood puzzle box.
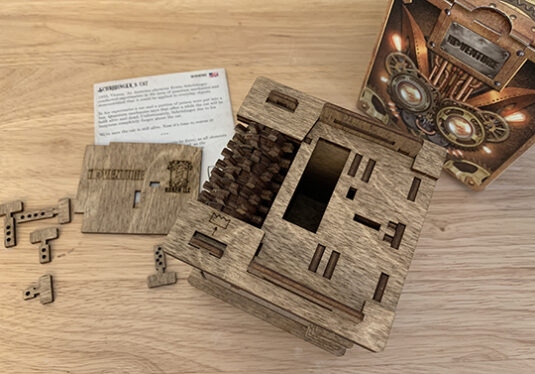
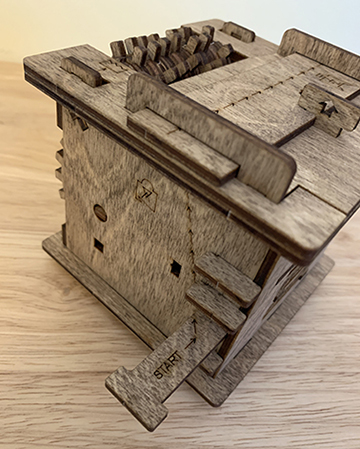
The escape room itself is a robust wood box with various gears, interesting sliding tabs, and is covered in hieroglyphics that one would rightly assume will be used to solve the mystery. I took some time to carefully examine the box, looking at all the parts and pieces. It didn’t take long before I found a note on one of the tabs that read “Start,” and it had me follow a series of arrows around the sides of the box to the bottom. There, the arrows stopped near tabs that signaled the start of the room.
The informational note also clearly states that all elements of the box should open smoothly, so you don’t need to force anything and no guessing is required. There is a website link that offers hints if you get stuck and are unable to move on. I always try to solve escape rooms without hints, but I did have to get a bit of assistance with one part (more on that later).
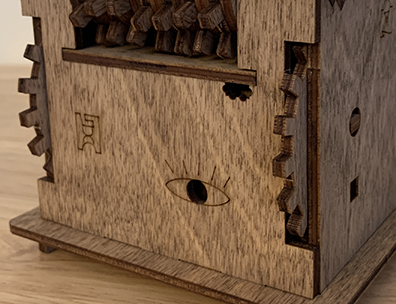
No spoilers, I promise! I methodically worked my way through the puzzles. After about 30 minutes, I got stuck on a brainteaser that I believed involved the strange eye staring from one side of the box. I twisted, tapped, and moved everything around and could not figure out what was going on with the eye. After about 20 minutes without making any progress, I reluctantly visited the hint website to get a tiny bit of help. Turns out I was right about the eye, and after working through the final riddle, I was able to successfully release Schrödinger’s cat. My total time to solve: 72 minutes.
The iDventure’s Clueboxes are a fun addition to the realm of escape rooms. The wood box is beautifully manufactured and the puzzles are a mix of relatively easy to quite difficult. I agree with the suggested age range and feel an adult would need to assist younger children. It is definitely designed for single players, though it could be a fun party game. One aspect I really like is the box can be reset to its initial state after a person finishes the escape room, which allows for others to participate in a future challenge. The solution compartment is also big enough to hold a gift certificate or little note, so you can hide a small present inside as an added bonus for escaping the room.
Cluebox is perfect for an hour or two of individual challenging fun, and it gets my seal of escape room approval!
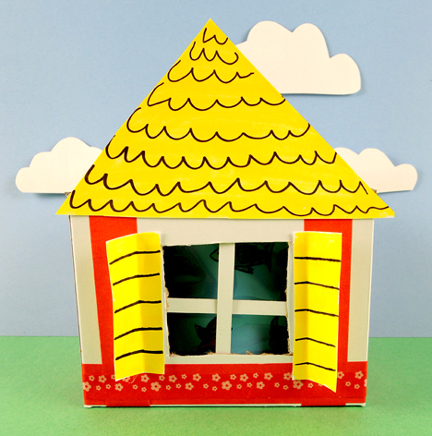
 Now decorate the outside of your house! We offered construction paper,
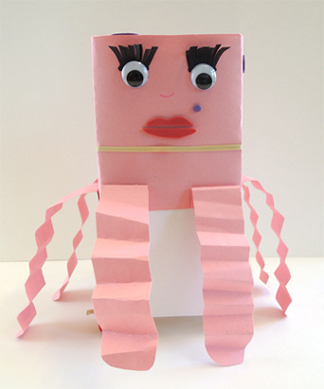
 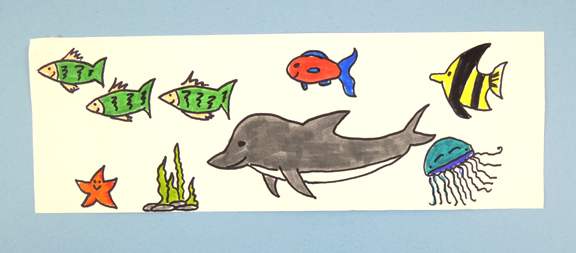 The final piece of the project is the spinning cylinder. This is a plastic cup attached to the roof of the house with a brass fastener. Two tabs extend from the top of the box, allowing you to easily turn the mechanism:
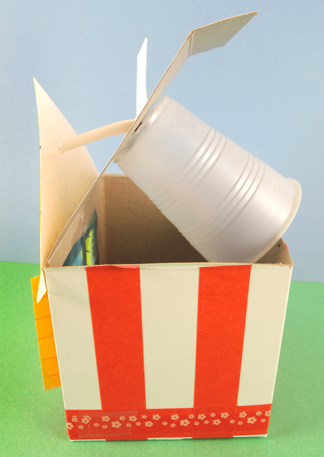 Our tabs were created with a 0.75″ x 3″ snippet of poster board. Punch a hole in the center, then thread a brass fastener through the hole. Push the ends of the fastener through small slits cut in the top of the box and the bottom of a plastic cup. Unfold the fastener’s prongs inside the cup.
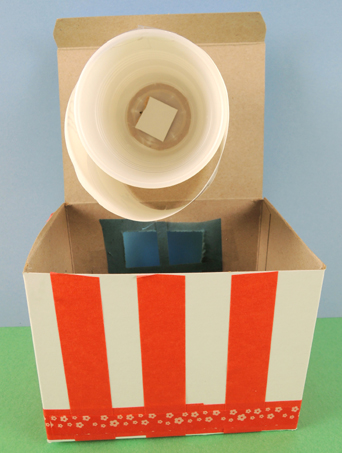 Finally, wrap your strip of ocean critters around the cup. As you can see in the above photo, the cup is tapered, so the strip won’t wrap around it in a perfect circle. No problem! So long as the strip is secured tightly to one point of the cup (we suggest the strip’s seam) it will work. Here’s a shot of the finished mechanism, which is then tucked inside the house. Secure the lid down with tape.
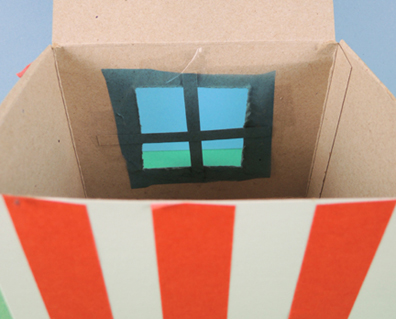
 Ready to see this little contraption in action? The colors were a little muted in the video, so I removed the blue cellophane from the window to showcase the ocean critters more clearly. Swim my little friends, swim!
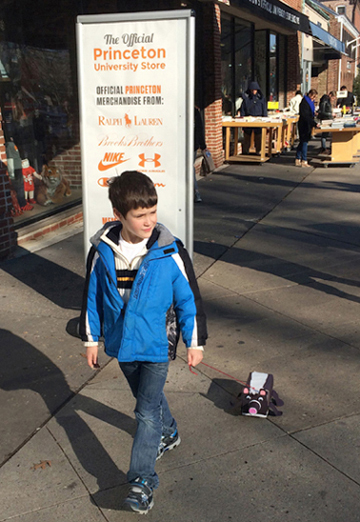

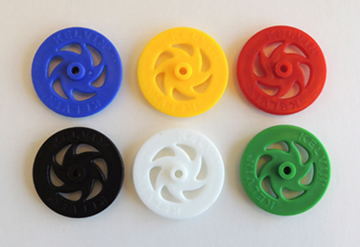 Thread the wheels on pieces of bamboo skewer, and then thread the skewers through drinking straws taped to the bottom of the box like so:
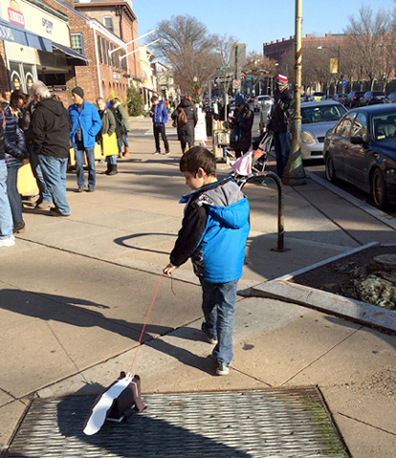
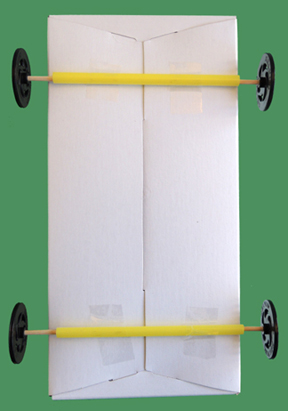 You could also use wooden spools instead of plastic wheels. Or, if you’re planning to stay indoors, skip the wheels and just drag the box on the floor (like the dog from