Color and concept came together at Stained Glass Stories, our most recent community event! It was connected with our current exhibit, “Once Upon New Times: Reimagining Children’s Classics.” In the exhibit, you’ll find old tales presented in new (and sometimes very unusual) formats. We decided to play with that idea and distill a famous book or character into a single image created in stained glass.
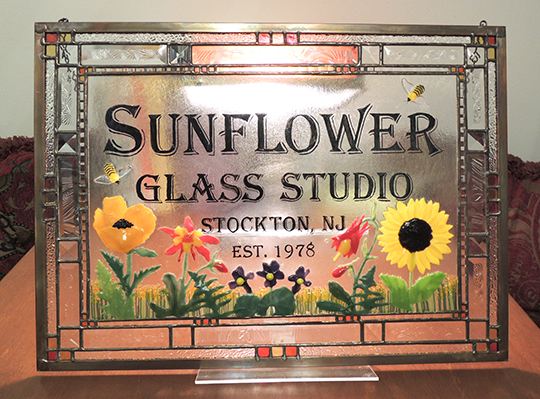
Our event featured six original windows, a mini project for kids, playful light tables, and a little peek at the glass art of the University Chapel. We were also delighted to host artist Karen Caldwell from Sunflower Glass Studio. Read more about Karen (including an interview!) towards the end of the post.
We’ll start with our window gallery, which featured The Wonderful Wizard of Oz, The Very Hungry Caterpillar, Lowly the Worm in his apple car, Chicka Chicka Boom Boom, The Rainbow Fish, and Puss in Boots.
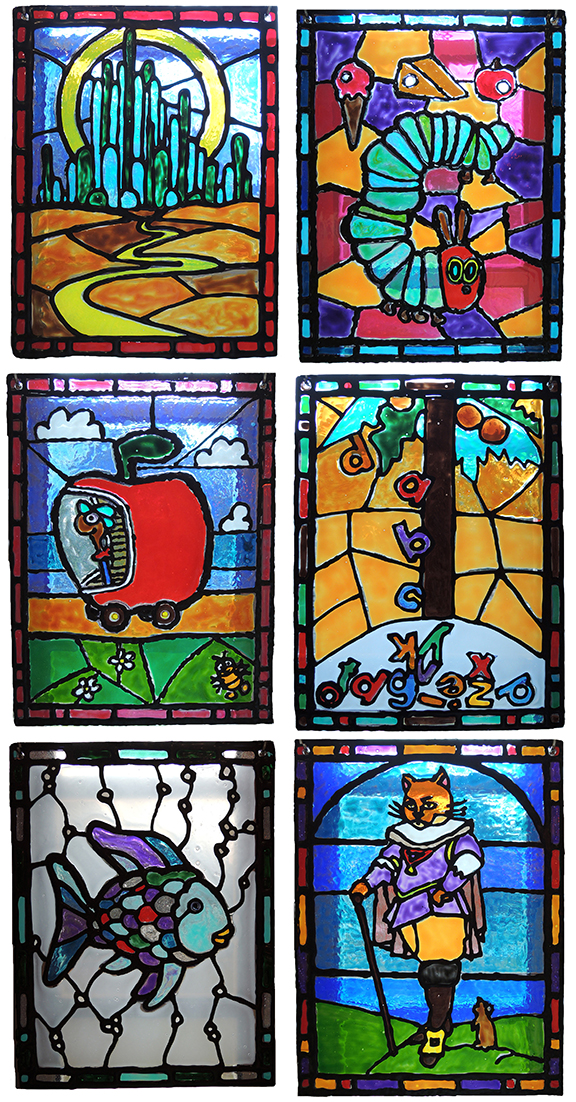
Five of the windows were drawn by talented artist (and Scheide Librarian and Assistant University Librarian for Special Collections) Eric White. The one exception was the Chicka Chicka Boom Boom window. That was me! Since working with real glass was out of the question, we used Gallery Glass brand non-toxic window paint ($20 for a pack of 8 basic colors) and imitation non-toxic leading ($14 a bottle). Instead of glass sheets, we used acrylic, which was lighter weight and much safer. A 12″ x 16″ acrylic sheet runs about $5 each on Amazon.
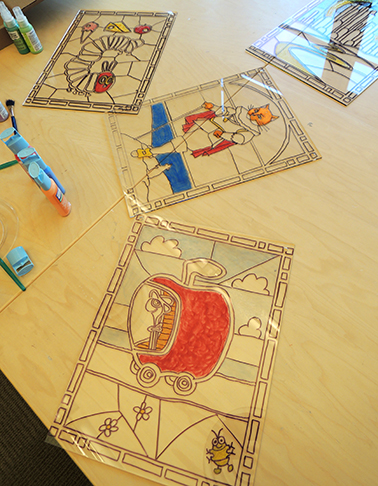
To create the windows, we enlarged Eric’s original drawings, printed them on 11″ x 17″ paper, then traced them onto the acrylic with Sharpies. Next came the window paint, and after that dried, the leading. Here you can see the windows in progress…
Another terrific thing about using acrylic is that you can drill holes in it. On event day, we used self-adhesive hooks, fishing line, and S-hooks to hang the windows.
A few words about the window paint and leading. Yes, window paint is technically paint, but it is thin and sometimes requires multiple layers. We found it works best if you skip brushes all together and squeeze the paint directly onto the surface in a thick layer. And the imitation leading can be fairly viscous. So get ready for some serious squeezing.
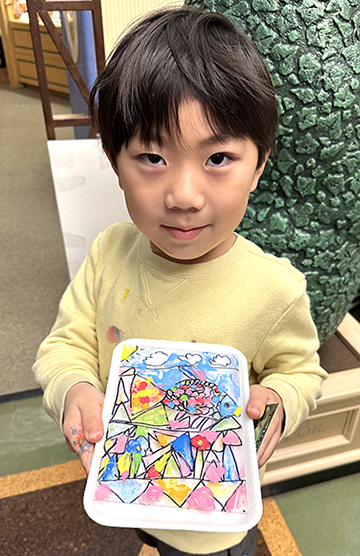
Because of cost and mess, we couldn’t give kids individual bottles of window paint. So we came up with a plan for our mini window project that worked really well. At the event, kids received a 5×7 foam carrying/drying tray (125 for $19 on Amazon), a 5×7 acrylic window (20 for $13 on Amazon), a small color palette (8 for $20 on Amazon), six Qtip “paintbrushes,” and a color menu.
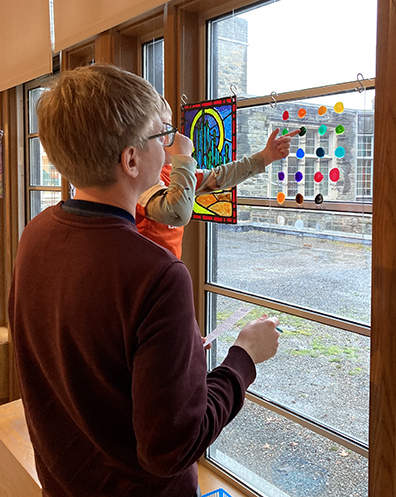
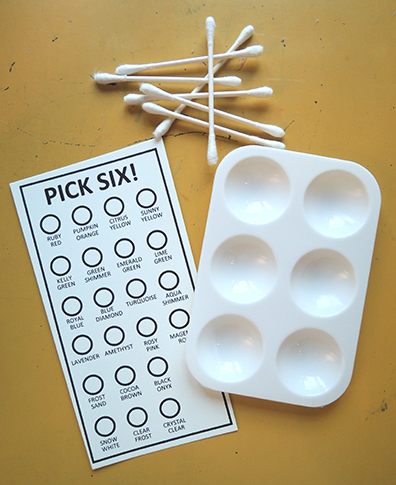 The paper menu correlated with an acrylic menu we hung by the window, so kids could see how the colors appear when they are dry. At the event, they could choose up to 6 colors.
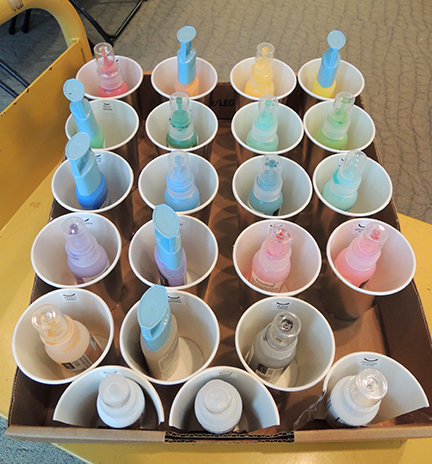
 The color menus further correlated with paint bottle holders I made out of box tops and paper cups. This helped me and Katie locate colors fast, and also kept the bottles upright.
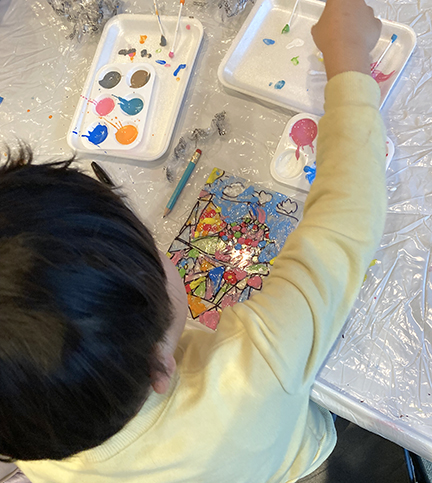
 Kids then took everything to worktables where Sharpies were waiting in bins. They used the Sharpies to draw on the acrylic, colored it in with the paint, then took it to the drying tables. Our system totally worked…we had ZERO paint spills or accidents and the kids were really delighted with the little color palettes.
 For caregivers who didn’t want to navigate paint, we made small copies of four of the custom windows, and had a coloring table with washable markers.
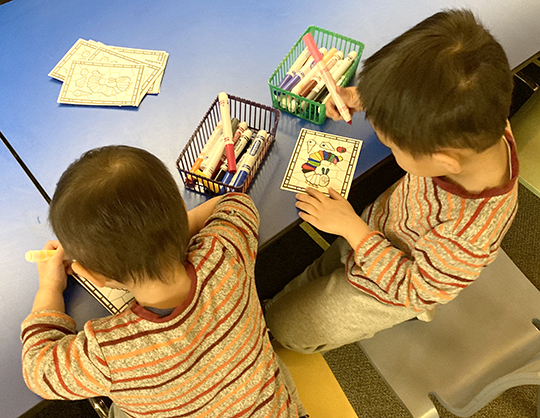
But in an interesting twist, some folks brought the coloring sheets over to the worktables and traced them onto their little windows! Below you can see a gallery of some window art, including tributes to Eric White’s fabulous creations!
This slideshow requires JavaScript.
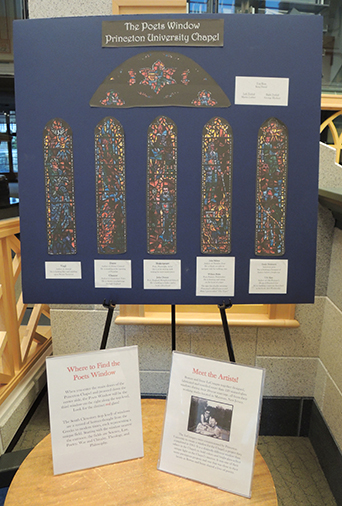
We couldn’t have a stained glass event without mentioning the beautiful Princeton University Chapel, which is not only one of the largest campus chapels in the world, it also houses some truly stunning stain glass windows. Katie put together a display honoring “The Poetry Window,” by Rowan and Irene LeCompte, which features the likenesses of Virgil, Dante, Chaucer, Shakespeare, Donne, Milton, Blake, Eliot, and Dickinson!
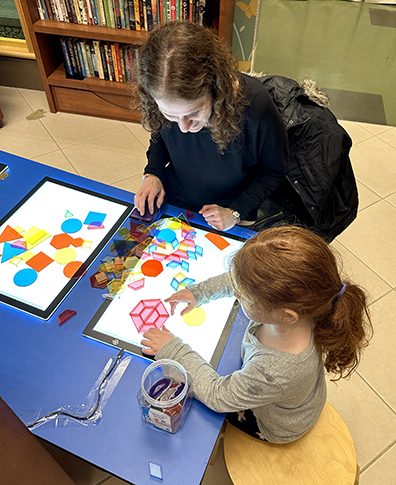
 The surprise runaway event hit, however, were the light tables. These were 3 LED light tracing pads we purchased on Amazon. We bought large 11″ x 16″ pads, which cost $40 each, but there are definitely smaller cheaper one available. The light pads were paired with translucent shapes and tiles (about $9 – $13 a set, depending on the style), Katie also spotted a super cool pack of 12 transparent geodes (Amazon, $25).
I know the figures I quoted above can be budget-busting, but we did purchase the light table supplies for use at future events and programs. We’ve already rolled them out at our baby social hour, and plan to bring them to community events as well. EVERYONE loves these. Even adults!
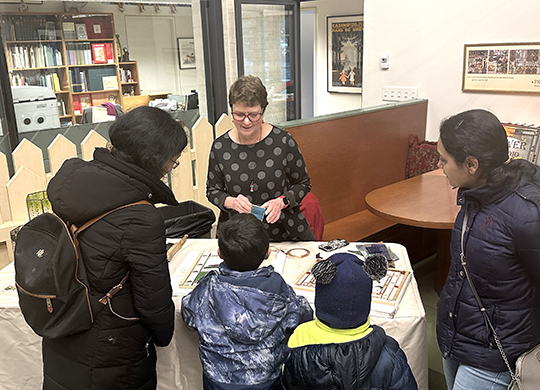
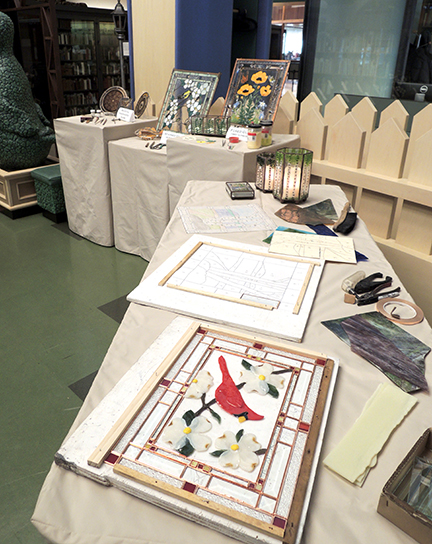
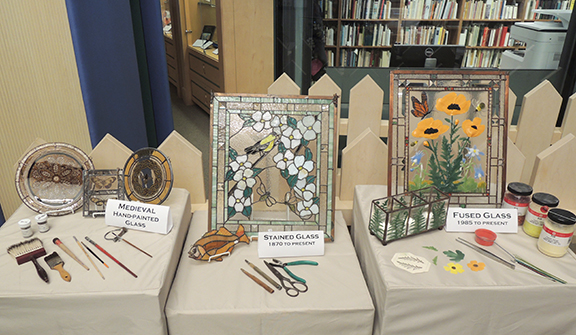
 The grand finale at the event was Karen Caldwell from Sunflower Glass Studio. She generously displayed her works, tools, did live demos, and chatted about glass techniques from the Middle Ages to modern day! Below is an interview with her, interspersed with photos of her event display.
Hi Karen! Please tell us about yourself!
I have been working in glass for almost 50 years, creating my business Sunflower Glass Studio in 1978. I came to my love of prisms and beveled glass as a young child, amazed of the rainbows passing through beveled glass in the movie Pollyanna. When I started designing glass in the early 80’s, one of the first investments we did was to purchase a beveling machine, to create spectacular windows.
How did you come to work with stained glass?
Through my college studies of art and horticulture, I worked in several different areas of employment, always doing work with my hands. It was a logical move when I secured a job assembling large Tiffany-style hanging shades, and then started free-lancing my designs back to the company. Within a few years, my partner, and then husband Geoff stated working with me in the glass studio. Throughout the decades, we adapt styles, techniques and skills to doing many types of glass fabrication, in the cold and warm methods of glass (stained glass, beveled glass, painted glass and fused glass).
How many step are involved in the creation of a window?
There are generally four to five distinct steps in creating a window: designing; selection of glass; cutting each piece of glass; soldering or leading the pieces together; final finishing steps.
What is the most difficult part of your craft?
The most difficult part of creating a window is the designing. The balance of a piece, and the color combinations are all the most important parts in the piece. From there it is mainly a matter of creating a stained glass puzzle into a window.
Do you have a favorite piece, and why?
My favorite form of glass is my newest art form – fused glass. I love working on my flower designs and trying to create a two-dimensional flower that appears the be
3-D. The fused glass botanicals that I create gives me must more freedom in the design aspect, compared to stained glass designs. Since I make each botanicals part in thin wafers, then compose the design and through a long kiln-firing to bond the pieces to a base glass, I do not need to be concerned with the background pieces. In stained glass, I always need to make sure the positive and negative pieces are cut-able. In fused glass, I just need to make sure the windows are balanced and flow.
Many thanks to artists Karen Caldwell and Eric White for contributing your incredible skills to the event. We appreciate you so much!

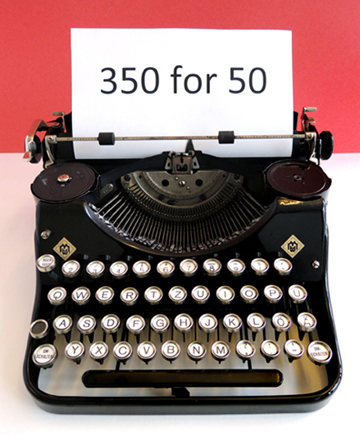 Are you ready for it? Yes! It’s time for the Cotsen Children’s Library’s annual 350 for 50 contest! We challenge you to write a short, 350-word tale that includes the sentence, “Every movement was in slow motion.” (just 344 words left to go!) Winning stories will be illustrated and published here on Pop Goes the Page. Additionally, winning authors will enjoy an online $50 literary shopping spree!
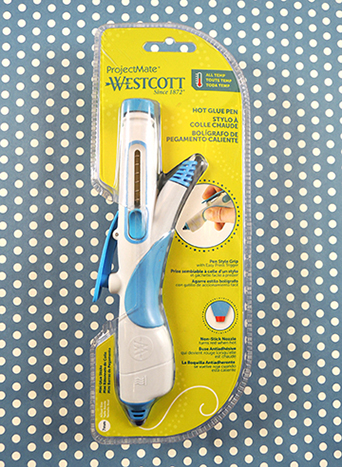
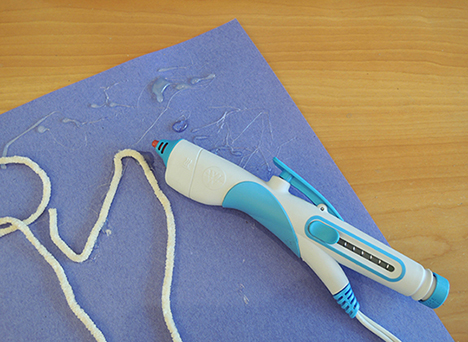
 We use standard mini glue guns, but when I spotted the Wescott glue pen whilst shopping (retails for around $8), I wanted to give it a shot. Especially if it allowed a little more control when it comes to distributing glue. Sadly, it did not work. This one might end up on a