
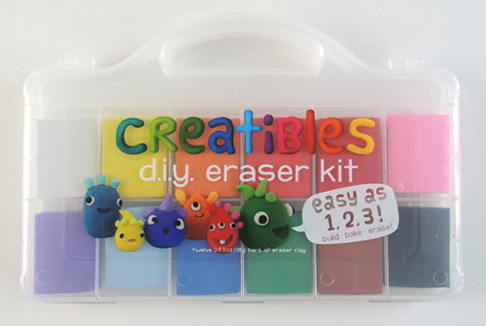
 Every writer needs a pencil, and at the end of that pencil is…an eraser. By why settle for the cylindrical pink variety when you can opt for a colorful, unique creation of your own imagination? Enter the Creatibles D.I.Y. Eraser Kit, which retails for around $12. The kit includes a rainbow assortment of clay colors that you can sculpt and bake into custom erasers.
 Our kid tester, Hope, is taking a break to tackle middle school madness (classes, school play, going to regionals for the National History Day competition…go Hope!), so Marissa took the Creatibles Kit for a test drive. Take it away, Marissa!
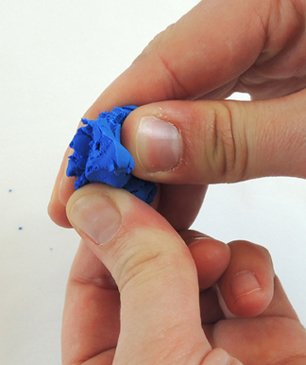
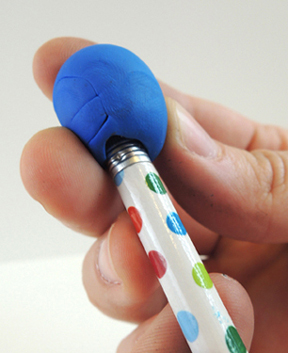
At first, the clay was dry and crumbly. I had to knead it and warm it up with my hands, until it had a consistency similar to Play-Doh. After that, it was no problem to use!
 When working on my first eraser, I was conservative in my design and how much clay I used. I didn’t think there would be enough (each color is only 0.63 ounces). But I soon realized that I didn’t need that much (unless you’re making a gigantic multi-color dinosaur). The more comfortable I became with the clay, the more I experimented with detail and size.
 Some of the colors (like black, green, and blue) will rub off on your hands and table. So it’s a good idea to wash your hands in between colors. Also, use parchment paper. It really helps keep clay residue off your work table.
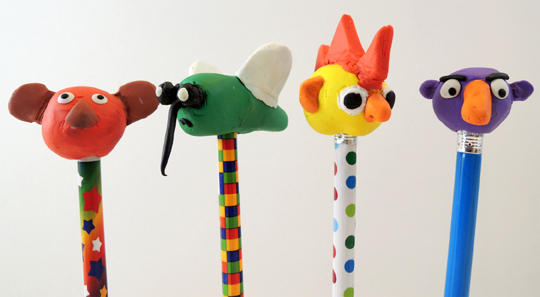
Making an eraser that fits onto a pencil is a bit more challenging, because once you start adding detail, the hole you created for the pencil gets squished or warped. So every once in a while, make sure to refit the eraser to the pencil.
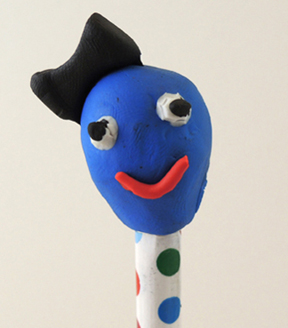
 When adding little detailed pieces to your erasers, make sure you stick the pieces on well! I had a few eyes and limbs fall off because I didn’t press them down hard enough. Eventually, I used a plastic knife for pressing. Clay modeling tools would probably help and look cleaner, but you don’t have to get that fancy – a plastic knife works fine!

 The erasers need to bake at 210-250 degrees for 30 minutes (I went with 250 degrees) then cool and set for 1 hour. I used parchment paper to protect my cookie sheet as well. The hardest part of this project? Waiting the full hour while the erasers cooled down and hardened! I kept checking them every 15 minutes (and if you poke them and they haven’t set, you run the risk of leaving a fingerprint or losing small pieces).
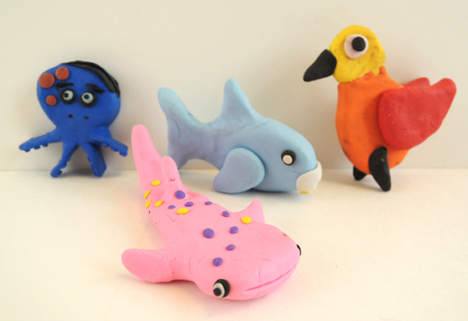
I’m happy to report that the clay doesn’t change color when you bake it. There was no melting or shrinking either! Once your erasers have cooled and set, you can try them out…
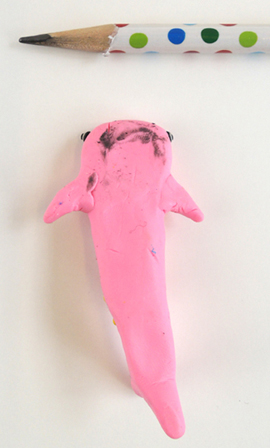
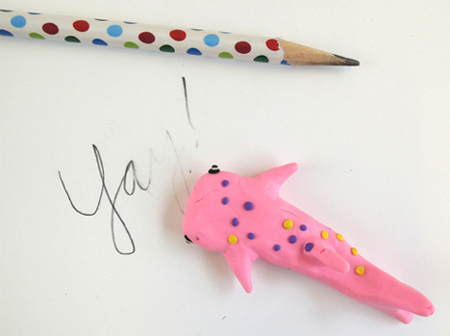 And they work! The pencil residue will stick to the erasers, so if you’re truly using them to erase, they won’t stay pretty for long (or rub the eraser on blank paper to clean it). The eraser doesn’t break or wear down quickly either. Even after some rigorous erasing, the pink shark’s chin was still intact!
 There’s no stated age range for this kit, but I think it would be good for ages 6 & up. However, because the clay starts out dry and crumbly, younger kids might have a difficult time handling it on their own. But once the clay gets to Play-Doh consistency, it’s fine. Also (and it says this on the kit) the clay could stain “certain finishes” and should be kept away from “carpet, clothing, and other porous surfaces.”
The Creatibles D.I.Y. Eraser Kit is easy to use, a snap to bake, the erasers work, and the sky is the limit as far as creativity. I made 9 erasers for the testing, and there was clay left for at least 2 more! So it would make a great group or party activity too. The kit does require a bit of vigilance with clay residue on your hands and work surfaces, but other than that, it’s fun. I highly recommend it!