
 Cows that type? Yes indeed. You can too, using this awesome box typewriter and funny Mad Lib letters!
We read Click, Clack, Moo: Cows That Type, written by Doreen Cronin, and illustrated by Betsy Lewin (Simon & Schuster, 2000). It’s cold in the barn at night, and the cows have had enough. They type a note to Farmer Brown requesting electric blankets. When he doesn’t comply, the cows go on strike. No milk! The hens are cold too and soon it’s no milk, no eggs at the farm. Infuriated, Farmer Brown types a note demanding milk and eggs, reminding the protesting parties that they are, after all, cows and hens. The cows hold a meeting, and a counteroffer is made. The typewriter in exchange for electric blankets. Done! Farmer Brown delivers the blankets, but the typewriter appears to be missing. Until a note arrives from the ducks. They want a diving board.
You’ll need:
- 1 box (mine was 4 ½” X 4 ½” x 9”). A large tissue box works great too
- A box cutter
- 2 paperclips (mine were 1.75″ long)
- A selection of color masking tape
- 2 jumbo craft sticks (mine were 6″ long)
- 1 typewriter keyboard template, printed on 8.5″ x 11″ white card stock
- 1 paper towel tube, cut down to 8.5″ long
- 1 piece of construction paper
- 1 balloon stick, cut down to 10.25″ long (a wooden dowel works too).
- 2 wooden beads
- 1 pipe cleaner
- 1 drinking straw
- 4 pom-poms (mine were 1″ in diameter)
- 1 typewriter letters template, printed on two, 8.5″ x 11″ sheets of paper
- Scissors and tape for construction
- Markers for decorating
- Hot glue
Optional bell:
- A small piece of pipe cleaner (approximately 4″ long)
- 1 jingle bell
The majority of this project will be demonstrated using a white craft box, but I’ll show you how a regular old tissue box (the long, rectangular kind) can be adapted too!
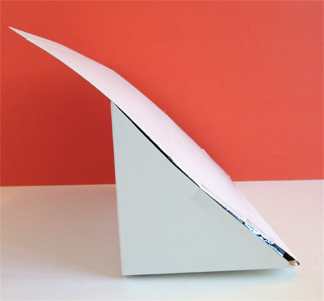
 We’ll start with the craft box. Use scissors to cut the tabs off the box, then cut diagonally down each side like so:
 Push the tall, right-hand side of the box against the diagonal sides, and secure with tape.
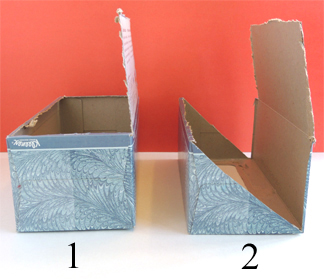
 Fold the overhanging section over the back of the box, trim down the resulting flap, then tape the flap to the back of box.
 If you’re using a tissue box, follow these steps. Flip the tissue box over so the opening for the tissues is resting on top of the table. Then, use a box cutter to cut a hinged top like so:
 Now use scissors to cut diagonally along the sides of the box:
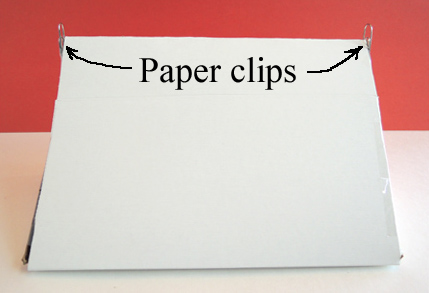
 Follow the exact same steps as the craft box to finish (i.e. fold the overhanging piece over the back of the box, trim it, and secure with tape). Done! Now turn the slanted part of the box towards you, and tape a paper clip to both sides of the box.
 The orientation and placement of the paper clip is important. The end of the paper clip with the double curves needs to be sticking upwards like this.
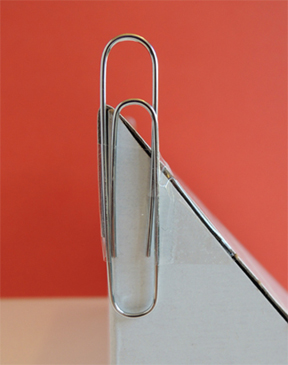
Later, the upper parts of the paper clips will hold the axle of your typewriter’s “cylinder” (i.e. the round thing that your typewriter paper wraps around).
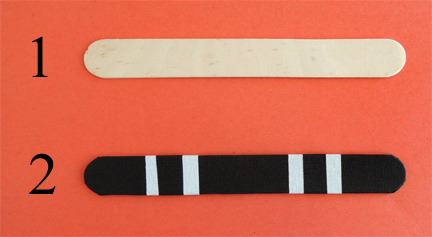
Decorate the back, sides, and front of the typewriter with color masking tape (or just use markers). Decorate a jumbo craft stick as well (the stick will eventually become your typewriter’s “space bar”). I used color masking tape for the space bar you see in the image below, but markers work great too!
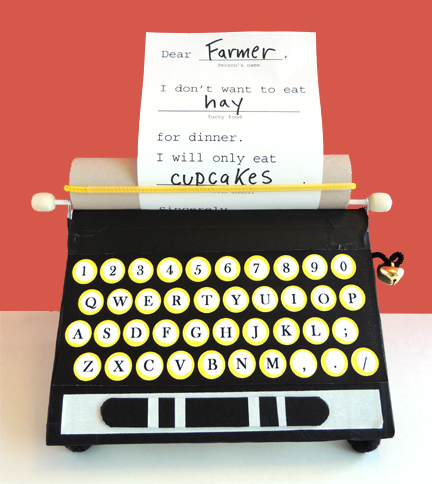
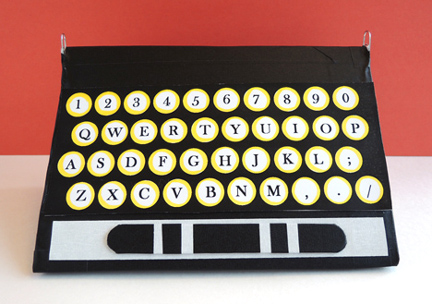
 Color and hot glue (or tape) the typewriter keyboard template to the front of the typewriter (if you don’t like the all white template, here’s one with a black background). Note: the keyboard template doesn’t go all the way to the top of the box. That’s good! You want it to be at least 1″ below the top of the box (otherwise, the keyboard will get covered by the cylinder). Finally, hot glue (or tape) the craft stick space bar to the bottom of the box.
 OK! Now for the cylinder! Wrap an 8.5″ paper towel tube with construction paper (we used gray paper). Then thread a 10.25″ balloon stick through the first paperclip, the paper towel tube, and the second paper clip.
 The cylinder is now secured on its balloon stick axle, which is in turn held in place by the 2 paper clips.
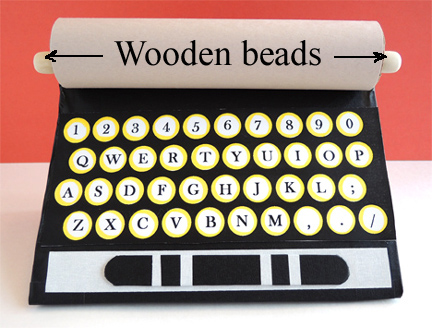
 We slid 2 wooden bead on the ends of the balloon stick to keep it in place (masking tape or scotch tape on the ends of the sticks works too!).
 Your cylinder now needs a “paper finger,” (i.e. the little mechanism that keeps the paper from flopping over). Believe it or not, it took us FOREVER to figure out how to make this simple and workable with easy-to-use materials. The winners? A drinking straw and a pipe cleaner. I only had clear drinking straws in the art cabinet, so it’s a little hard to see it in the photo below. You’ll definitely need it. The smoothness of the straw allows the paper slide easily!
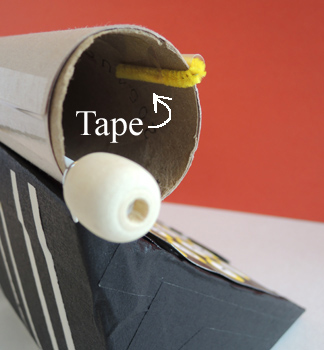
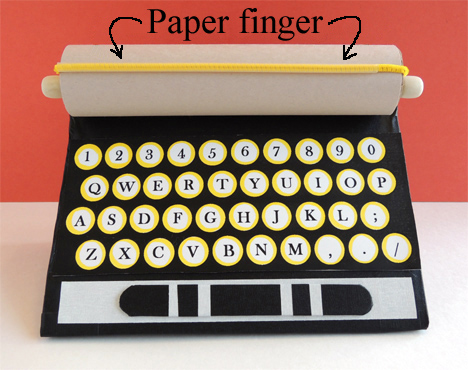 Thread a pipe cleaner through a drinking straw. Bend the ends of the pipe cleaner inside the cylinder and secure with tape. The paper finger shouldn’t be super tight against the cylinder – leave a little wiggle room for the paper!
 Almost there! Flip your typewriter on its back, and hot glue 4 pom-poms on each corner. Hot glue a jumbo craft stick to the front of the box. This will add some weight to the front of the typewriter, and act as a counterbalance the cylinder.
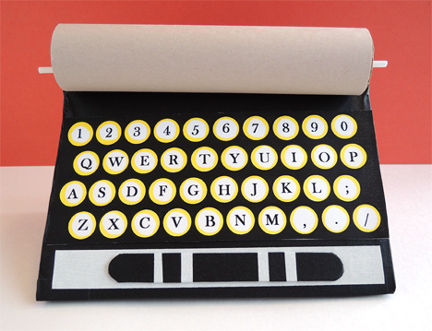
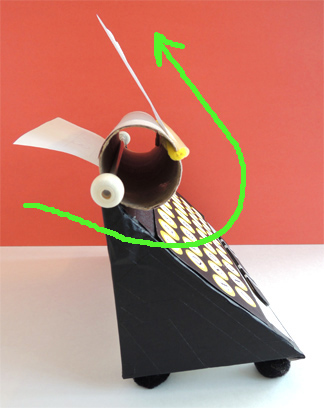
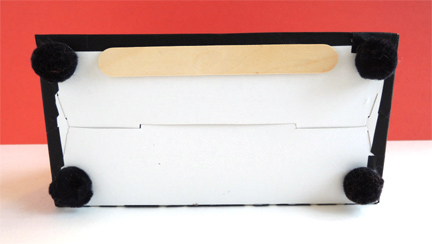 Your typewriter is finished!
 Ready to load some paper? Starting from the back, slide an 5.5″ x 8.5″ piece of paper under the cylinder, then curl and tuck the paper under the paper finger. Tug it upwards a little, and you’re done!
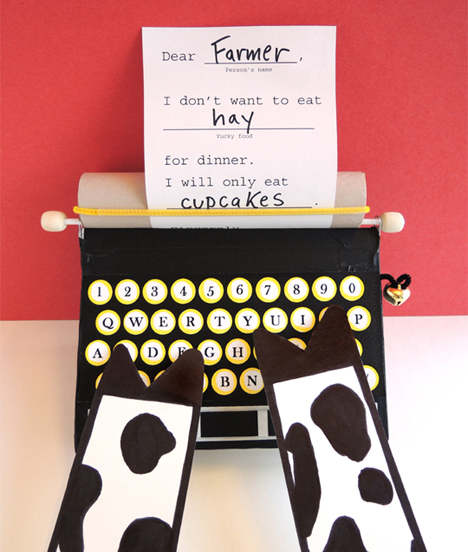
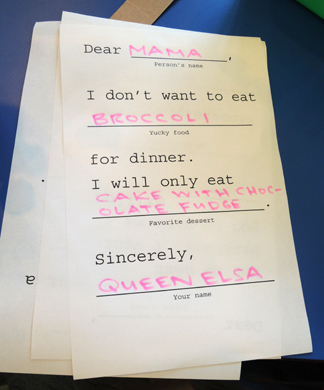
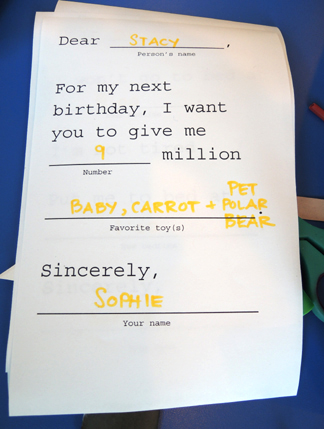
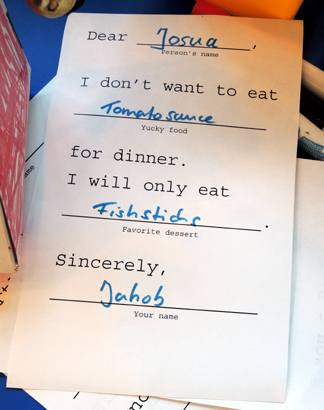
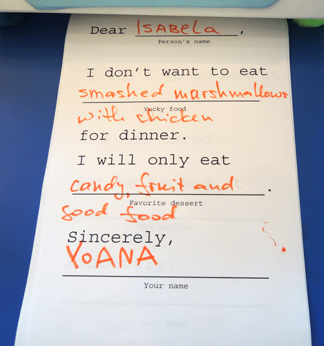
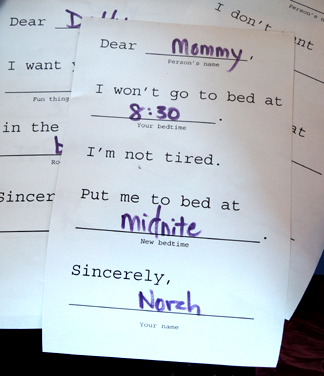
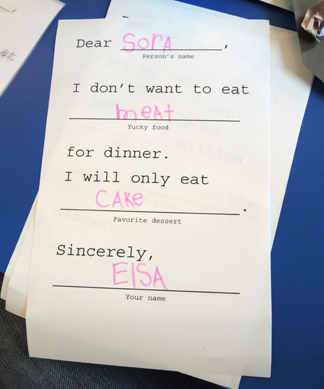
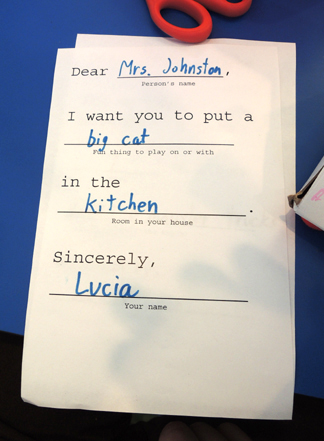
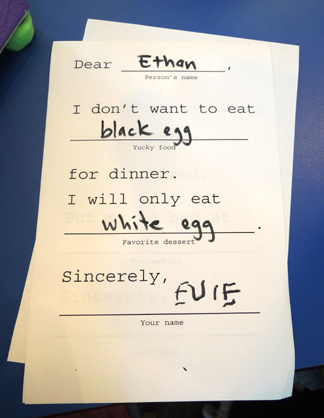
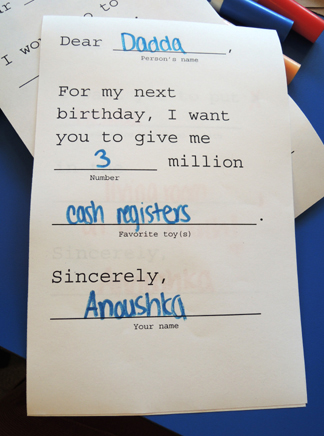
 You can put a blank sheet of paper in your typewriter, or you can use the Mad Libs we created on our typewriter letters template. I recommend the Mad Libs. The kids and their caregivers had quite a bit of fun filling them out! I managed to catch a couple at story time.
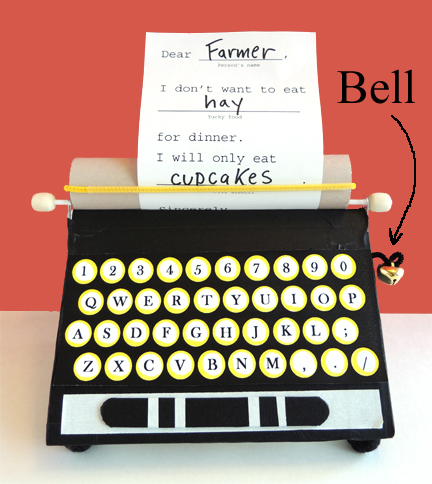
 One last thing! You’ll notice that the finished typewriter has a bell. The bell is optional, but I have to say, it was pretty cute. There are a couple ways to attach it.
 First, thread a jingle bell through a 4″ piece of pipe cleaner, then curl one end of the pipe cleaner to keep the bell from sliding off.
Then you can either:
- Tape the uncurled end of the pipe cleaner to the upper right-hand corner of the typewriter before you hot glue the keyboard on.
- Peel the upper right-hand corner of the keyboard back, tape the uncurled end of the pipe cleaner to the typewriter, and re-adhere the corner of the keyboard.
- Tape the pipe cleaner to the side of the typewriter.
At our story time, we went with option 1, and attached the bell early in the project. For option 1 or 2, just make sure that the keyboard completely covers the uncurled end of the pipe cleaner. Otherwise, the pipe cleaner could snag your typewriter paper (or poke your fingers) as you’re loading it on the cylinder.