
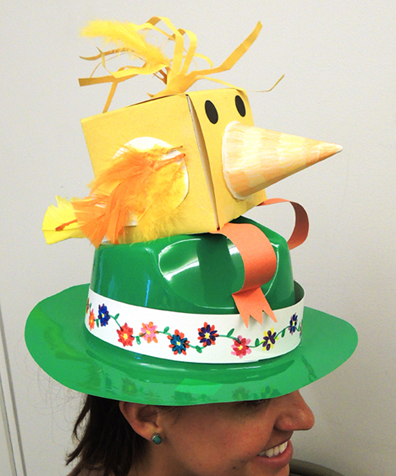
 Because a bird hat is a beautiful thing.
We read The Singing Hat by Tohby Riddle (Farrar, Straus and Giroux, 2000). Colin Jenkins is an ordinary man, but when he falls asleep under a tree, he awakens to find a bird has built a nest on his head…and it’s not leaving. Colin’s life changes dramatically as he discovers that people divide into two groups: those whose don’t mind his singing hat, and those who do! After many trials and tribulations, Colin is surprised to learn that the bird on his head is one of the rarest in the world – and at the the moment, the bird (and her new baby) fly away. To remember the beautiful bird and how it changed his life, Colin puts the empty nest by the open window of his apartment, just in case.
You’ll need:
- 1 box (I used a 4″ x 4″ x 4″ box, but a small tissue box would work as well)
- 1 plastic fedora
- 1 strip of poster board for a hat band (approximately 22″ x 2.5″)
- Construction paper for bird’s body and crest
- 1 cone water cup
- 2 black dot stickers
- Poster board for the wings
- A selection of small feathers
- A box cutter
- 1 goose quill
- 2 duck quills
- 2 strips of orange poster board for the legs (mine were 1″ X 6.5″)
- Markers and crayons for decorating
- Scissors, tape, glue stick for construction
- Hot glue
I bought my plastic fedoras at Oriental Trading Company, and they arrived with thin paper hatbands on them. So we started the project by tearing off the hatbands and creating our own with poster board and markers.
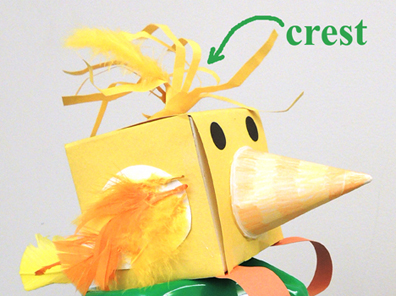
Now for the bird! Cover the box with construction paper EXCEPT for the very bottom where the bird sits on the hat. Use the leftover construction paper to cut a fringe and tape it to the top of the bird’s head like a crest.
 Use crayons to color the cone water cup (markers tend to smear) and hot glue it onto the bird’s face. Add two dot stickers for eyes. For the wings, cut two poster board shapes (we found pointy wings looked better than rounded)…
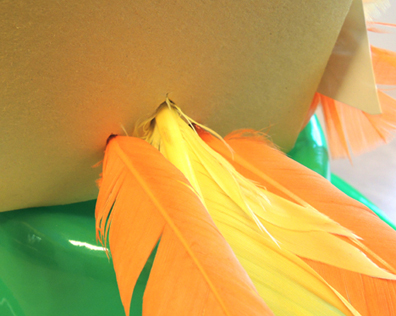
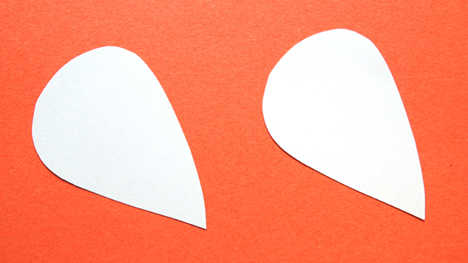 Then glue the small feathers to the wings (and tape one in the crest as well). When the wings are fully feathered, hot glue them to the bird. To create a tail, use the box cutter to cut a trio of holes in the back of the bird where the tail goes:
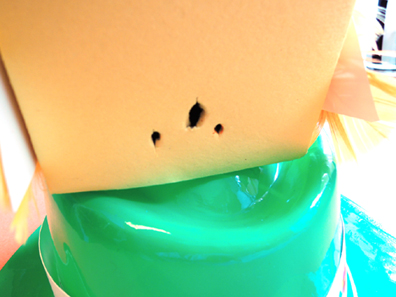 Then insert the goose quill in the top hole, and the duck quills in the 2 lower holes.
 It’s time to hot glue the bird on the hat! Reach inside the hat and pop the crown upwards. Then, slather hot glue all over the top of the hat (but be careful where you put your hands, the glue heats up the plastic fast). Quickly jam the bottom of the bird box on top of the popped up, glue-drenched plastic. Firmly push the plastic onto the bottom of the bird box to insure full contact with the glue.
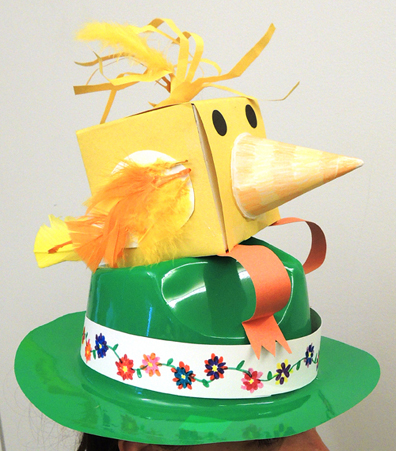
The last touch is to fold and cut the orange poster board strips to resemble bird feet, and then tape (or hot glue) them to the bottom of the bird box and the hat. The feet really make the hat!
 For a project that uses one of these plastic fedoras but has a nautical theme (and is also modeled by the lovely Miss Theresa), click here!